|
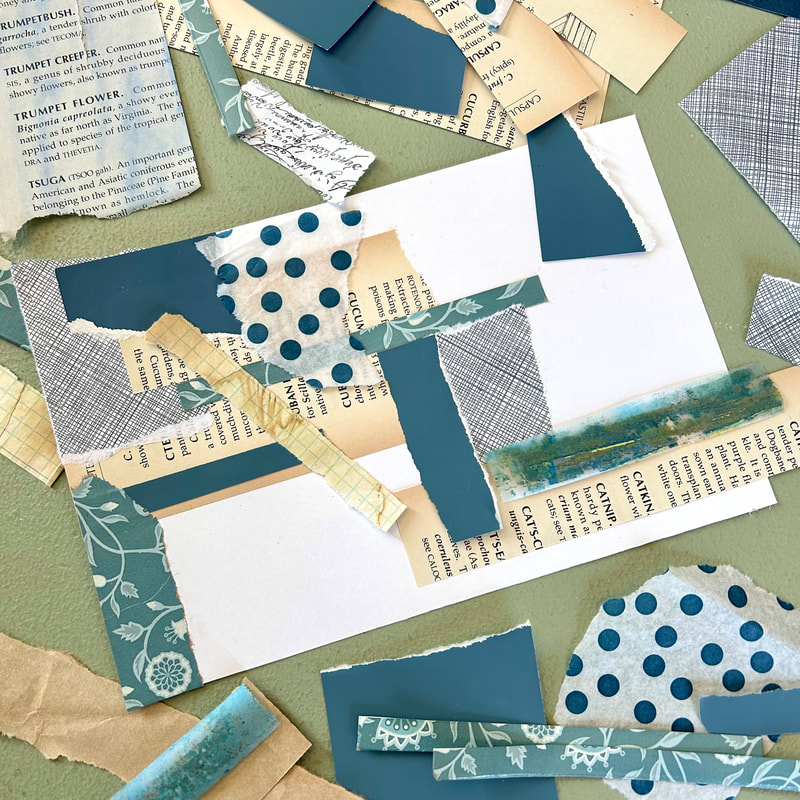
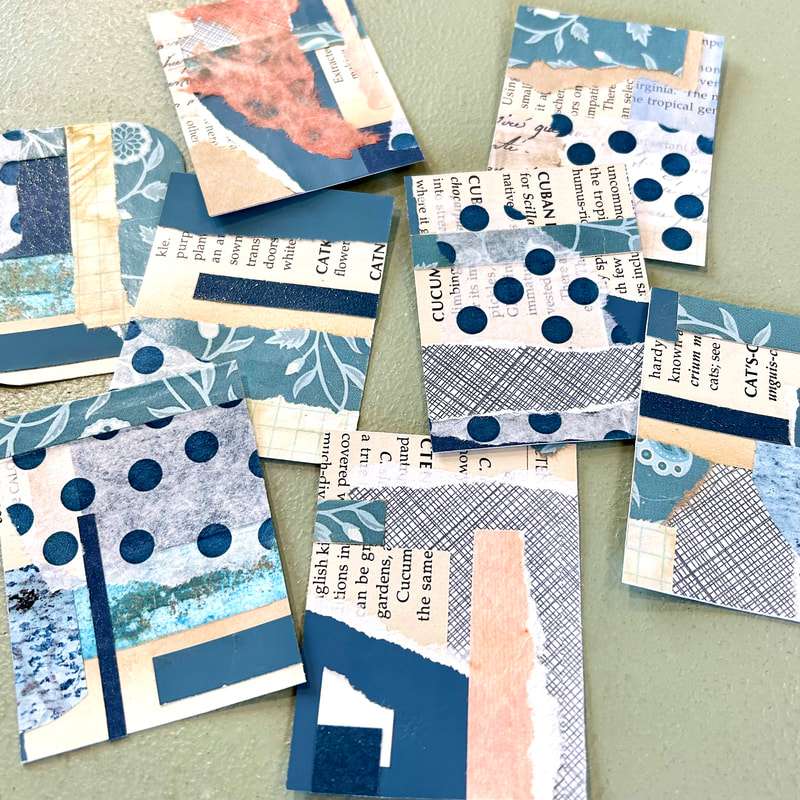
I'm celebrating World Collage Day Saturday, May 13th, 2023 with a FREE mini Surprise Collage Class *** (scroll down for the link to watch the recording of this class on my YouTube channel) *** 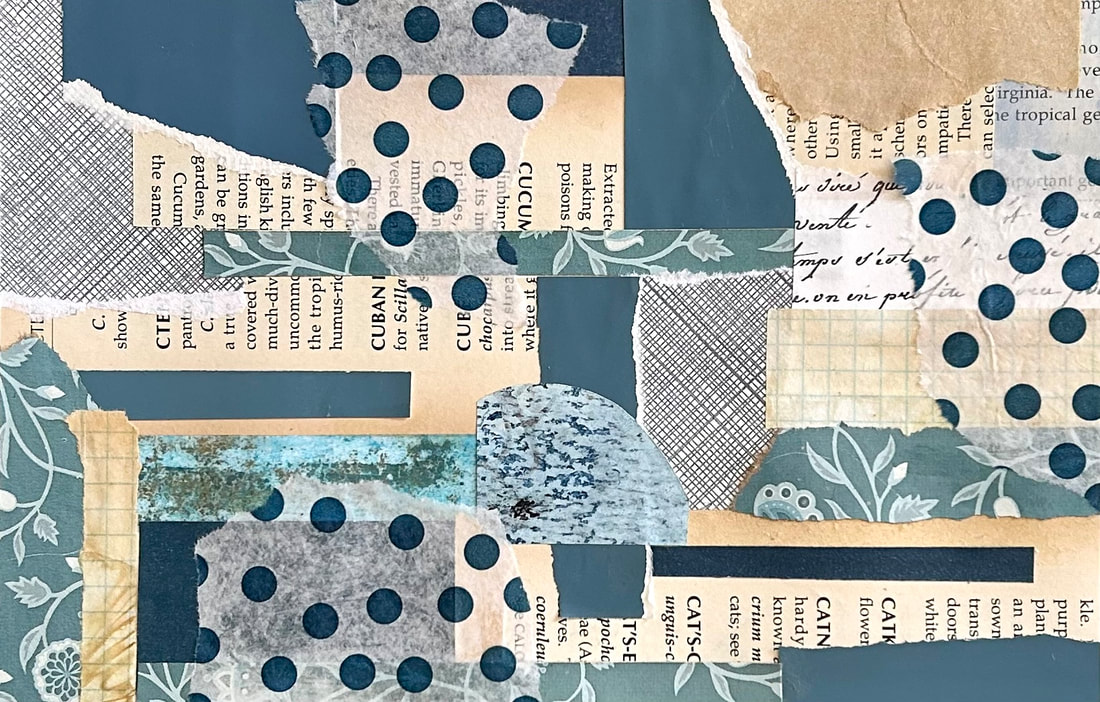 World Collage Day, initiated by Kolaj Magazine in 2018, is an annual international celebration of collage on the Second Saturday of May. Artists and art venues are invited to hold events on that day to celebrate the art of collage. World collage day is about artists connecting across borders and about sharing an art medium that excels at bringing different things together to create new forms and new ways of thinking. Let's celebrate World Collage Day by creating a surprise collage! We'll start by making a collage on a half sheet of paper by tearing or cutting the collage papers into smaller pieces and then glueing away. The best part is - you can't make a mistake! The surprise comes when we take that one collage and see how beautifully and easily it turns into eight mini collages. While we are waiting for our collages to dry I'll give you some ideas for how you can use these mini collages. At the end I'll share a little about the Mailscape Collage Workshop that I have coming up in June 2023. Got your glue stick ready?
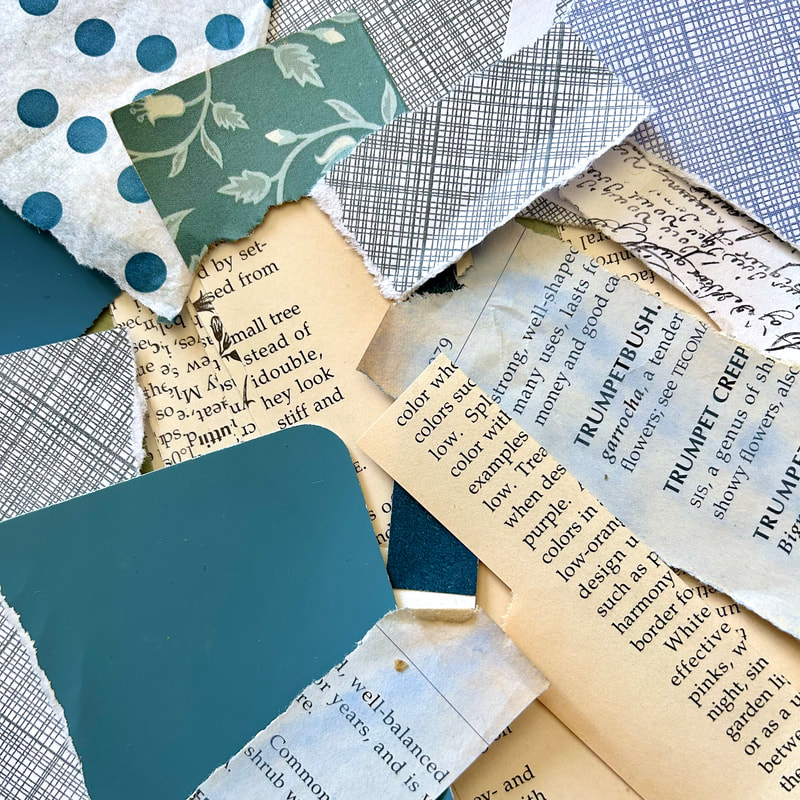
Have a look at the short supply list below and start gathering your collage papers.
The Zoom recording for this mini Speed Collage class can be viewed on my YouTube channel Below are collages that were created during the live Zoom class. 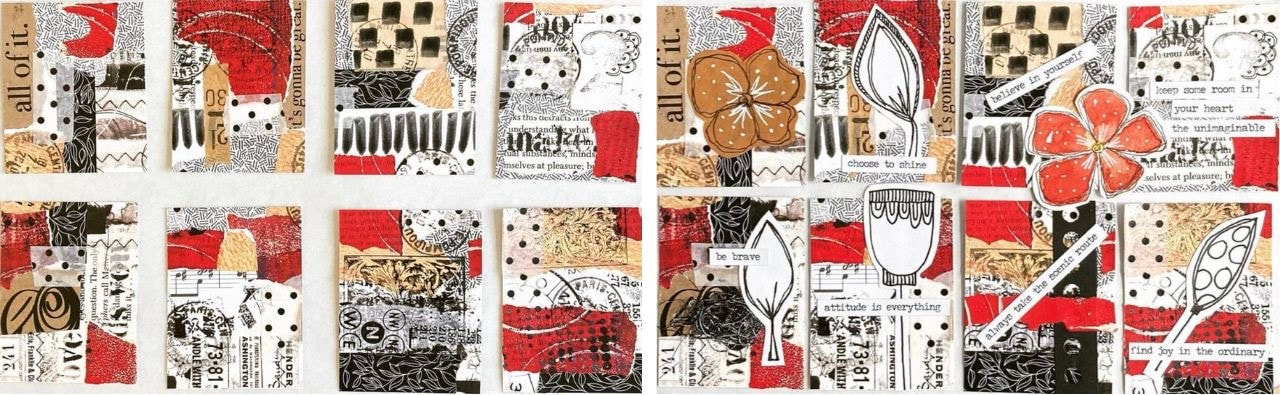 Gael C. 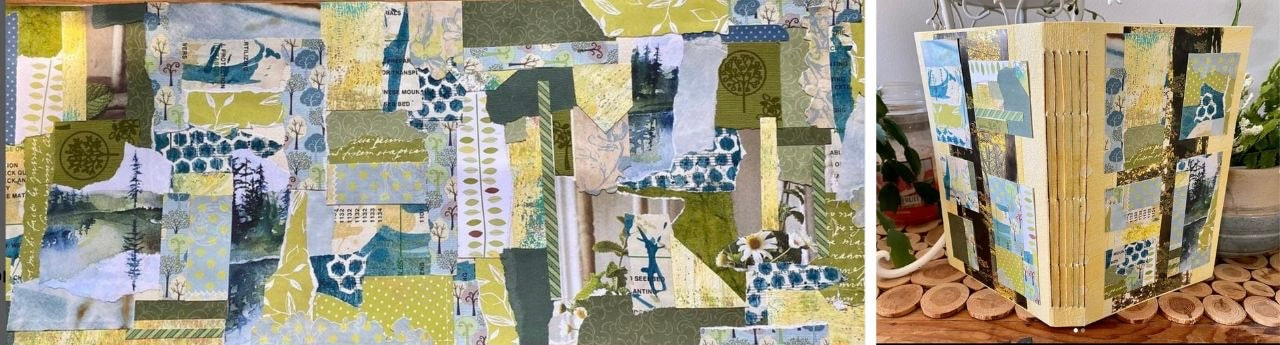 Rosann W.  Vivian L. 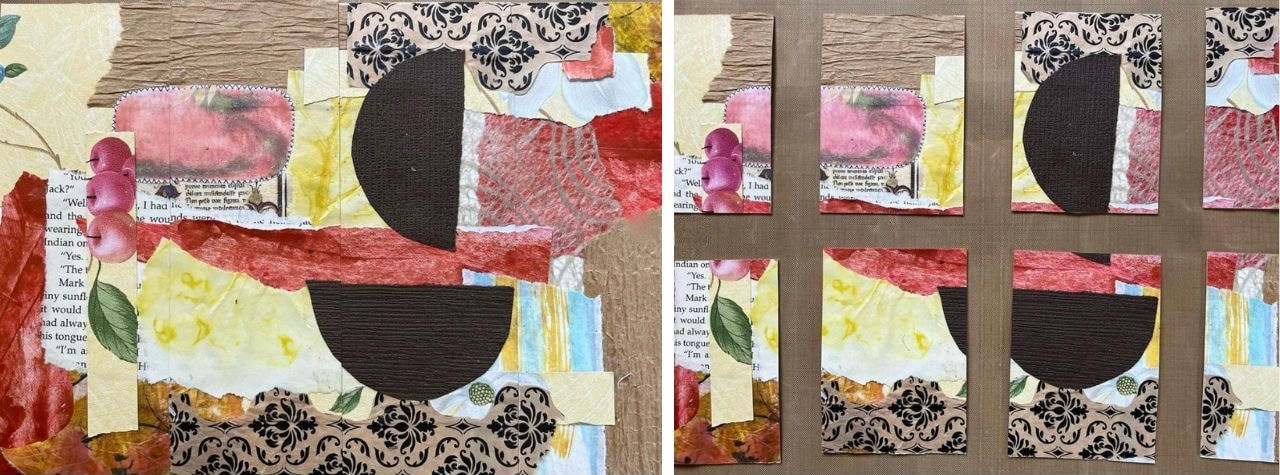 Sharon M. 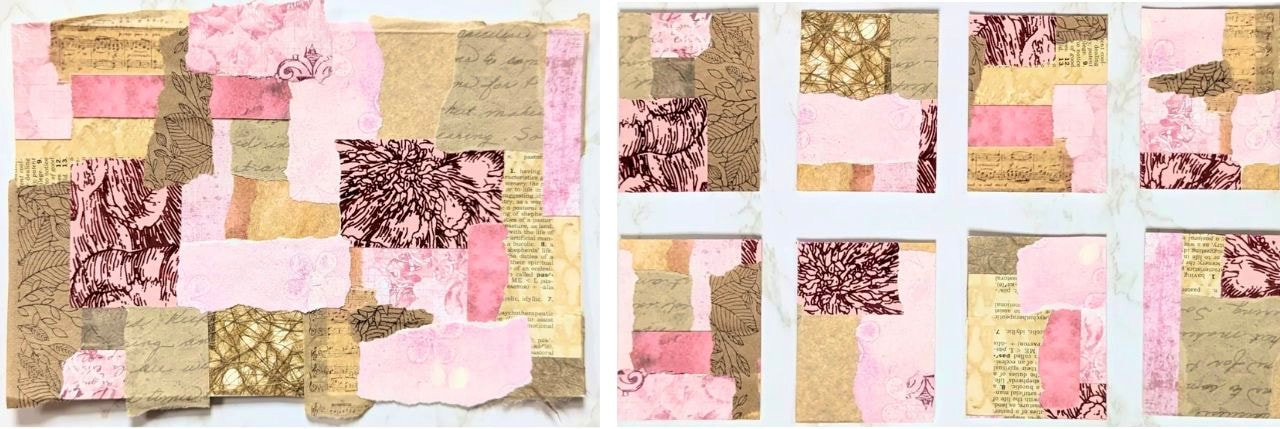 Gayle R. 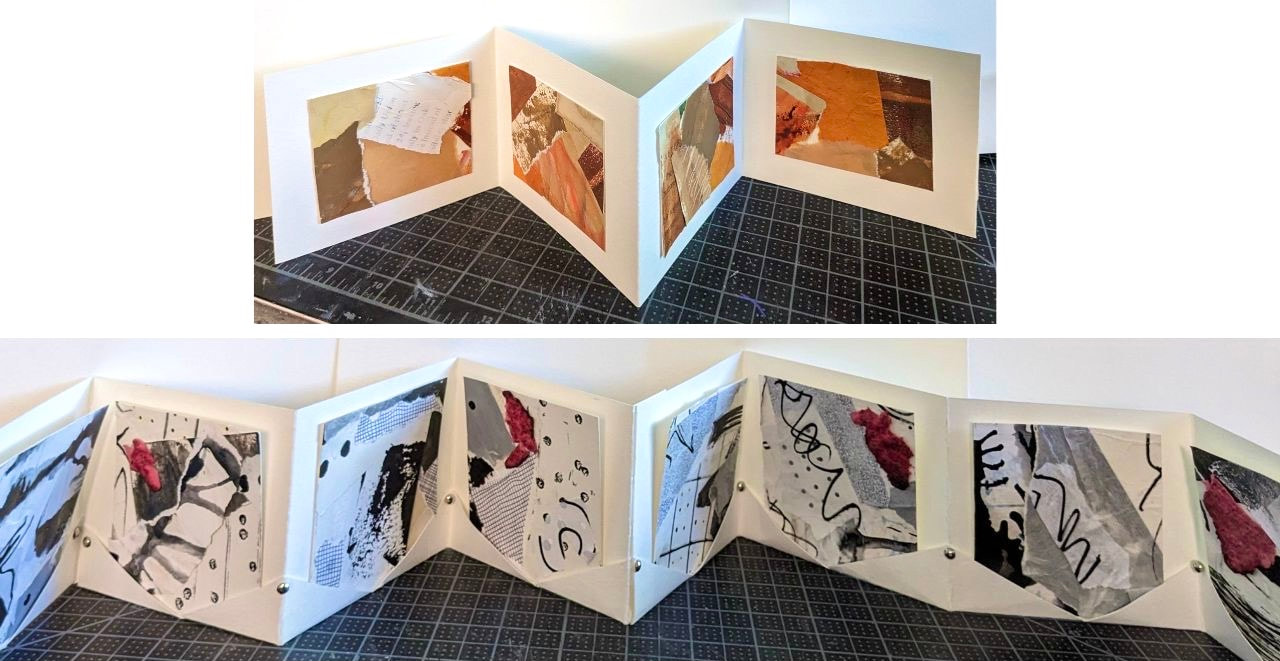 Carrol S.  Anja K.
0 Comments
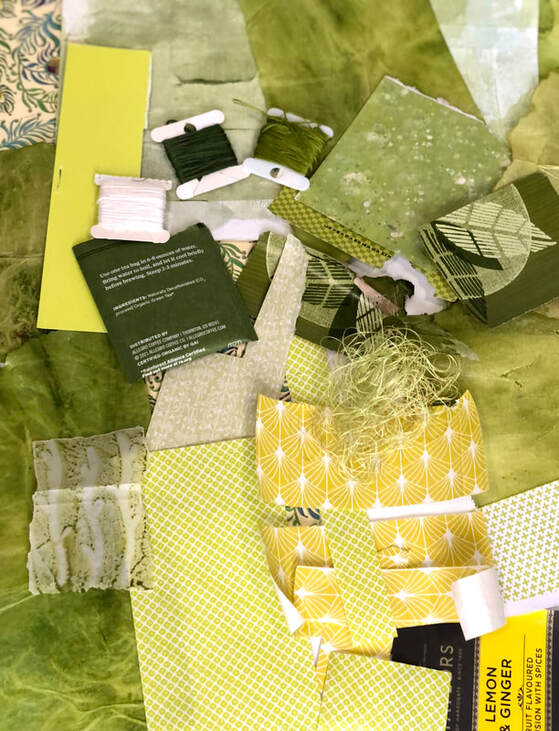
Even before I had finished my collages for March I started a collection of papers in the colors I wanted to use for April. With spring in the air, the greens were calling out to me.
Week 1 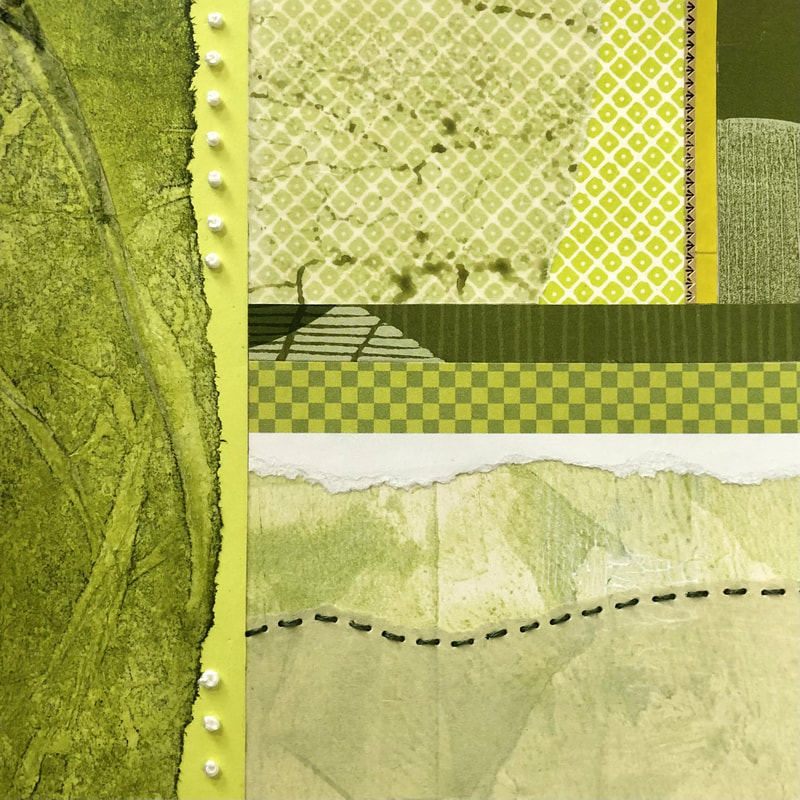 Week 2 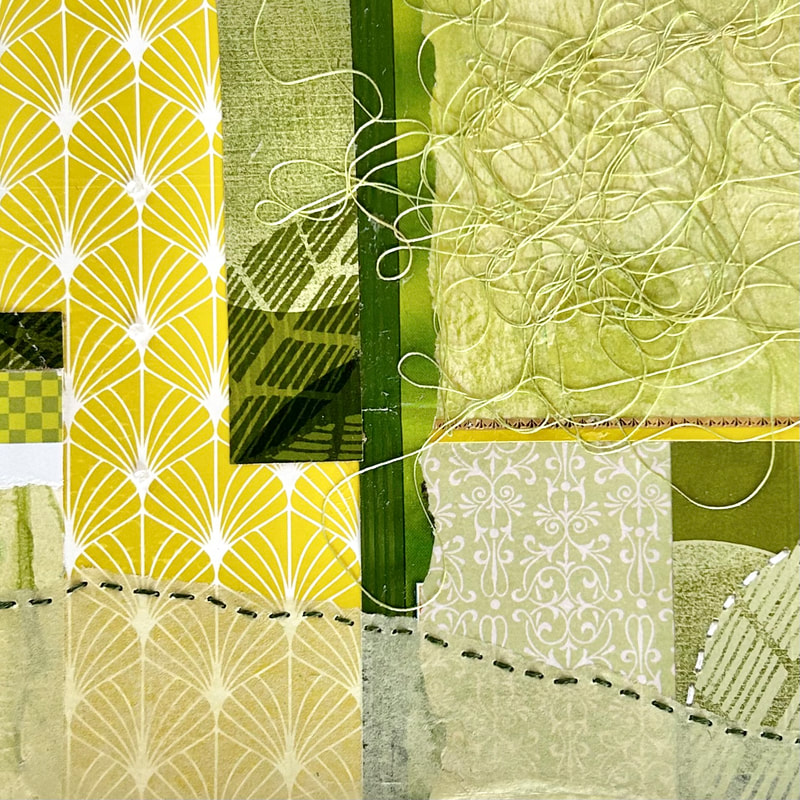 Week 3 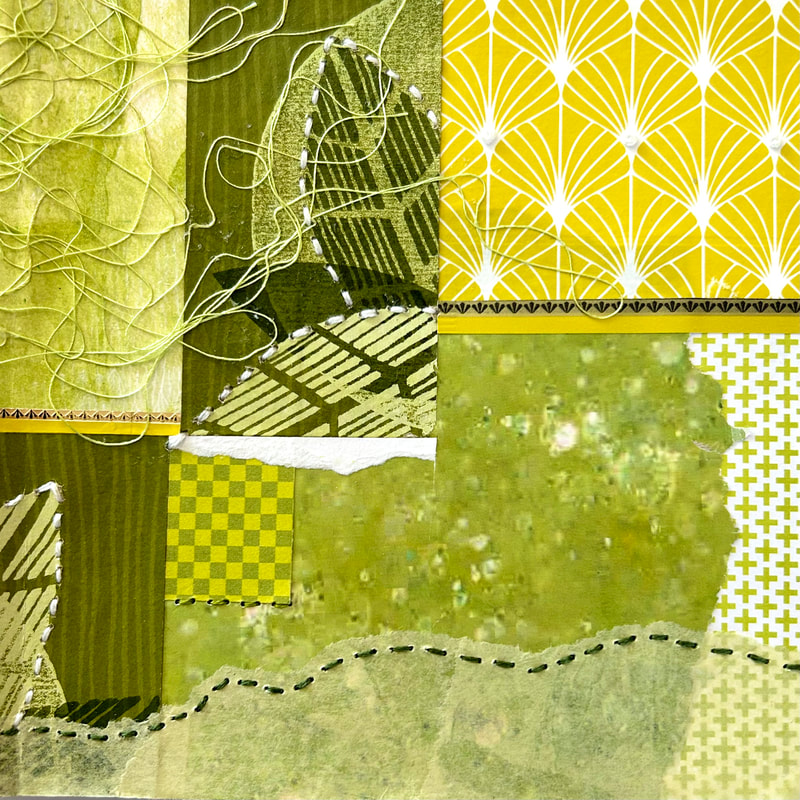 Week 4 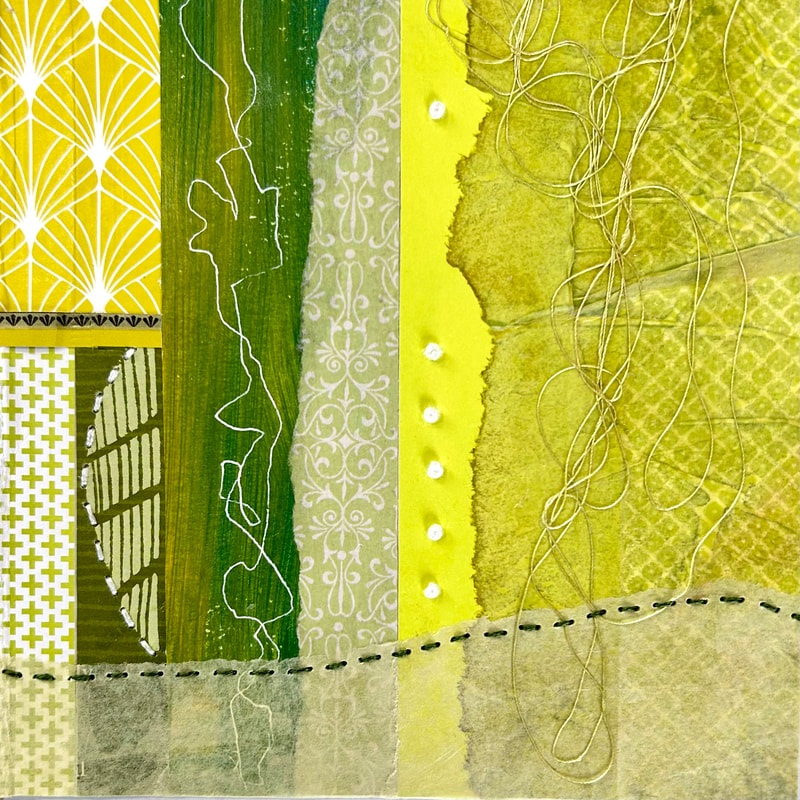 Below is the finished four panel concertina. It's been so much fun working with all the different varieties of green this month. Each week I looked from my green and yellow paper covered table to the outside. There I saw more green and yellow as the garden is starting to come back to life. There is definitely a magical feel in the air this time of year. 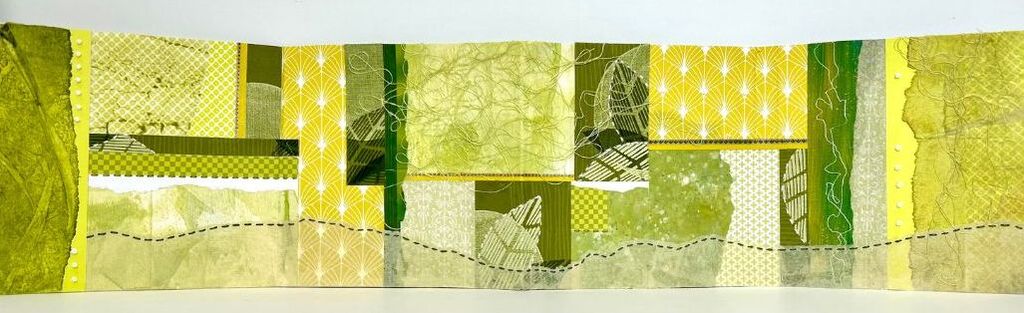 Here are a few collages made from the scraps I have left at the end of April. 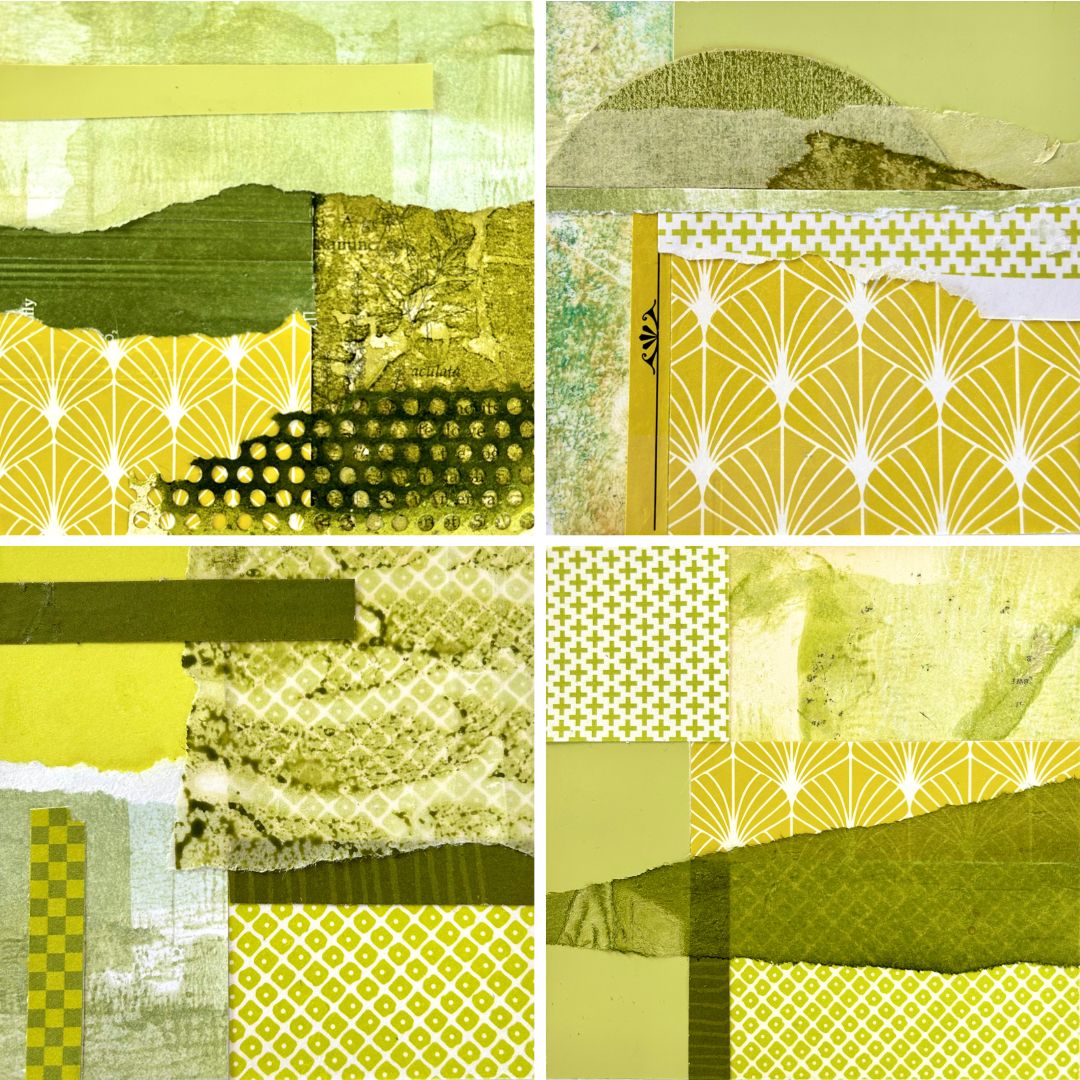 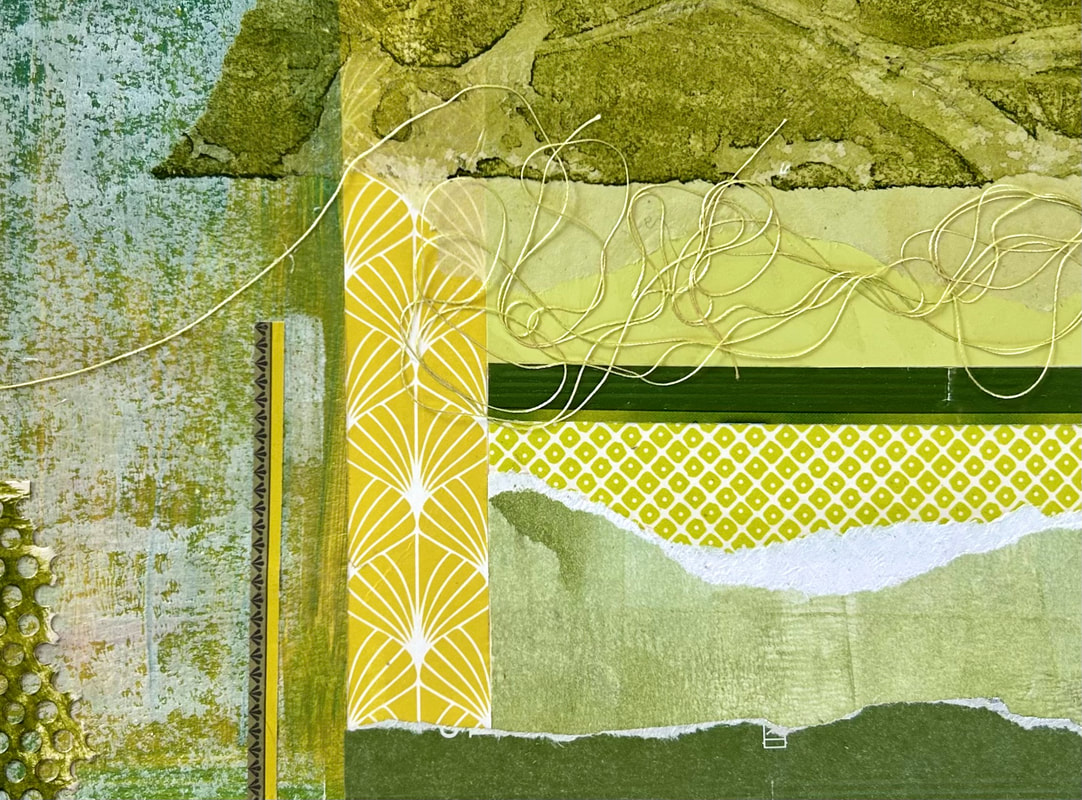 You can read more about see these monthly concertina sketchbooks and how they got started here. If it's spring in your part of the world I bet like me, you're enjoying all the new growth and beauty the season has to offer. I don't know what flower signals the arrival of spring more than the daffodil. They bring such joy to my garden each year with their bright, cheerful blooms. 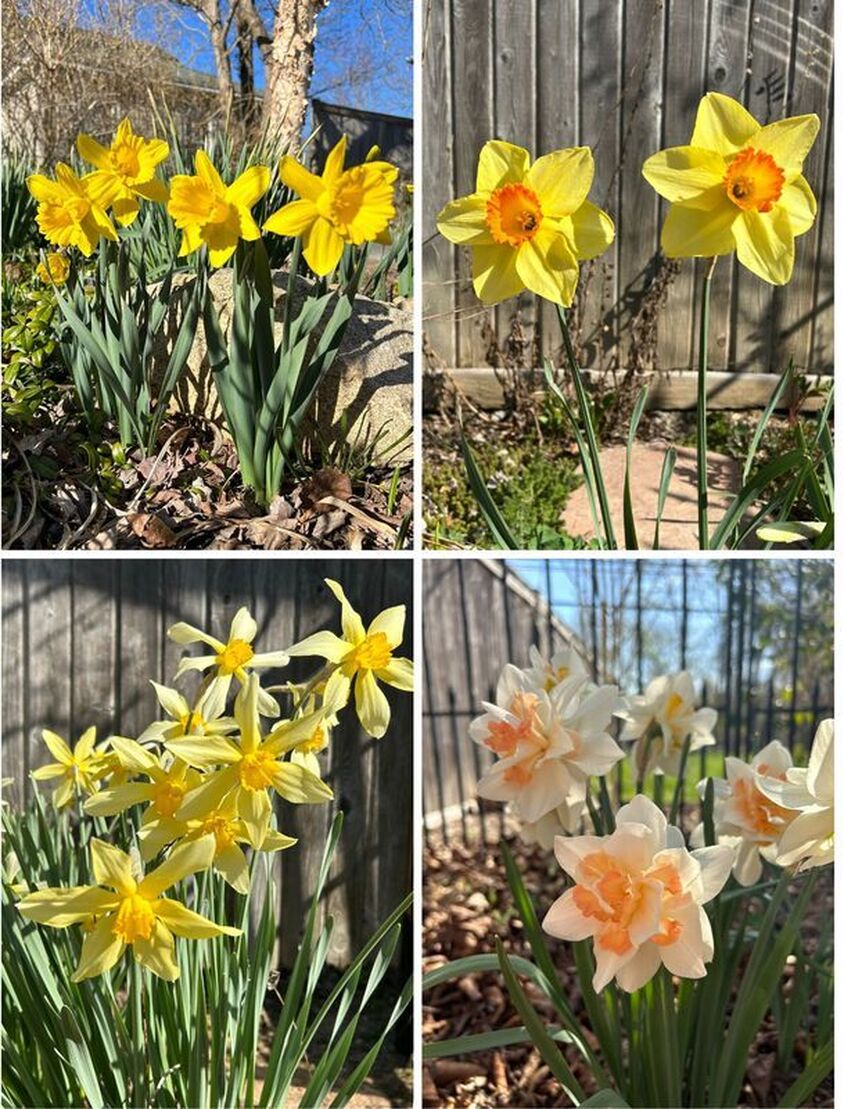 I'm enjoying them even more than usual this year. If I'm inside I find myself stopping at the windows and pausing for a moment to admire their beauty. When I go for walks in the neighborhood I enjoy seeing so many different varieties. I knew there were many but Google just told me that there are over 26,000 varieties of daffodils! 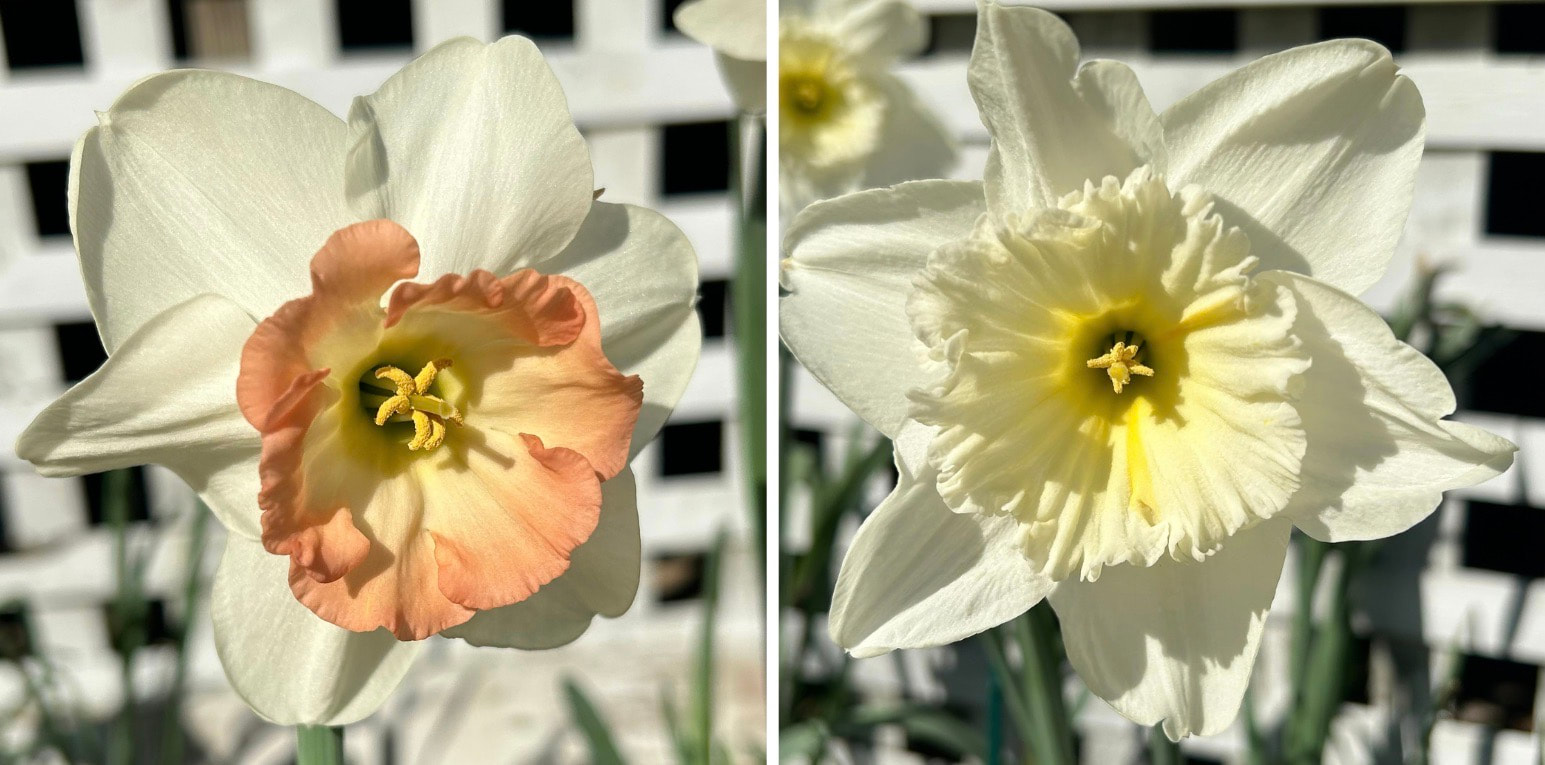 For the past 6 years I've taken this same photo of my backyard from an upstairs window. It's one of those spring scenes of yellow that catches my eye every morning before I go downstairs. You can see that over the years it varies as to what is in bloom with what. For the 3rd year in a row I managed to capture the moment when the dogwood tree has just started blooming, the daffodils are breathing their last breath and the forsythia is still going strong. 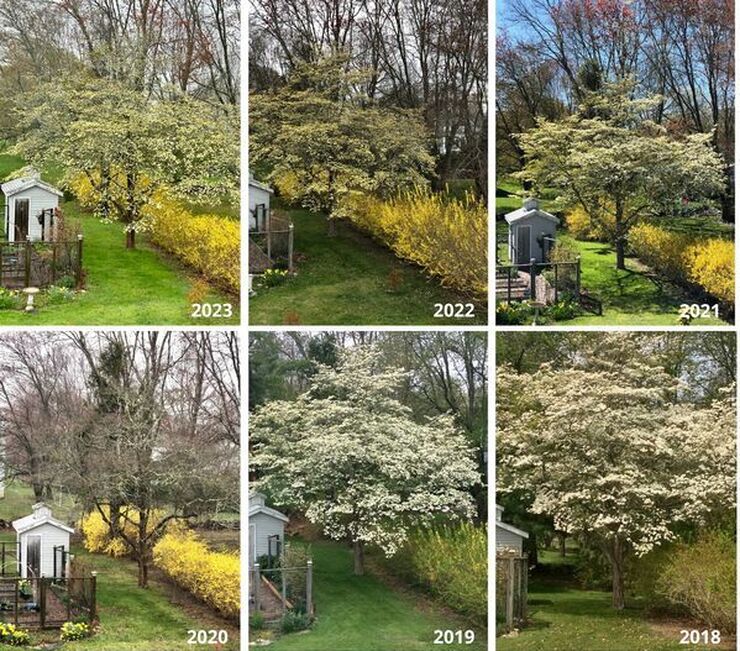 April showers bring May flowers. 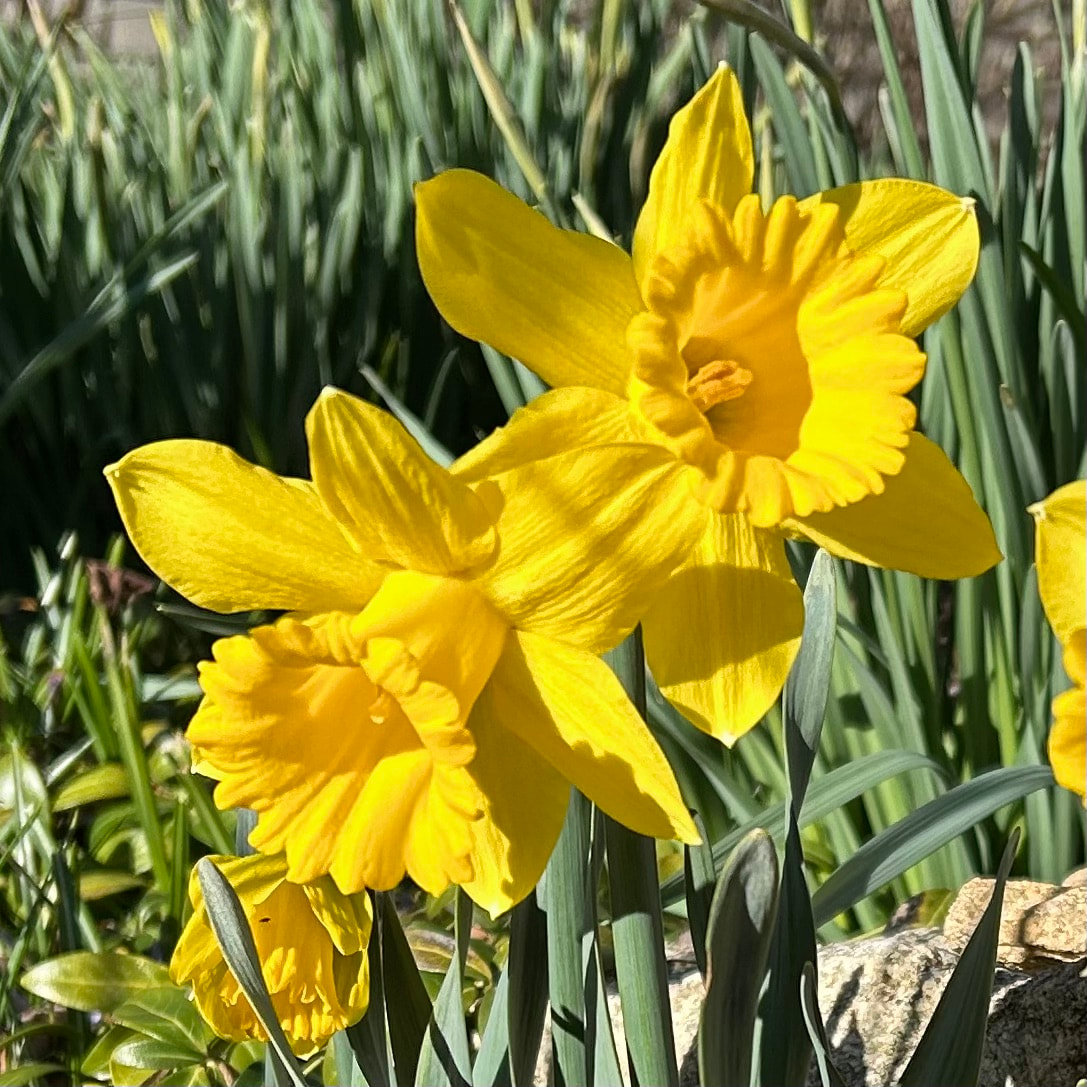 "In the world of safe hues, like black, red, and white, yellow shouts: Look at me. I'm happy!" - Joy Sewing I have always loved to research and experiment, especially when it comes to art processes and gardening. If I'm really curious about a technique I've seen I'll research to find out more. Then while I'm in the process of experimenting that’s where my mind stays. I'm not thinking about the possible steps beyond. Occasionally, someone will ask “What are you going to do with that?” and my answer is, “I don't know yet”. That's when a little voice used to try and tell me I was wasting precious time if I didn't have a purpose for what I was doing. That little voice has been gone for a long time now. Having fun and maybe learning a little something along the way is reason enough. I also know that things I collect or make may sit around for months or even years before I find their use. That's how this little peachy pillow pincushion came to be. 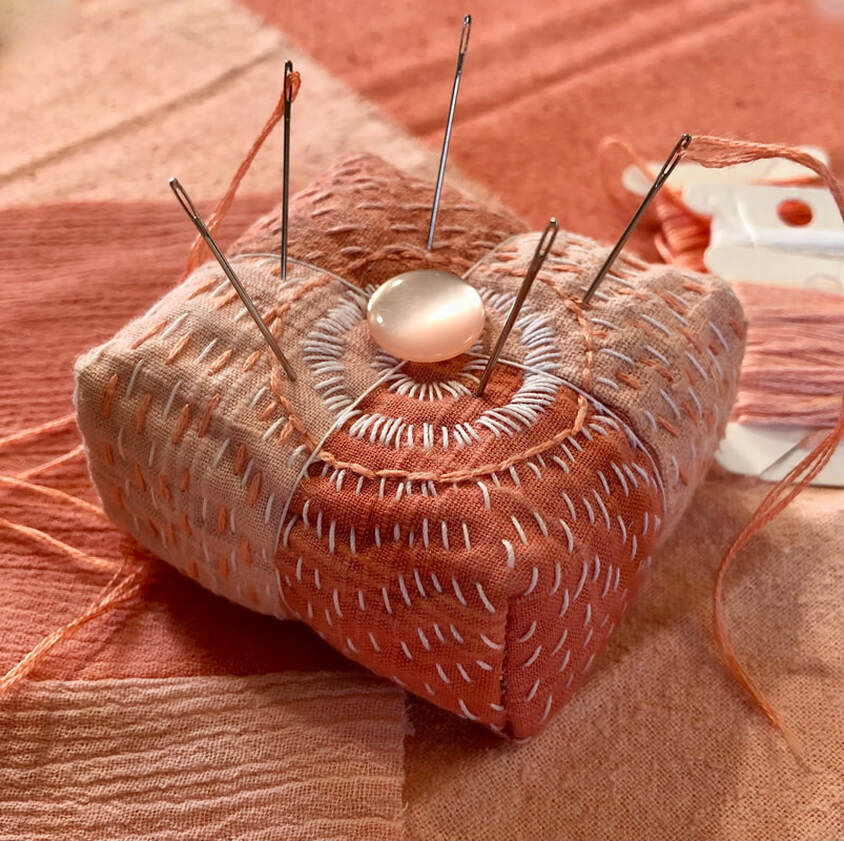 I had already been dying paper for a while when I got curious about dying fabric. After I took a class, I purchased some shirts at the thrift store and kept experimenting. I ended up with a nice pile of dyed fabric. The peachy color comes from a dye made of madder root. 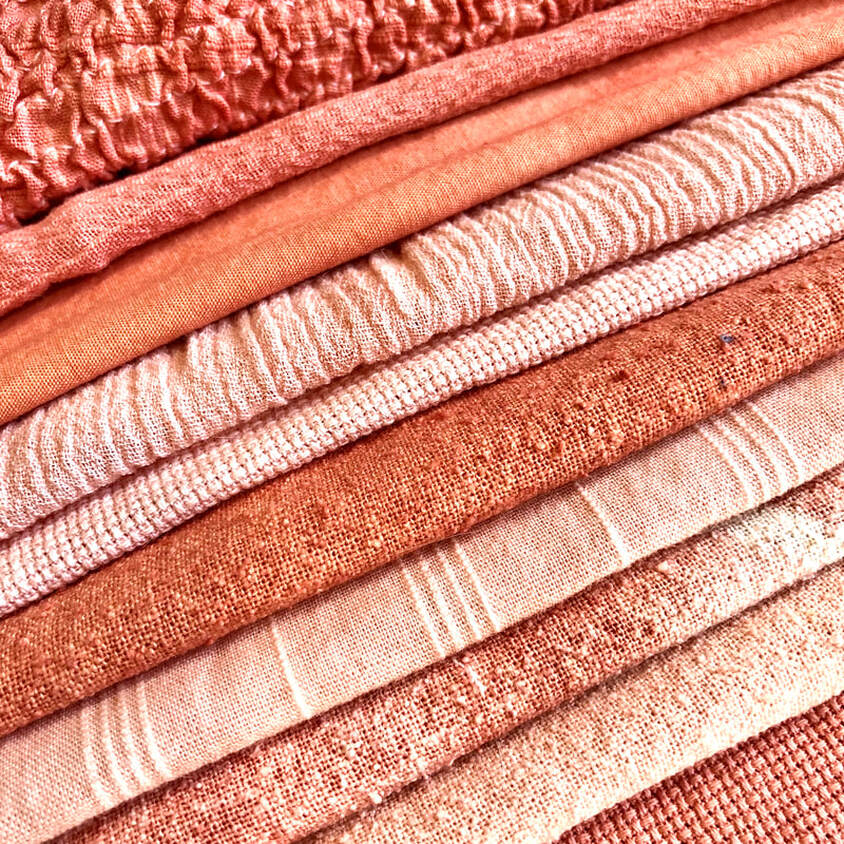 That fabric sat around for probably 4 years before the idea of making a pin cushion came to mind. I finally got tired of losing my stitching needles at night and worrying about the possibility of sitting on a needle that had fallen on the couch. Problem solved. 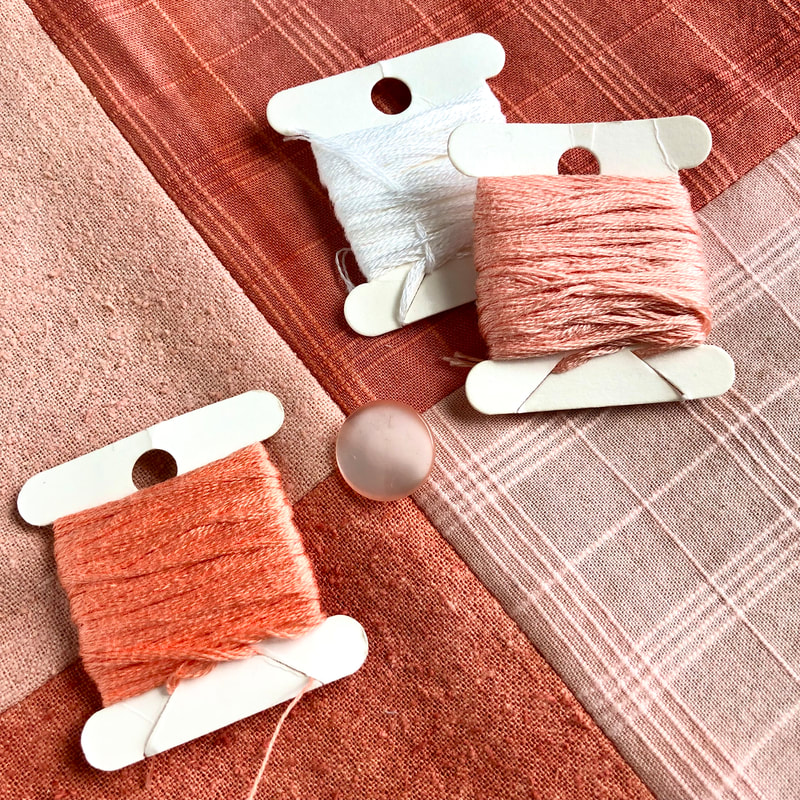 I didn't follow a pattern but I did get my inspiration from Pinterest. If you're curious take a look at this board I put together full of adorable pincushions. New colors for this month’s concertina sketchbook collages. Looking forward to a blue March. "Blue is the color of peace. Water is blue. I like the color blue because it just puts me at peace. The patriotic symbol is blue. I just like blue." - Antonio Brown  Week 1  Week 2 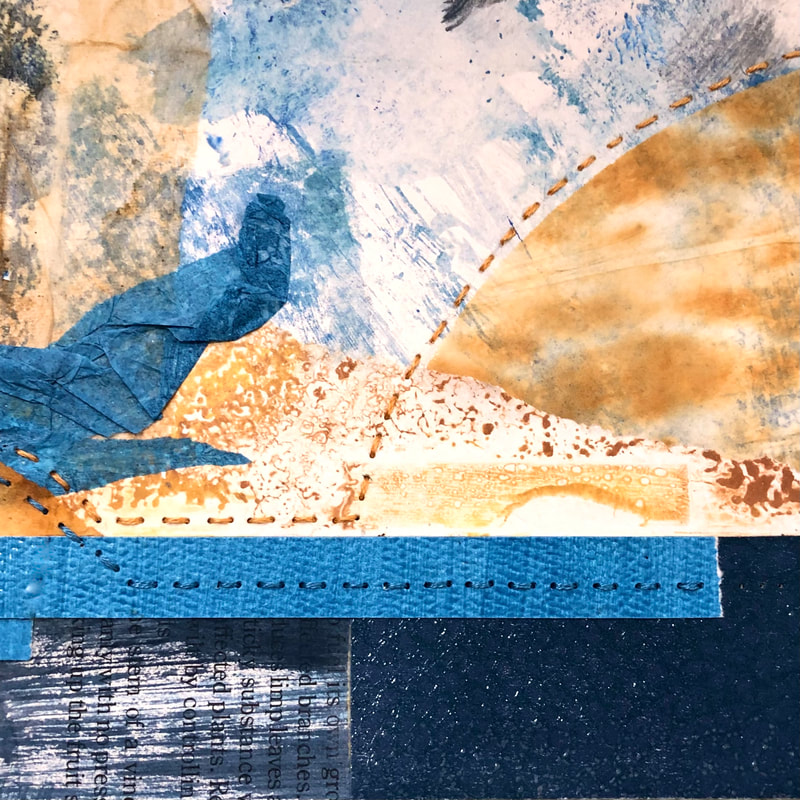 Week 3 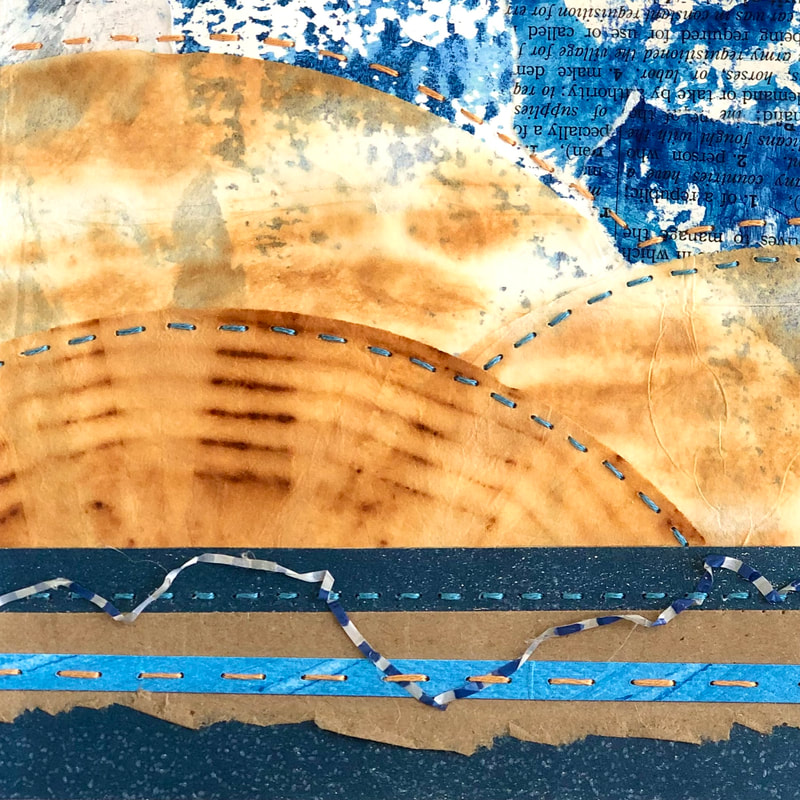 Week 4 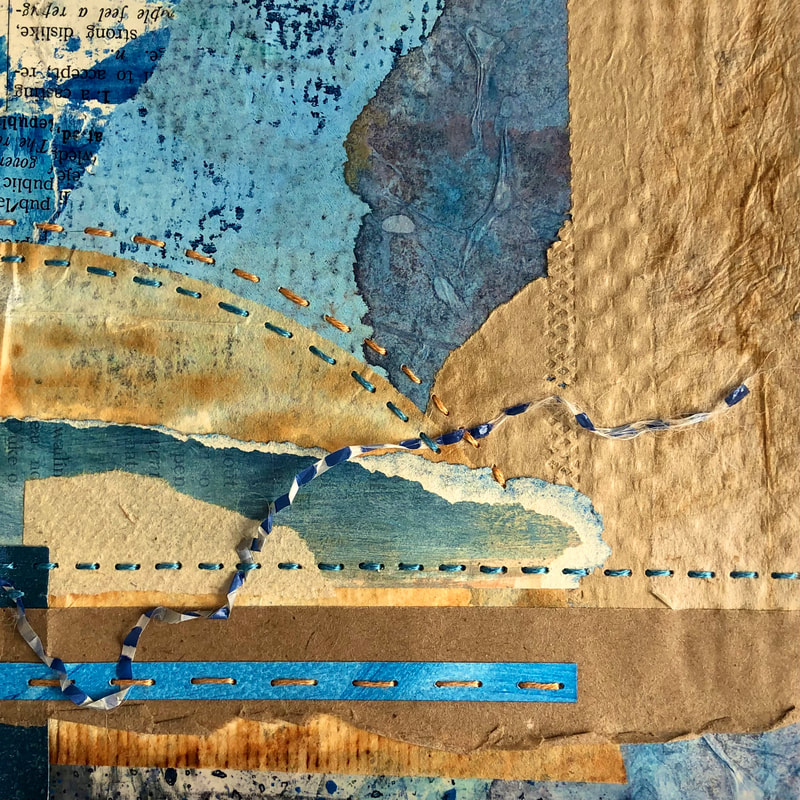 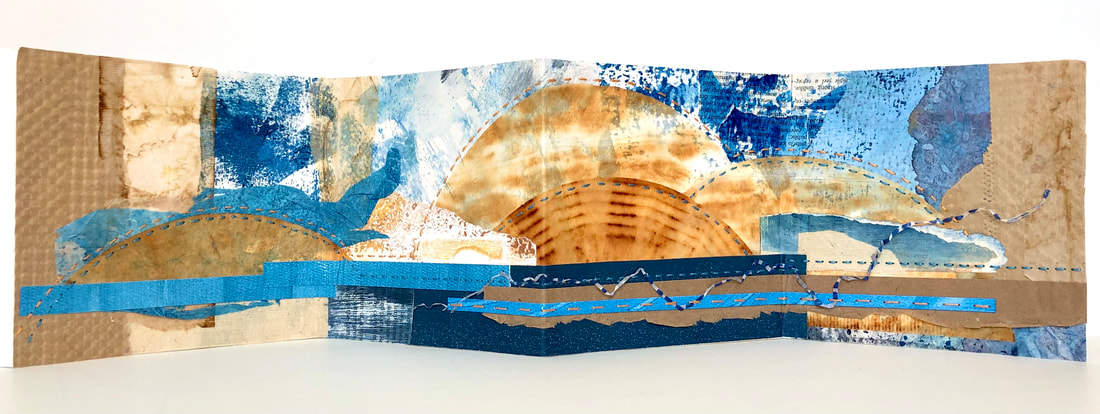 Collages made from March's left over scraps. 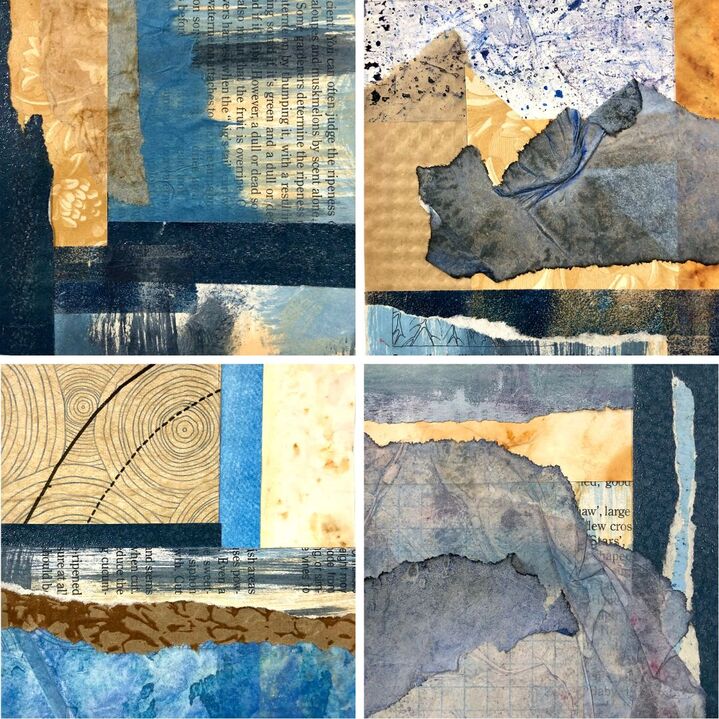 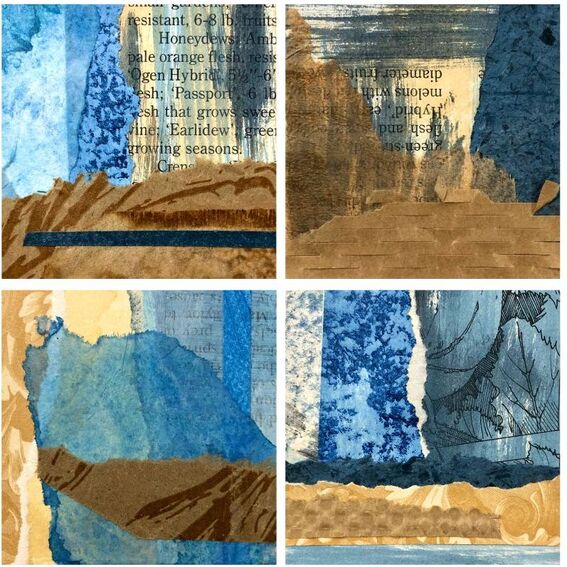 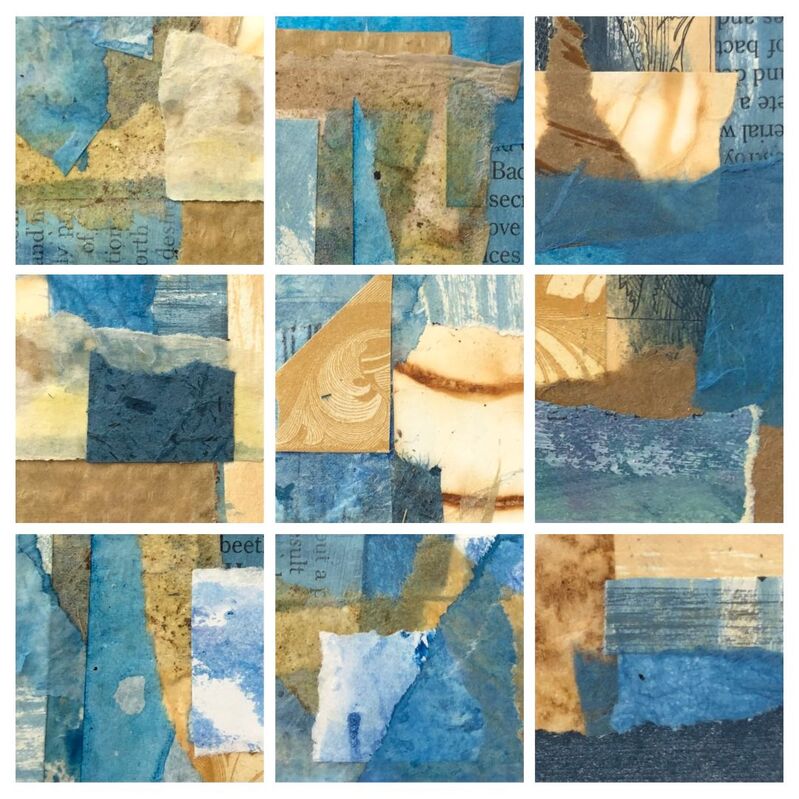
|
AuthorHi, I'm Kathy an artist working in the mediums of collage and eco-printing. I'm also a rust enthusiast who loves to teach. I enjoy sharing my processes and guiding you along on your creative journey. Archives
December 2023
Categories
All
|

 RSS Feed