Kathy Johnson
  • Home
  • Collage
  • Mixed Media
  • About
    • In the Studio
    • Press
  • Connect
  • Blog
  • Shop
  • Classes

Speedy Changes

4/30/2022

0 Comments

 
Picture
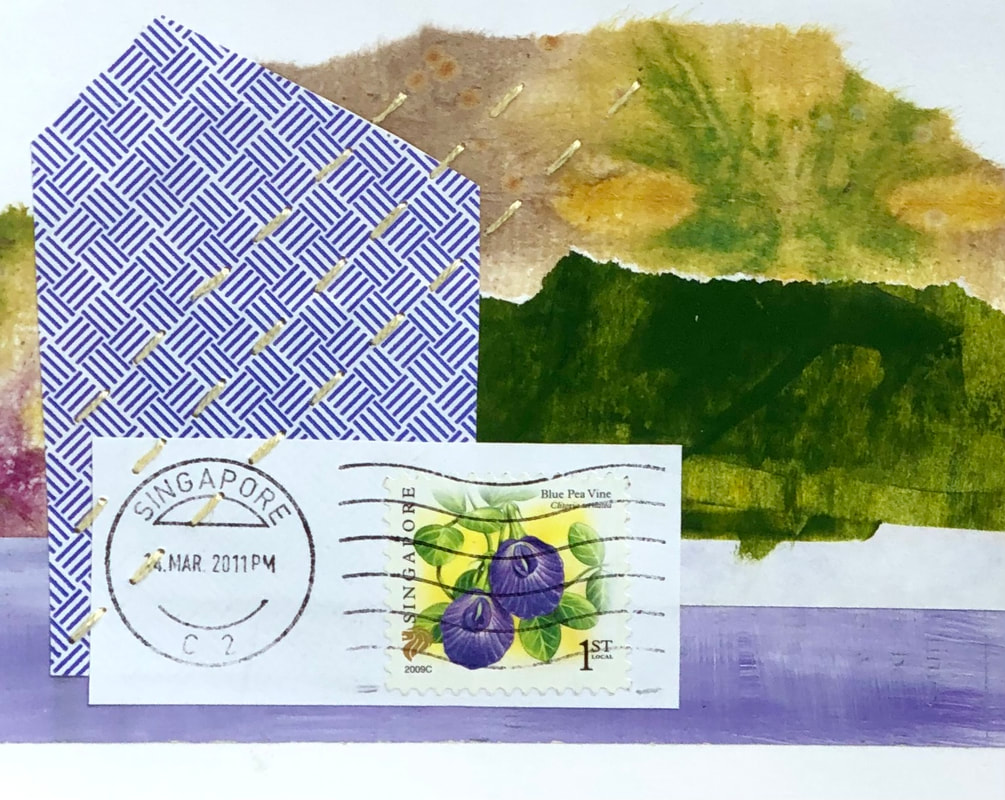
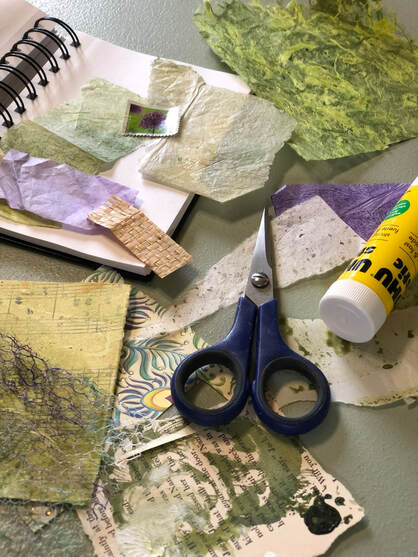
​I was just taking a stroll in my backyard and was surprised at all the new growth and color since the last time I was out there which was only a day or two ago. The periwinkle and phlox are in full bloom. There are dandelions everywhere feeding happy bees and the little lilac buds are forming. I thought this one was a white flowering lilac but these buds are looking pretty purple.
Picture
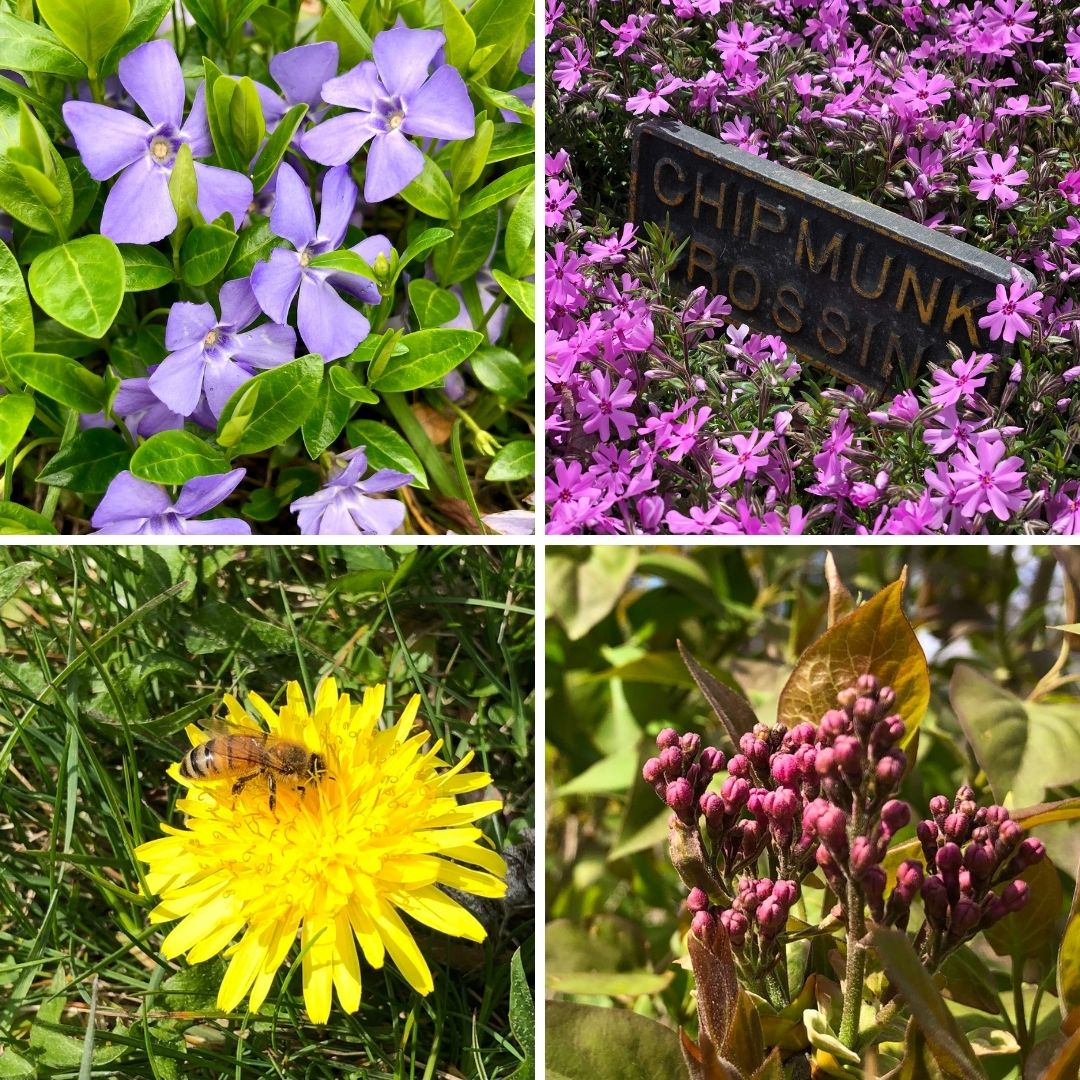
The changes in spring happen so quickly that they can easily be missed if you're not paying attention, but how can you not pay attention when the colors are just screaming to be gazed upon. I found these grape hyacinths growing in a spot where I did not plant them. That's always a nice surprise.
Picture
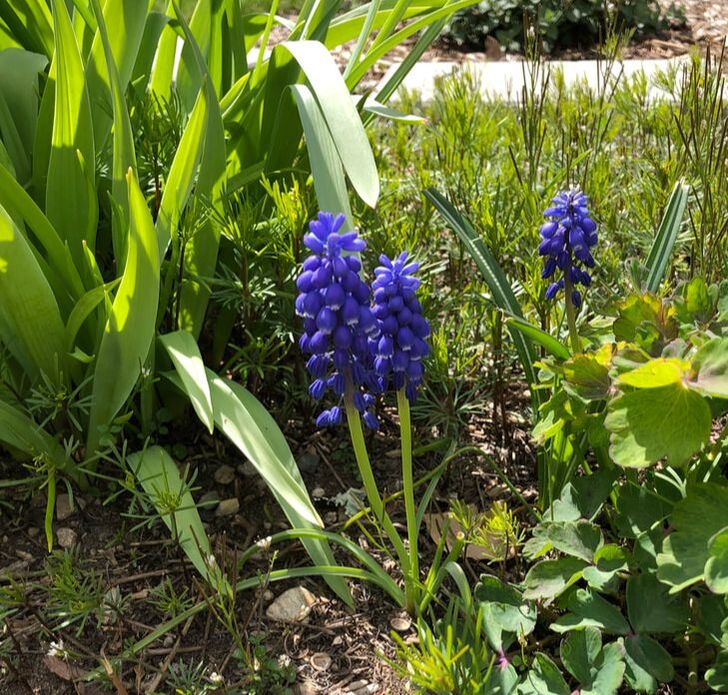
Last week, I saw these little flowers in the wildflower garden at the Connecticut College Arboretum. I had to look them up to see what they were when I found a small patch growing in my own yard. The delicate perennial wildflower is native to the Eastern United States and is called bluet. It also goes by quite a few other names including quaker ladies, Venus's pride, Little innocents, and eyebright.
Picture
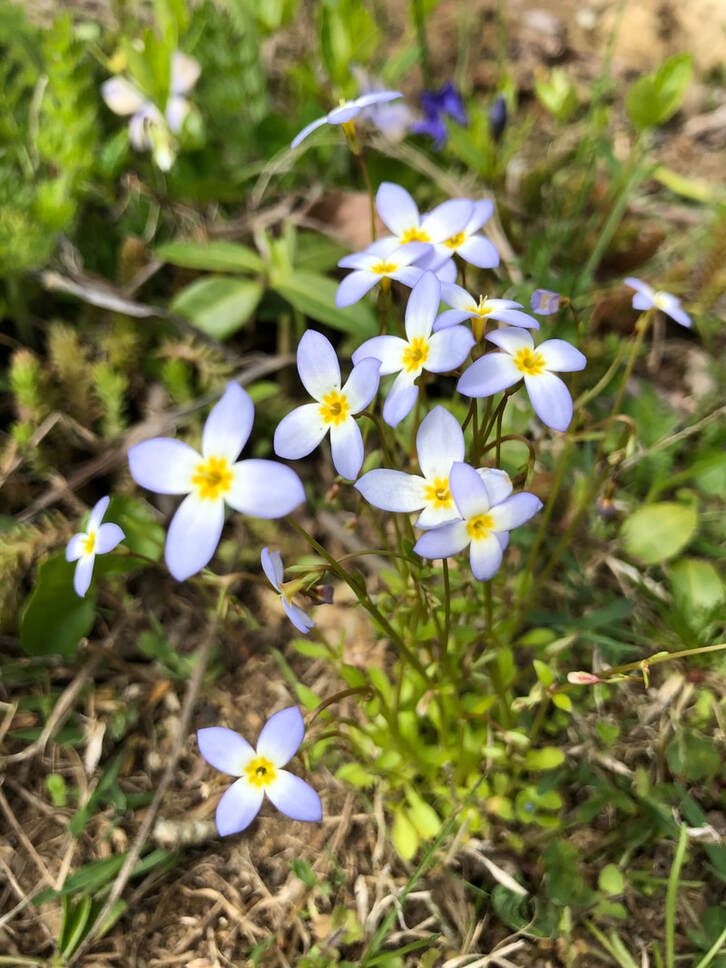
New workshop coming in June!
I've been creating and sharing a sketchbook collage every Monday on Instagram and Facebook for about 3 and a half years. I've learned so much over that time and when I look back at my older sketchbooks I can see how my work has evolved.
​
For quite a while, I've wanted to share some of what I've learned but translating it into a class format has taken more time than planned. I think it's because these collage works get started with a much more personal and intuitive approach than the other more process-based classes I've been teaching. Sometimes putting into words why I do things the way I do can be difficult. I've been spending more time paying attention to my thoughts and intentions while working so I can more easily express these ideas in an uncomplicated and helpful way.
Picture
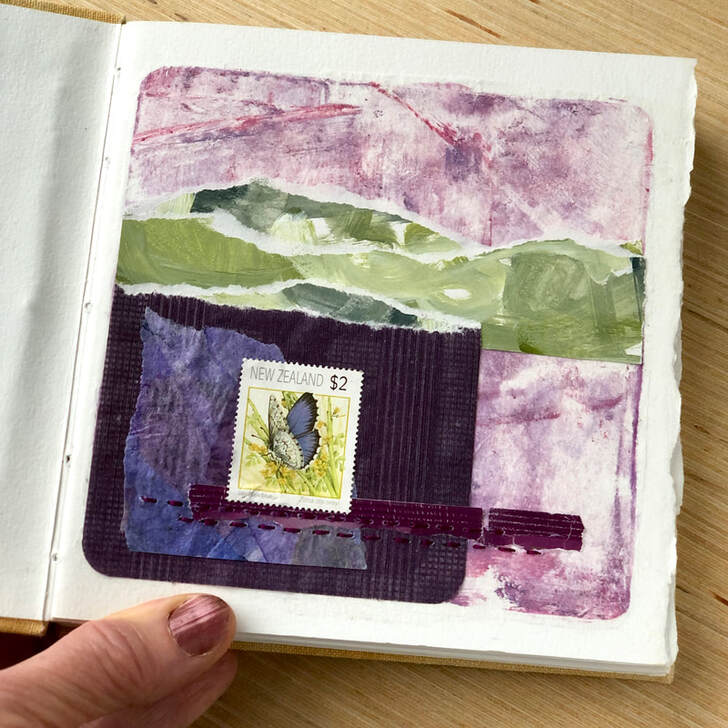
My new Sketchbook Collage Workshop is very close to being done.
I'm looking forward to some collage time with you and sharing what I've learned about working with color, texture, and composition as well as techniques for painting tissue papers and ways to incorporate repurposed items. 
Working in a sketchbook can be so freeing. It's permission to play and experiment so you can learn what you like and how you like to work.

​ All fun, no pressure -
it's just a sketchbook!


​
    More details & registration information coming soon!
Picture

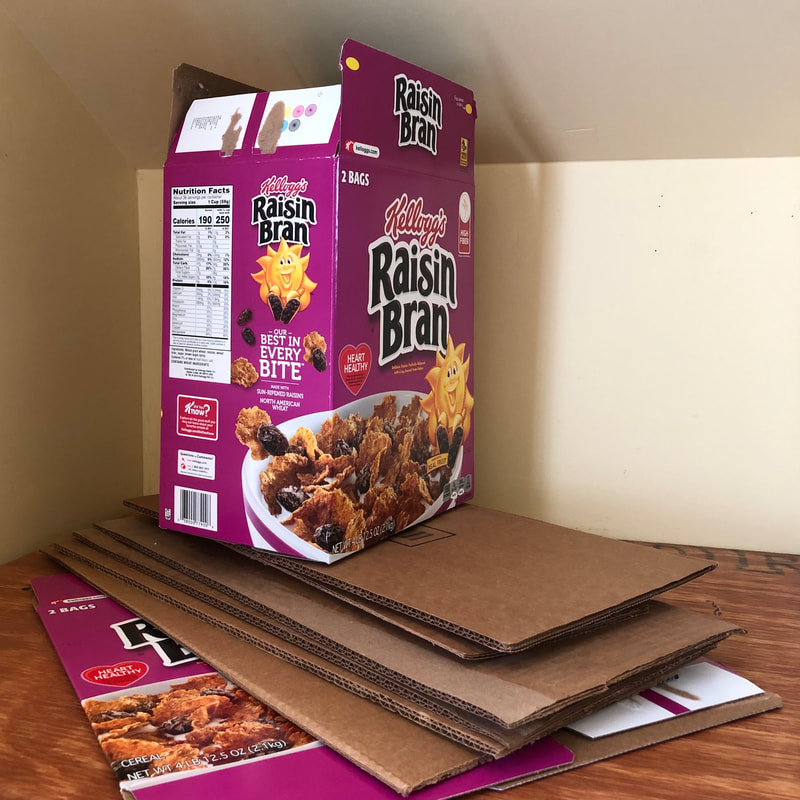
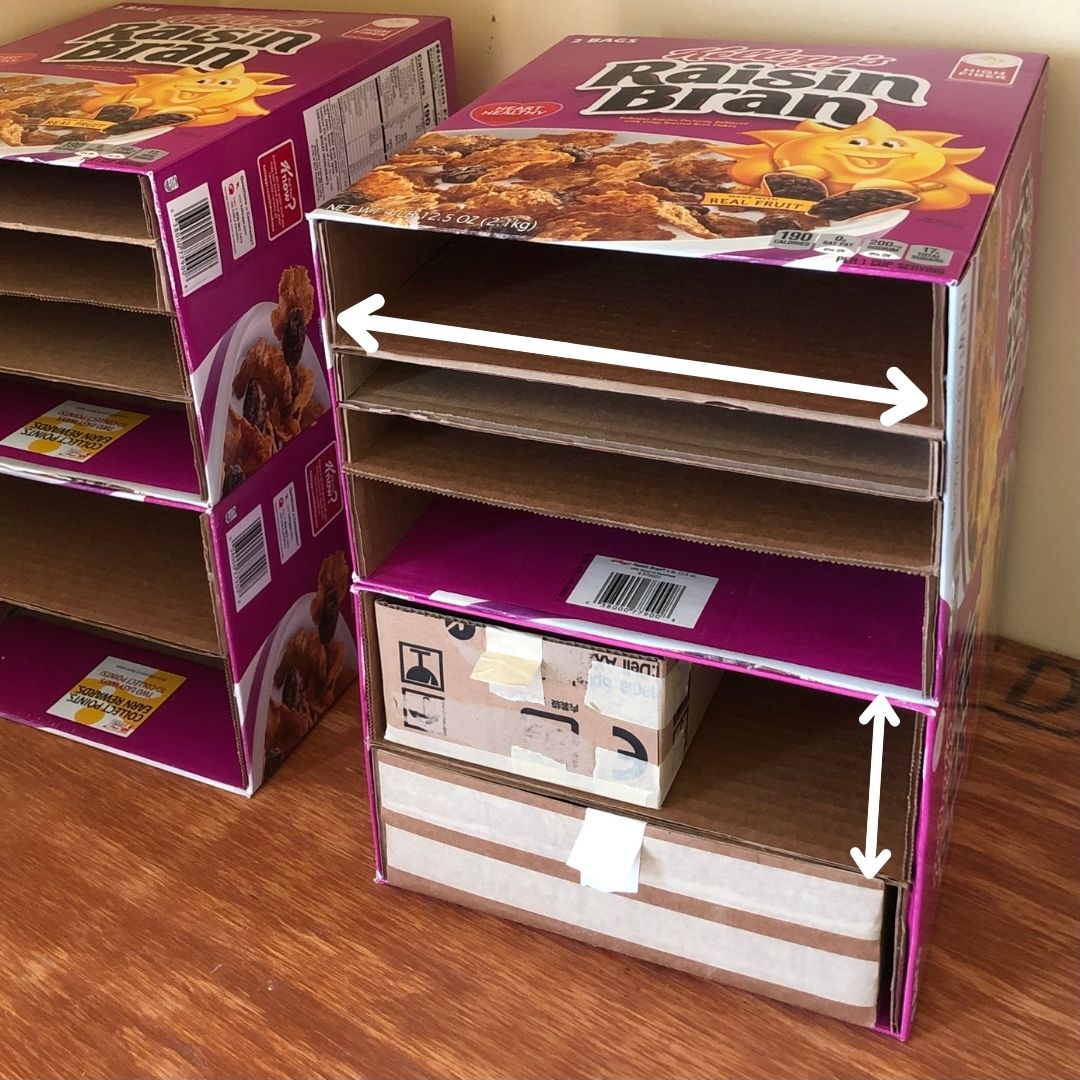
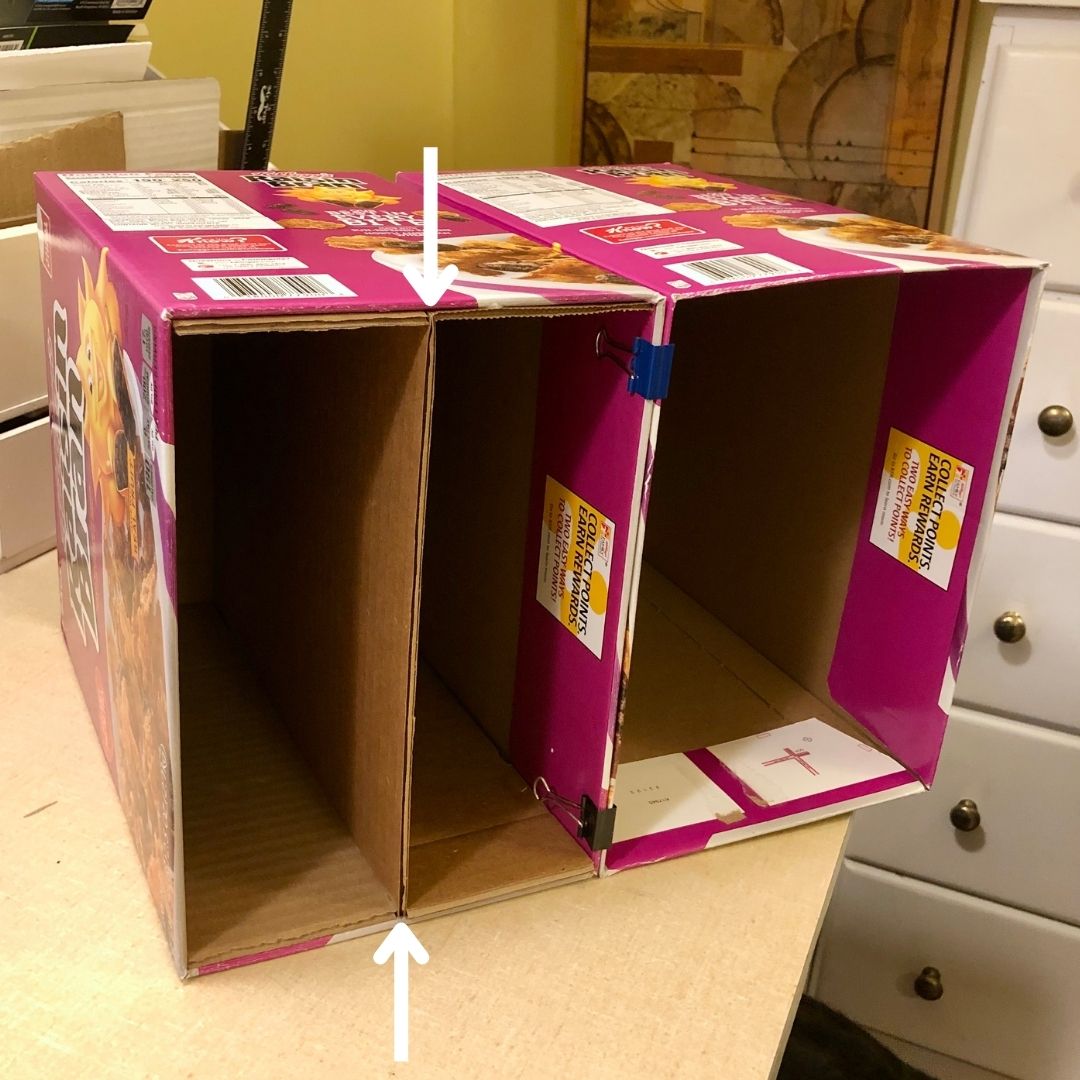
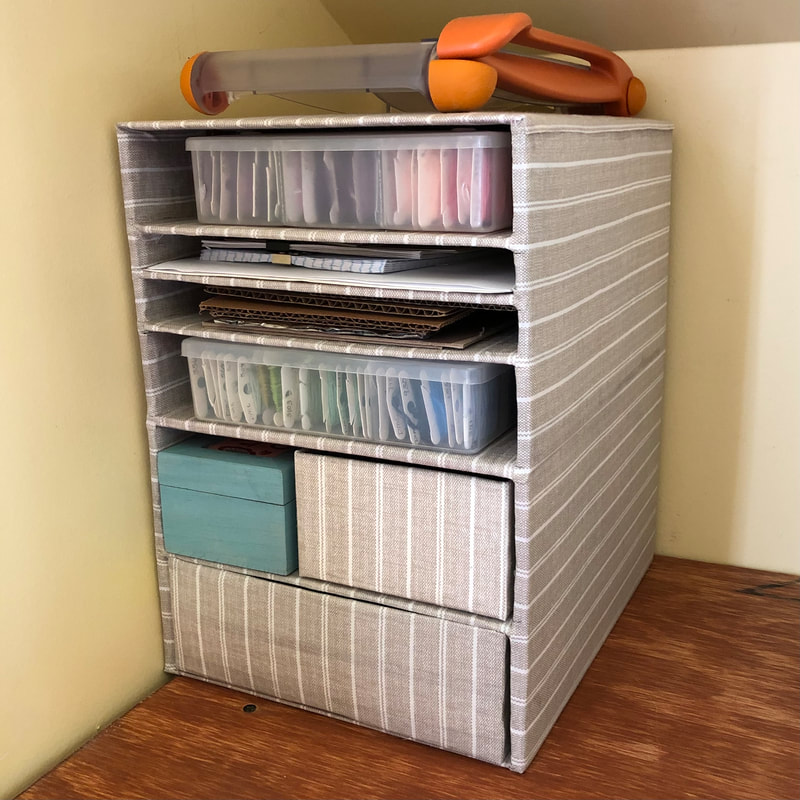
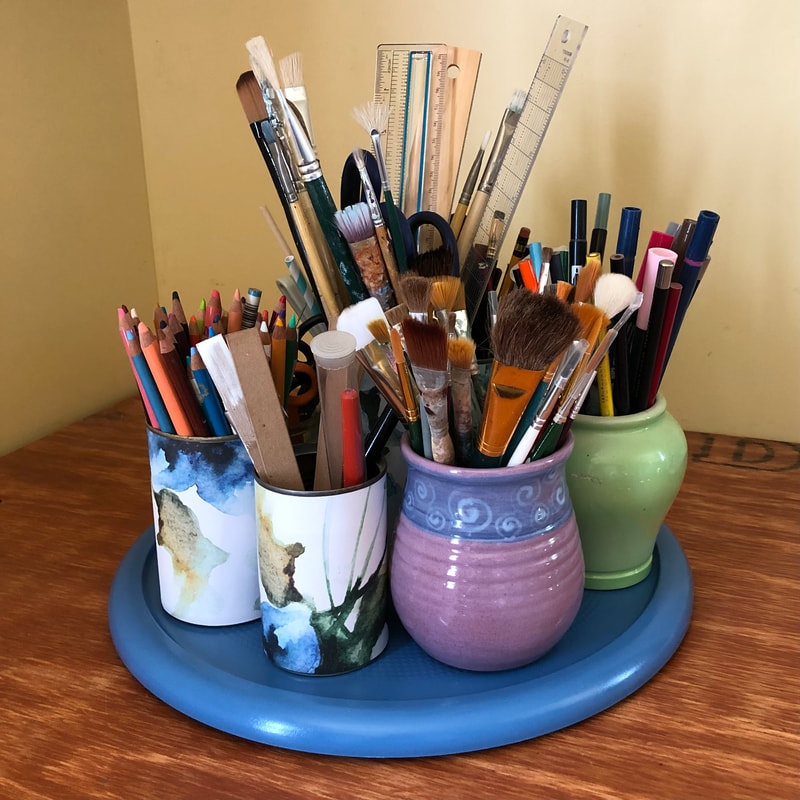
​Studio organization update
Last month I talked about how I was rearranging things in my studio space. I'm still making small tweaks to see what's going to work the best. For it to be an efficient workspace it needs to be organized but because I spend so much time here I also want it to be comfortable and pleasing with colors I enjoy and having items around that are meaningful.
Picture
I've been in need of organized shelf space for papers and supplies. Since I never seem to be able to find exactly what I need to fit a particular space I turned to Pinterest for some help and cardboard was the answer. Click here to see how I made this desktop shelving unit and another small DIY project.
I'll continue to share more DIY studio updates and tips as they come about.
Picture
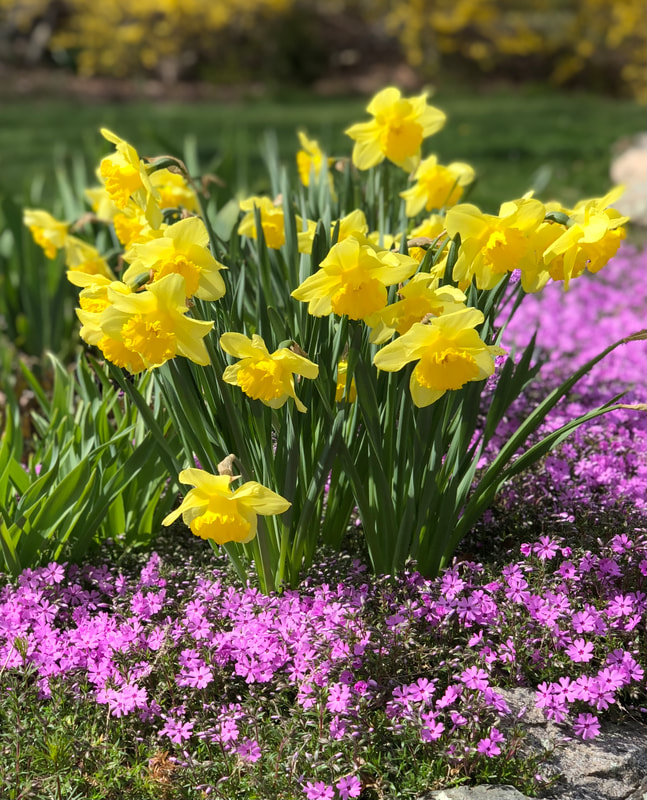
She turned to the sunlight
and shook her yellow head,
and whispered to her neighbor:
"winter is dead"


~ A. A. Milne 
0 Comments

DIY studio organization update

4/29/2022

0 Comments

 
Last month I mentioned that I've been moving things around in my studio space.  For it to be an efficient workspace it needs to be organized but because I spend so much time here I also want it to be comfortable and pleasing with colors I enjoy and by having items around that are meaningful.
The first thing I tackled was the need for more organized shelf space for papers and supplies. Since I never seem to be able to find exactly what I need to fit a particular space I turned to Pinterest for some help and cardboard was the answer. 
I started out with these large cereal boxes from Costco. These boxes are made from thin corrugated cardboard but you could also use the ones with thinner cardboard from the grocery store they just might need a little more reinforcement. The extra cardboard pieces are for the shelves that will be added. 
Two cereal boxes were glued together by holding them in place with bull clips in the 
front and with tape on the back.
I used Elmers Glue only because I had two bottles and the nozzle made it easy to get into tight spaces. Any white glue should work just fine. That helps to keep it square while the glue is drying. The shelves are glued in between the side reinforcement cardboard pieces so they go all the way to the edge and sit on top for extra strength.


Picture
For sturdiness of the shelves it's important to make sure the corrugated lines of the cardboard are running side to side rather than front to back. It's stronger and much less likely to bend and buckle under weight. For the same reason the side reinforcements should have the corrugated lines running vertically. The 2 drawers were made by  taping cardboard pieces together to make open boxes that fit the shelf space.
​Lastly I covered the shelves, drawers and the outside of the box with fabric. I applied the
Picture
Picture
glue with a brush to keep it to a very thin coat. If you use too much glue it will seep through the fabric and show on the front. This sheet I found at the thrift store was the perfect neutral color I was looking for, though I'd probably go with a solid color next time - the orderliness in me needed to spend extra time to get those stripes lined up : ) Now I just need to find a cute idea for some kind of knobs for the pull out drawers. I'll be looking to see if Pinterest will help me out again.
Picture
I've had my brushes, pencils, rulers and exacto blades stored in tin cans and a few random ceramic jars I found at yard sales. Those tins cans were not the most attractive things on my table so I finally got around to covering them with some scrap book paper. Then I spray painted the turn table with some paint I had in the basement that coordinated nicely with the paper.  This is so much prettier to look at now.  


​If you're in need of some storage inspiration, take a look at the Pinterest board I put together.  There are lots of ideas for making efficient storage along with a few other tips I found interesting. 
Picture
0 Comments

    Author

    Hi, I'm Kathy an artist working in the mediums of collage, eco-printing, rust printing, and slow stitching who loves to teach. I enjoy sharing my process and guiding you on your creative journey. 

    Archives

    May 2025
    March 2025
    February 2025
    January 2025
    December 2024
    December 2023
    November 2023
    October 2023
    September 2023
    August 2023
    July 2023
    June 2023
    May 2023
    April 2023
    March 2023
    February 2023
    January 2023
    December 2022
    October 2022
    September 2022
    July 2022
    May 2022
    April 2022
    March 2022
    February 2022
    January 2022
    December 2021
    November 2021
    January 2021
    December 2020
    April 2018

    Categories

    All
    Collage
    Creative Play
    Eco Printing
    Exhibitions
    Free Tutorials
    Handmadebooks
    In The Studio
    Monday Sketchbook Collage
    My Connecticut Garden
    Online Workshops
    Recipes
    Rust
    Stitching
    Stitching On Paper
    Upcycling
    Workshops
    World Collage Day

    RSS Feed

KathyJohnsonArt  Privacy Policy  Cookie Policy
​Subscribe to my StudioNews
© COPYRIGHT 2023 ALL RIGHTS RESERVED.
  • Home
  • Collage
  • Mixed Media
  • About
    • In the Studio
    • Press
  • Connect
  • Blog
  • Shop
  • Classes