|
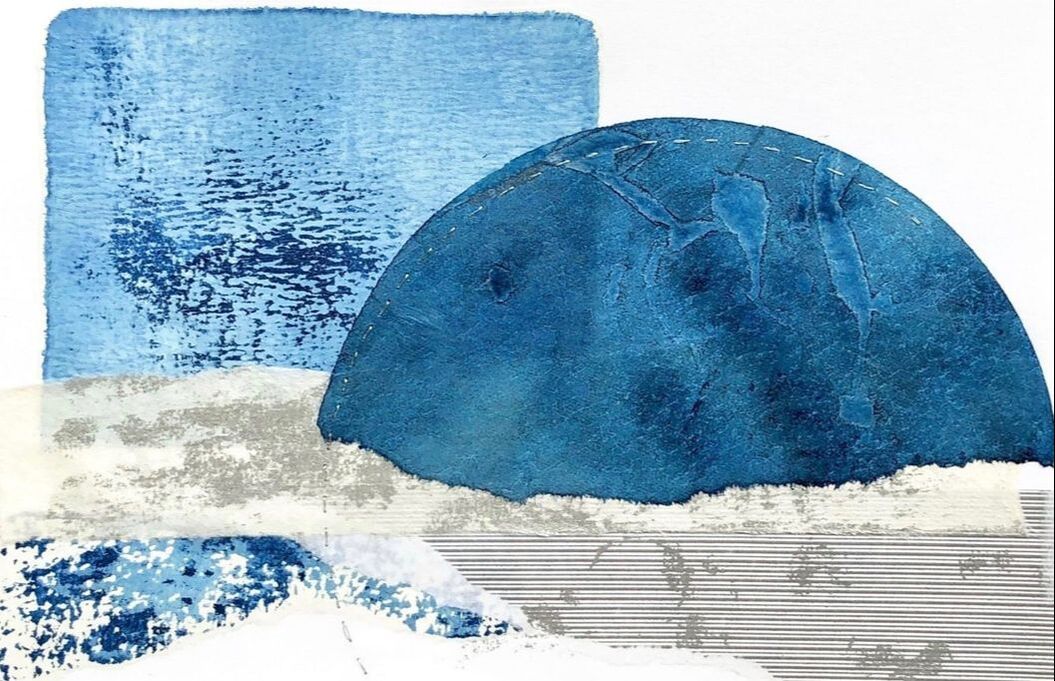
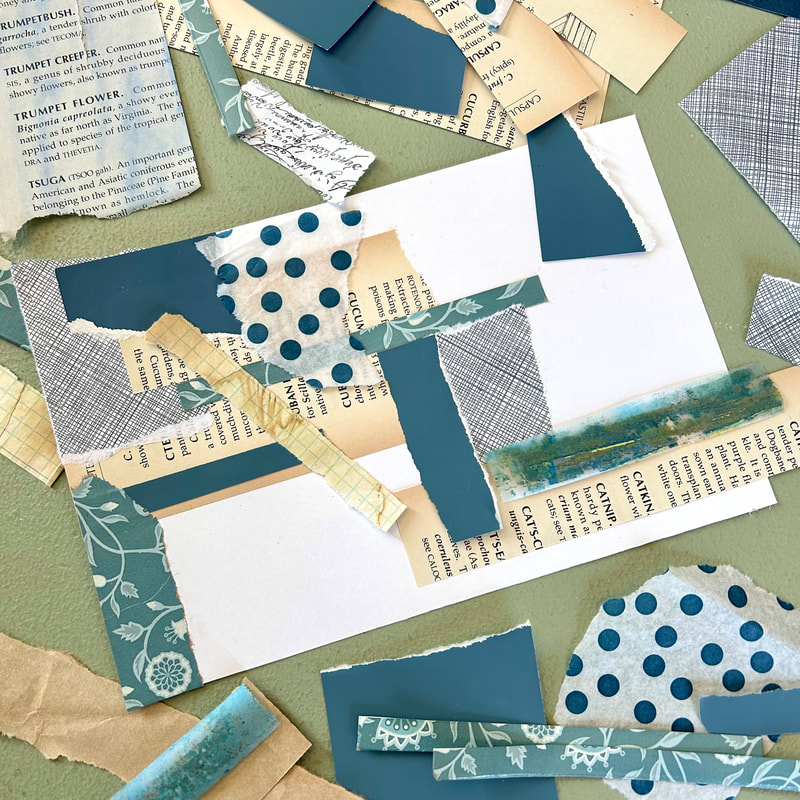
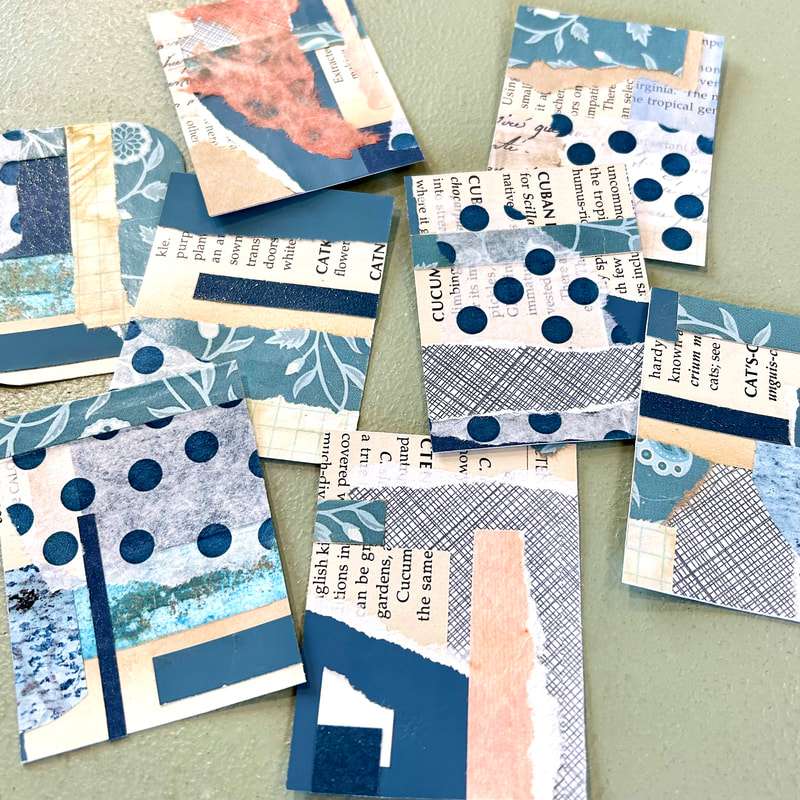
I'm celebrating World Collage Day Saturday, May 13th, 2023 with a FREE mini Surprise Collage Class *** (scroll down for the link to watch the recording of this class on my YouTube channel) *** 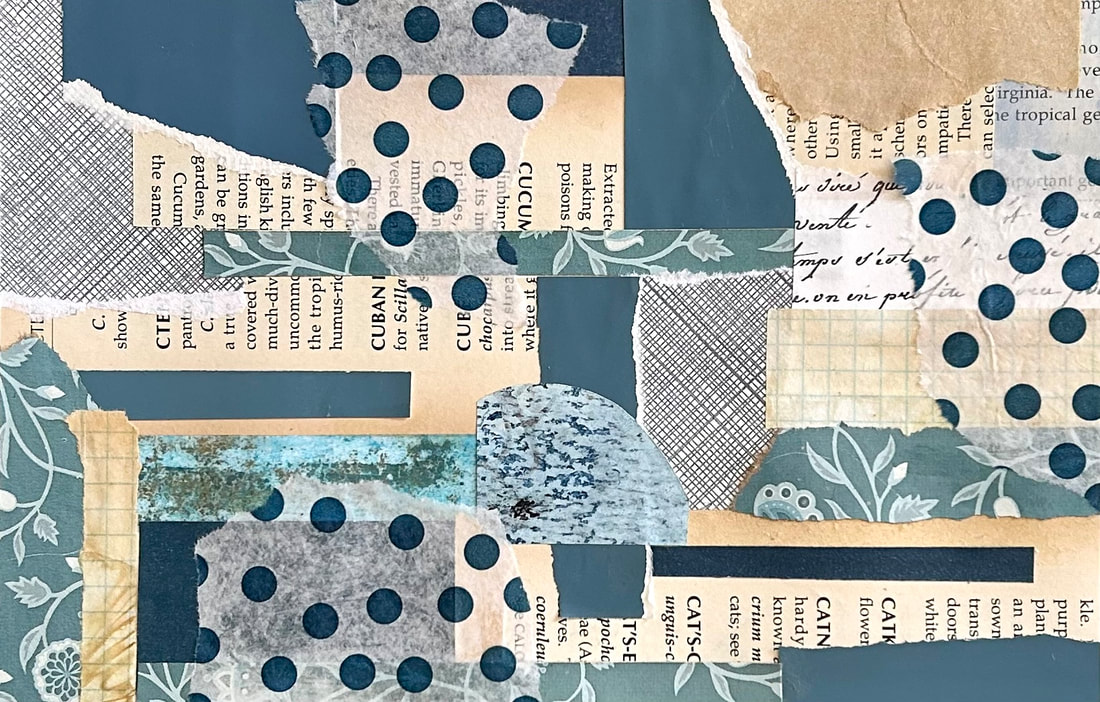 World Collage Day, initiated by Kolaj Magazine in 2018, is an annual international celebration of collage on the Second Saturday of May. Artists and art venues are invited to hold events on that day to celebrate the art of collage. World collage day is about artists connecting across borders and about sharing an art medium that excels at bringing different things together to create new forms and new ways of thinking. Let's celebrate World Collage Day by creating a surprise collage! We'll start by making a collage on a half sheet of paper by tearing or cutting the collage papers into smaller pieces and then glueing away. The best part is - you can't make a mistake! The surprise comes when we take that one collage and see how beautifully and easily it turns into eight mini collages. While we are waiting for our collages to dry I'll give you some ideas for how you can use these mini collages. At the end I'll share a little about the Mailscape Collage Workshop that I have coming up in June 2023. Got your glue stick ready?
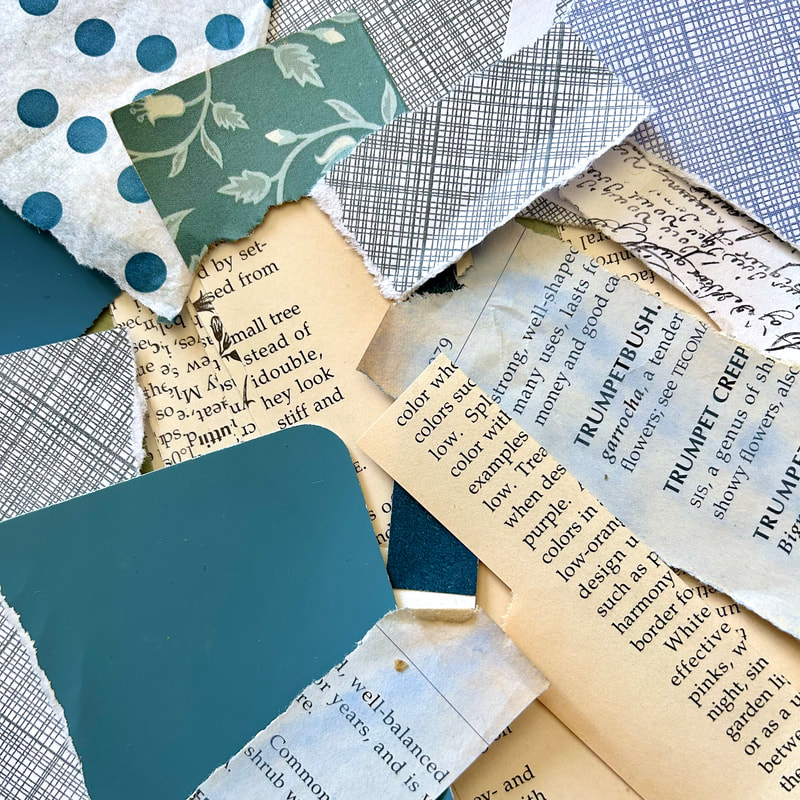
Have a look at the short supply list below and start gathering your collage papers.
The Zoom recording for this mini Speed Collage class can be viewed on my YouTube channel Below are collages that were created during the live Zoom class. 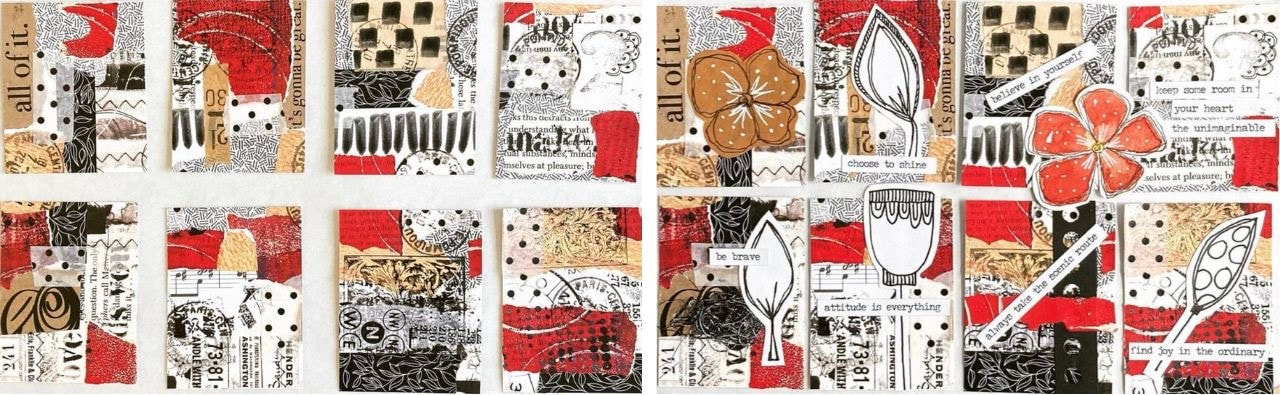 Gael C. 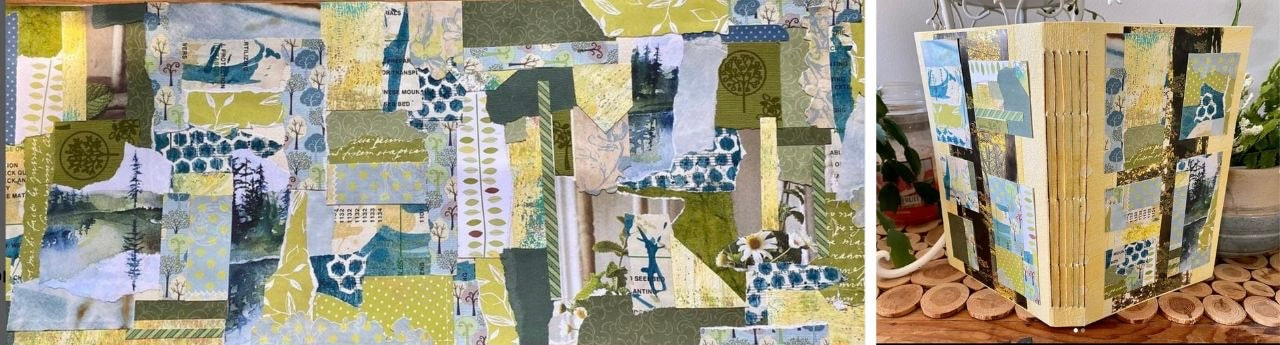 Rosann W. 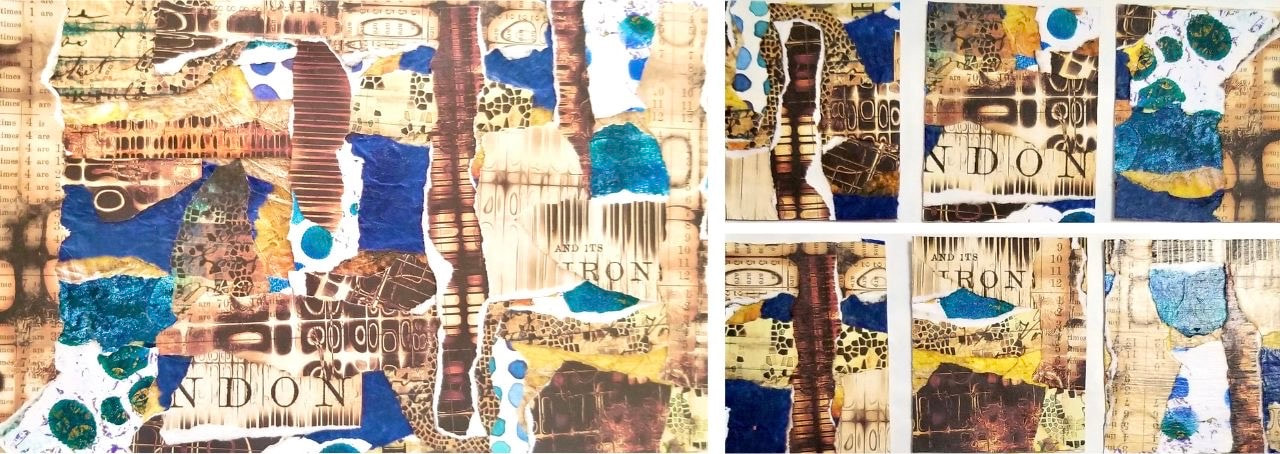 Vivian L. 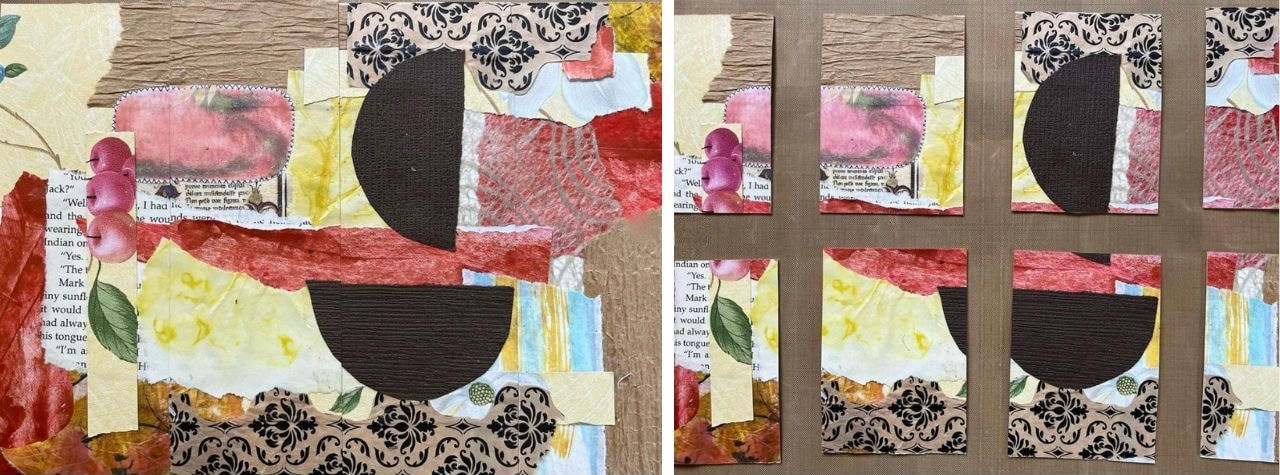 Sharon M. 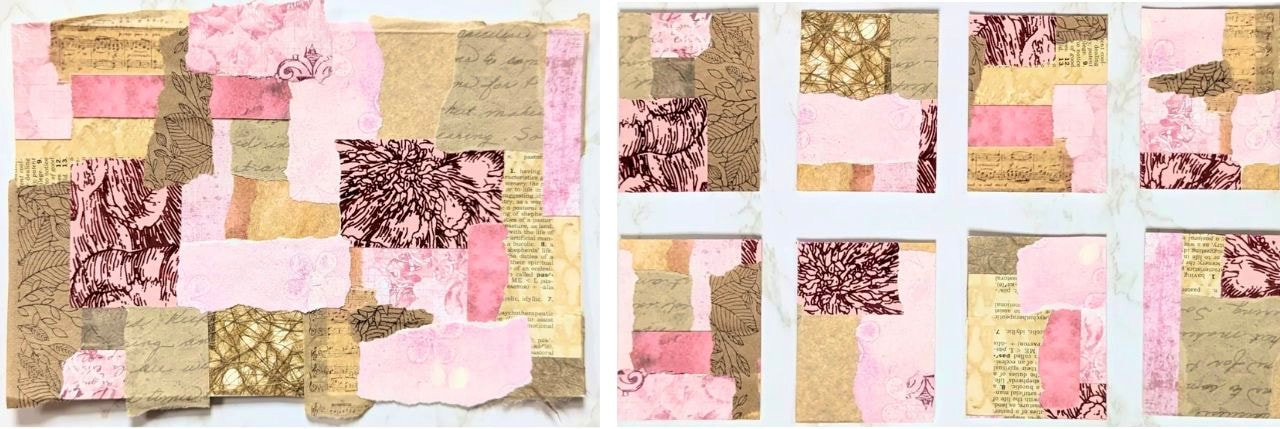 Gayle R. 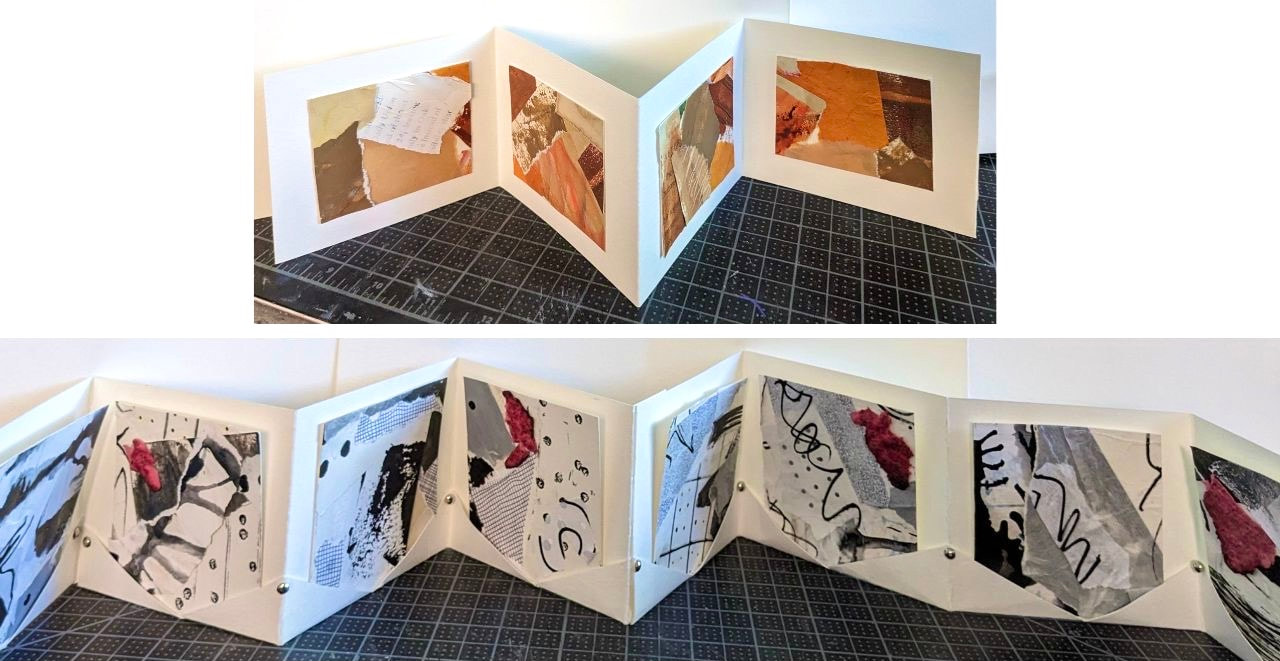 Carrol S. 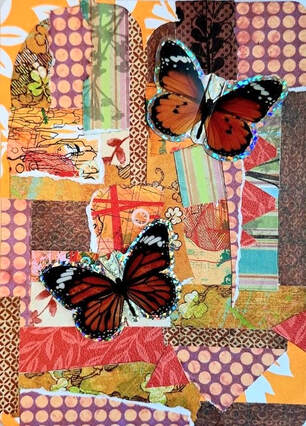 Anja K.
0 Comments
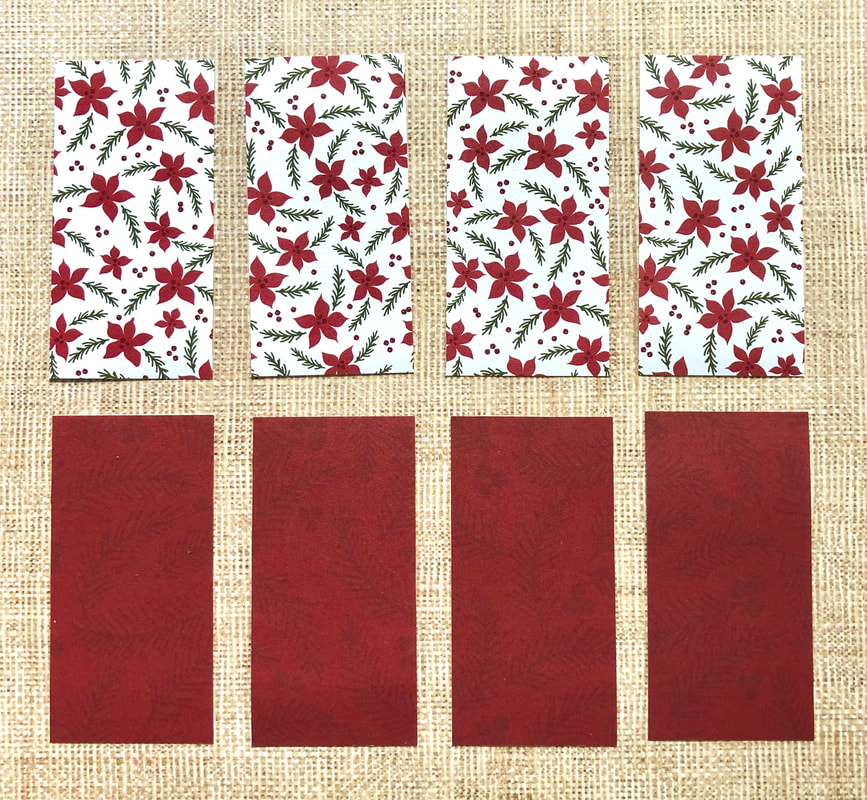
 It's December and we've seen a few flurries along the coast where I live but it's not exactly a winter wonderland yet. We've had enough chill in the air that I've been inspired to make a few soups, no-knead-breads, and my first batch of Christmas cookies. I also love to get crafty this time of year and make holiday decorations, especially ornaments. Are you feeling crafty too? I hope so because I just finished recording a tutorial on how to make an 8-point paper star that I think you're going to love! 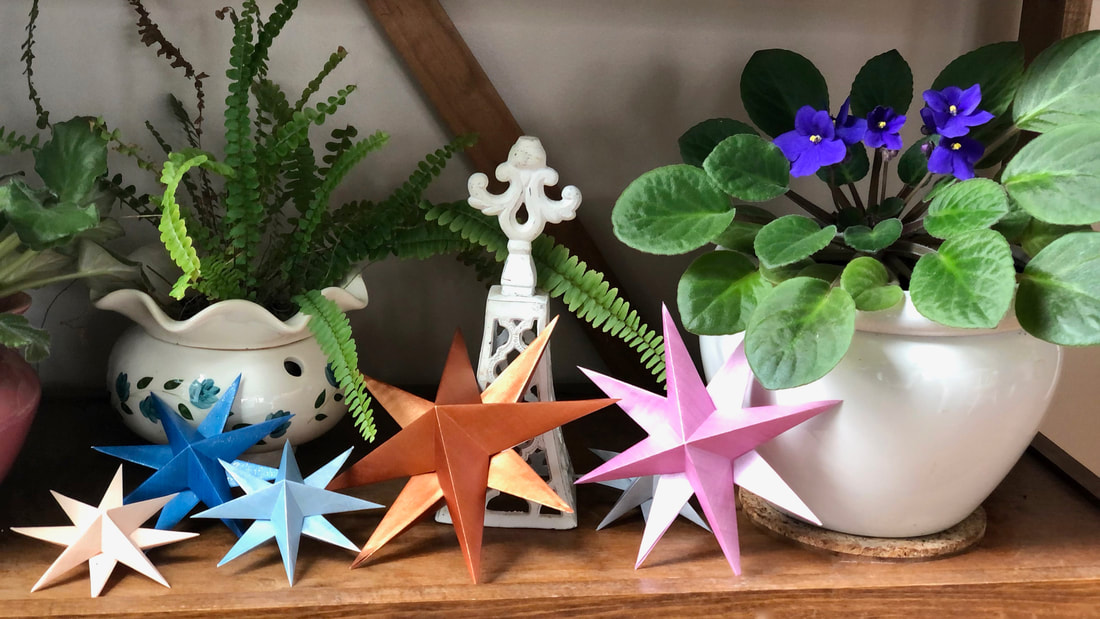 Over this past weekend, I was having so much fun making these stars that I didn't want to stop. I made so many that I now have them all over the house, on window sills, plant shelves, my Christmas tree and I'm going to hang the largest one (turquoise!) in the window with some clear fishing line. I think you'll be surprised by how easy they are to make. The supplies are simple and few: 2 pieces of paper, scissors, glue, and a small paintbrush. Just click below to watch the tutorial and if you share your stars on social media use the hashtag #8pointpaperstars so I can see what you've created. I'd love to see what papers you use and how you decorate with them.  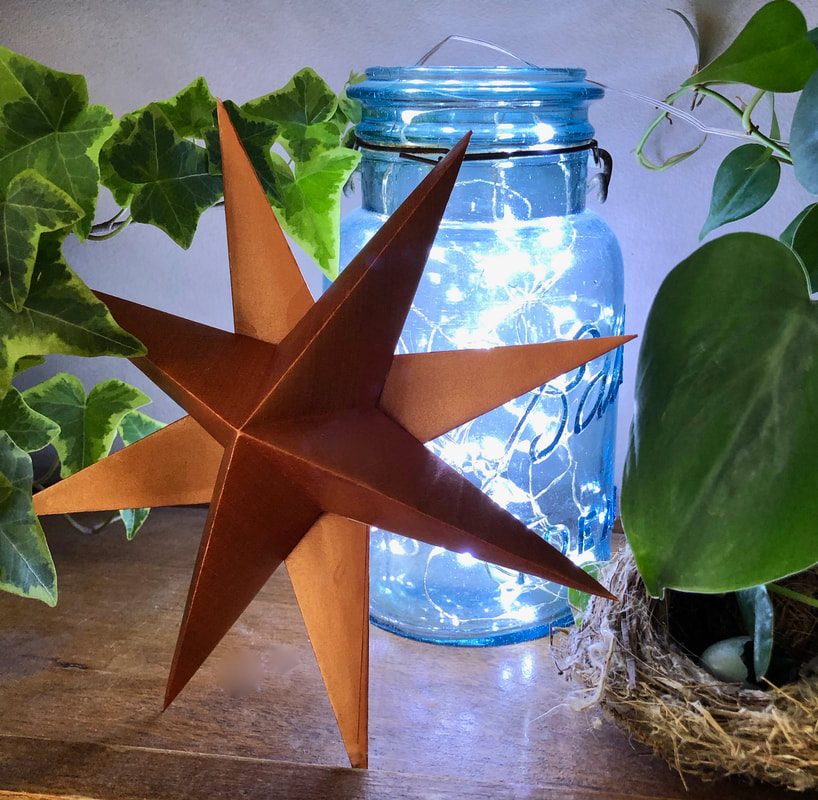 "A little bit of light
dispels a lot of darkness." ~ Rabbi Schneur Zalman Stop! Don't throw those tin cans away! Join me on Saturday, December 19th, 2020 at noon EST for a FREE tutorial. I'll show you the quickest and easiest way to rust up those cans and lids so they can be used to make rust prints on paper and fabric and also for eco-printing. 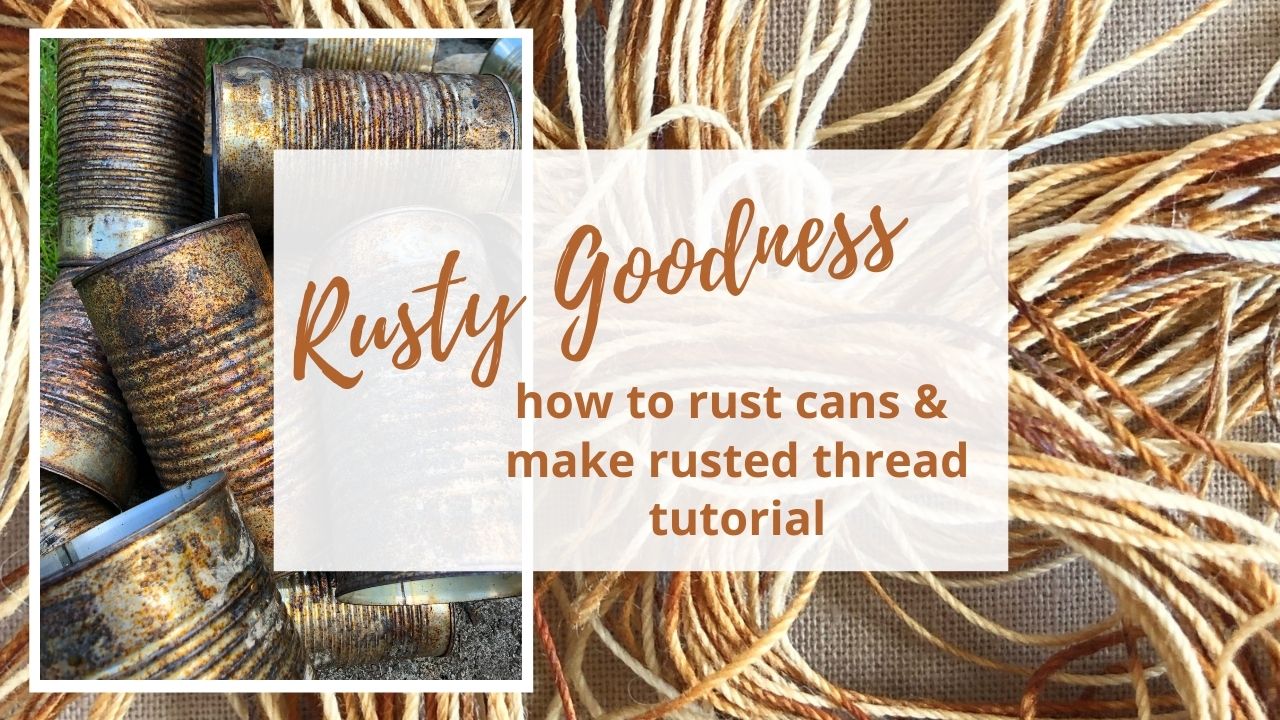 You can probably tell from my talk of rusty cans above that rather than tossing items in the trash or recycle bin I like to reuse or repurpose them whatever I can, especially if it will have something to do with art! I've got several classes in the works for next year where the focus will be on reusing and repurposing every day easy to find materials. If you're up for it, here's a list of things you can do to get a head start:
Have fun collecting!
 Did you see my first Facebook live tutorial on Tuesday morning? If you missed it you can click the button below to watch the recording.
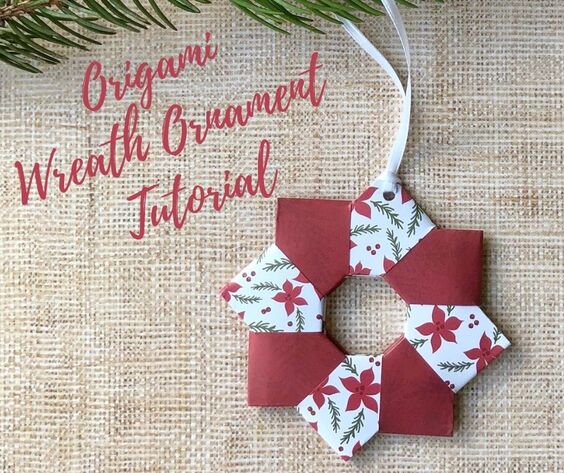
I hope you enjoy making your ornament! |
AuthorHi, I'm Kathy an artist working in the mediums of collage and eco-printing. I'm also a rust enthusiast who loves to teach. I enjoy sharing my processes and guiding you along on your creative journey. Archives
December 2023
Categories
All
|

 RSS Feed