 Guess what? It snowed! I know, that's not usually big news in Connecticut this time of year. But it's been unseasonably warm, and we've only seen a couple dustings of the white stuff so far. It has not felt much like winter. Just last week this is what I saw while out taking a walk in the neighborhood.  Yesterday morning it looked like this. Not as much snow as predicted but enough to get the snow blower and shovel out. I haven't needed my boots so far this year and it took me at least twenty minutes to remember where I had stored them from last year. 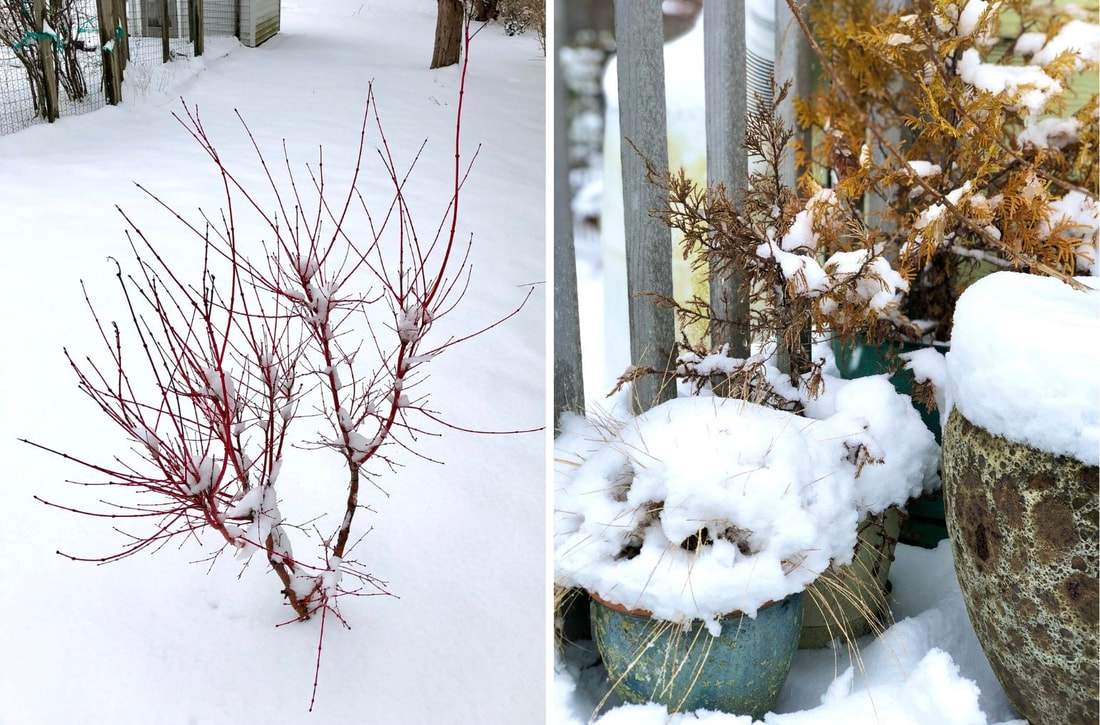 Even though I'm not the biggest fan of the winter months if it's got to be cold and gray it might just as well snow and pretty things up a bit. 
0 Comments
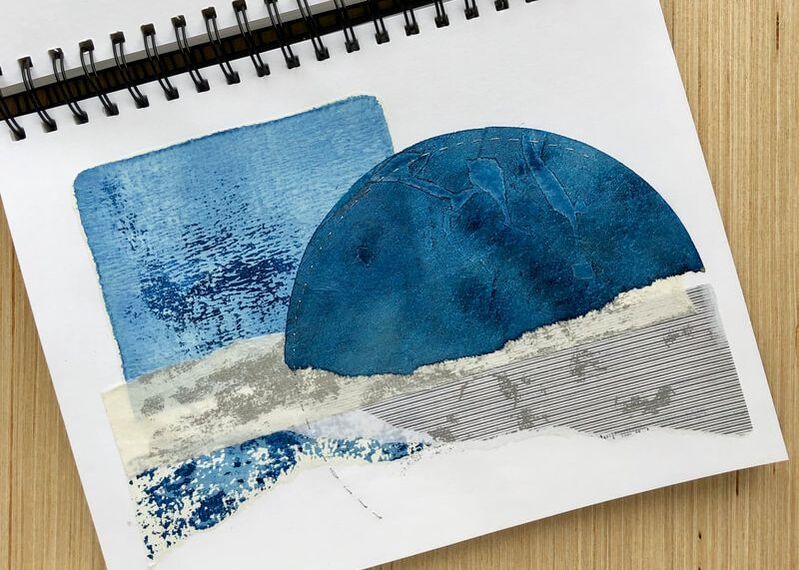
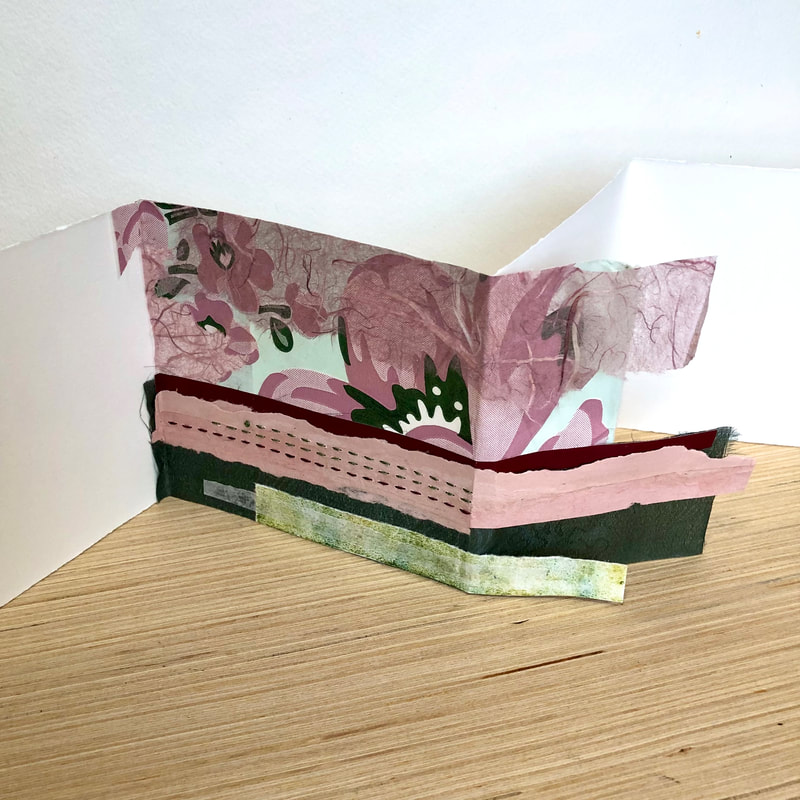
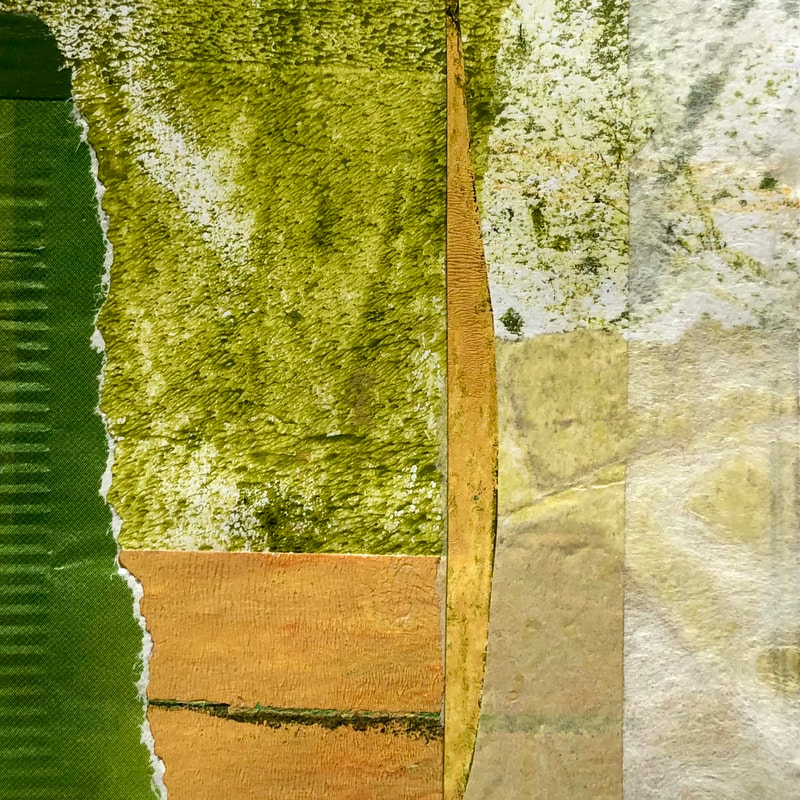
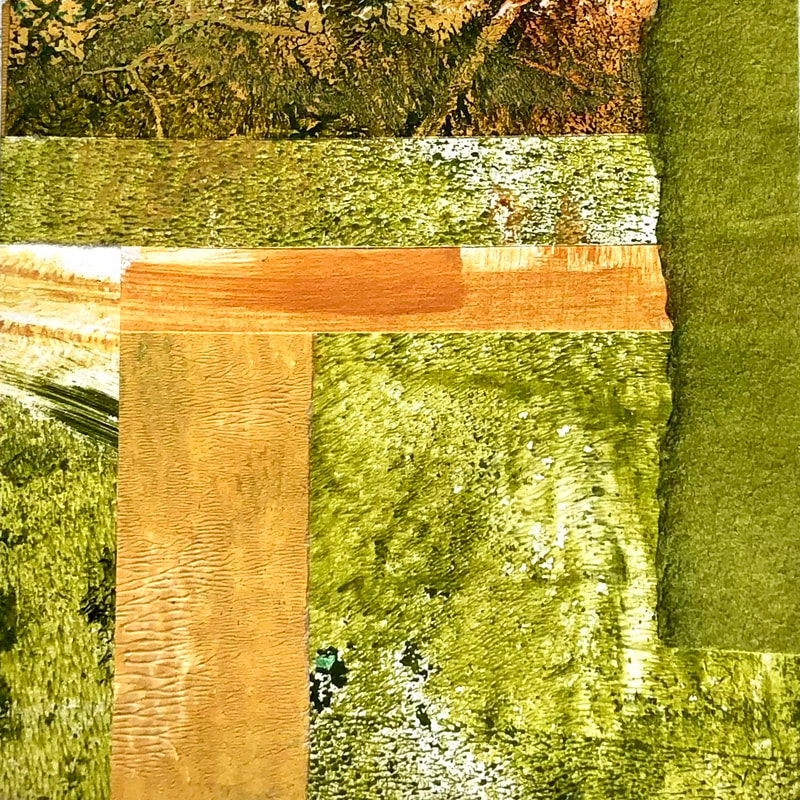
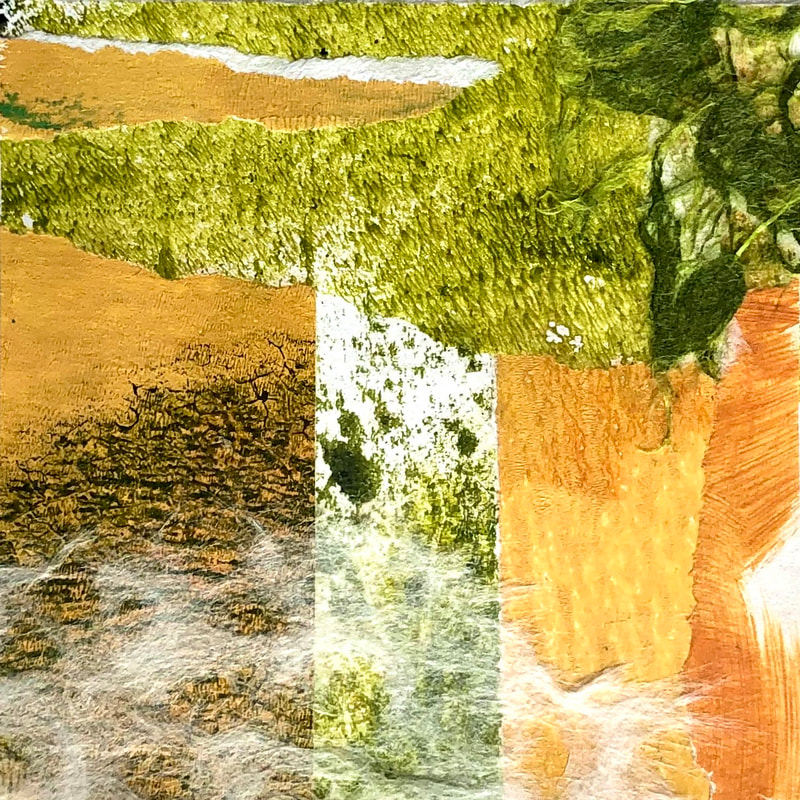
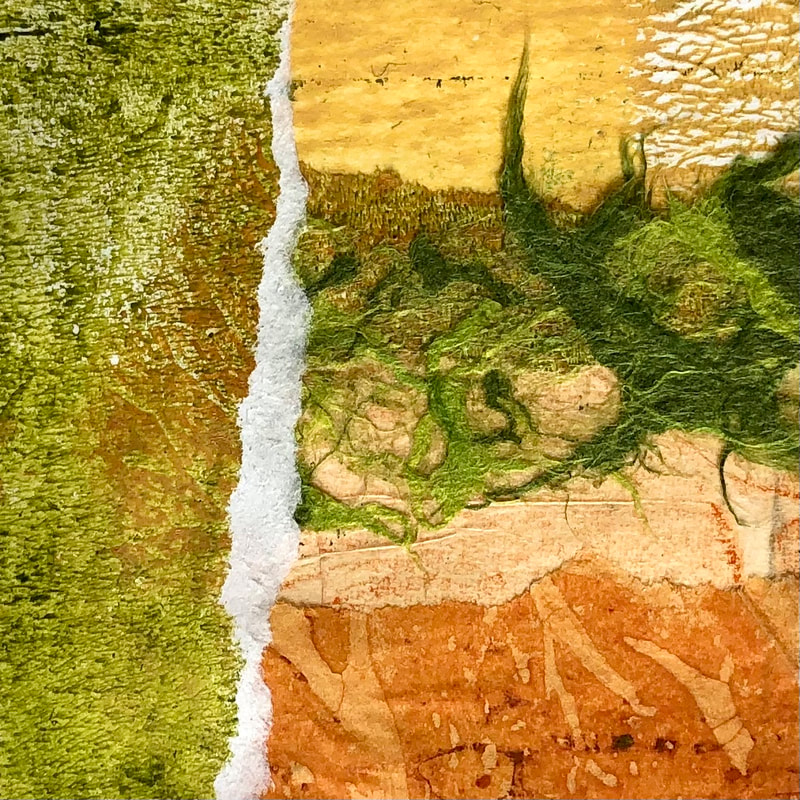
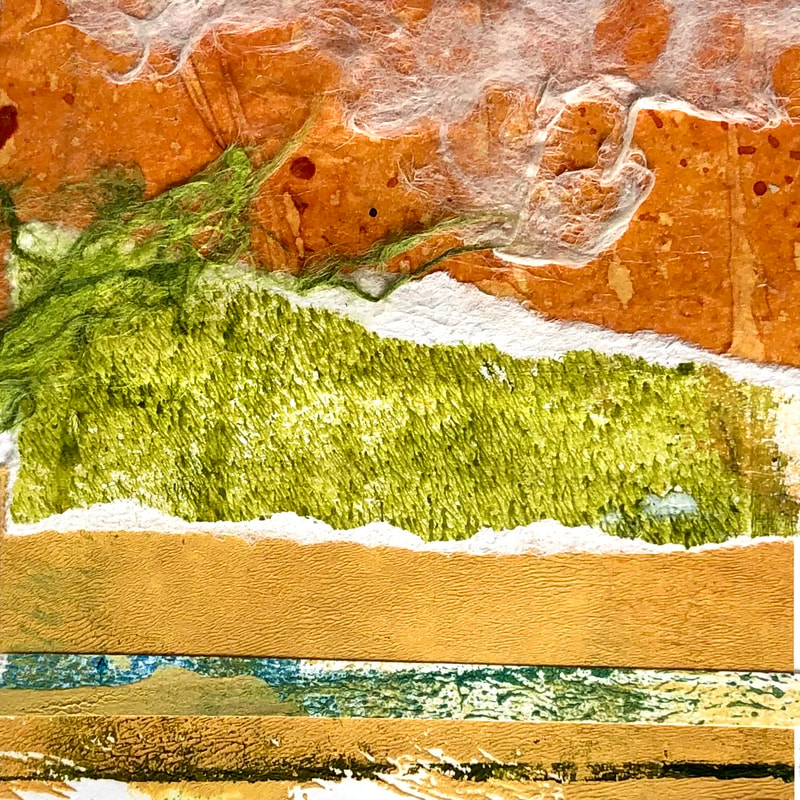
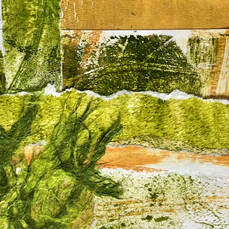
In February, I started and finished four more Monday sketchbook collages in a concertina format. Each panel takes me longer than the sketchbook collage pages I was making over the past few years. For the concertina, I still work on one collage at a time but as I do I'm also thinking about the previous panels and the panels to come so I can keep it cohesive. A little more concentration is required but I'm embracing the challenge.
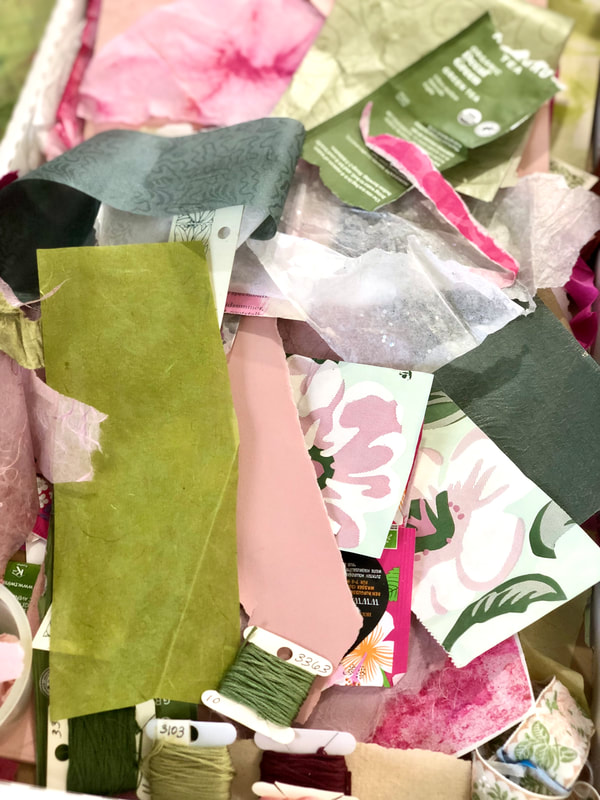
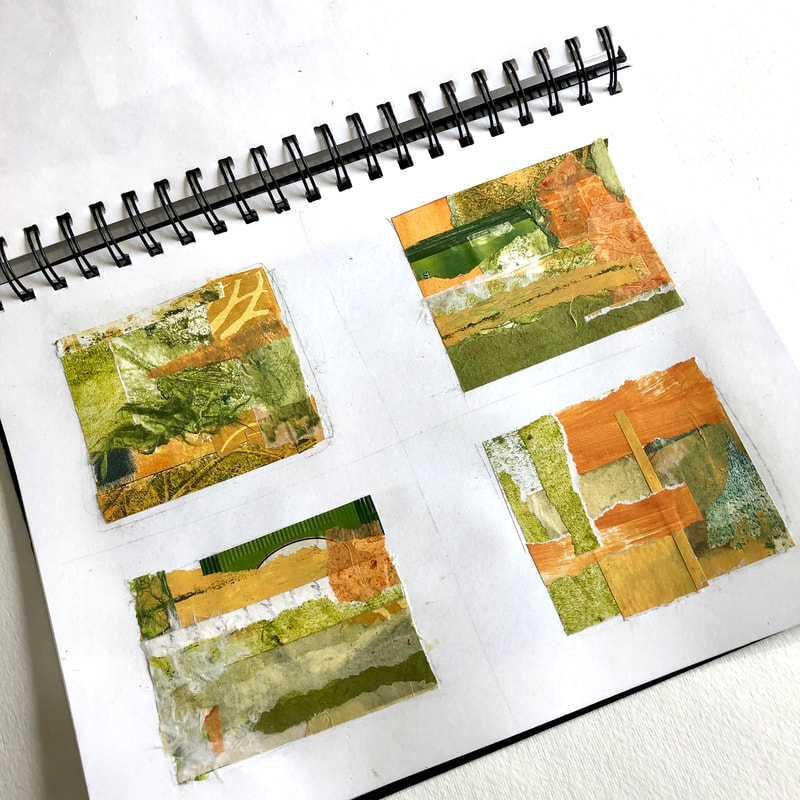
Week 1 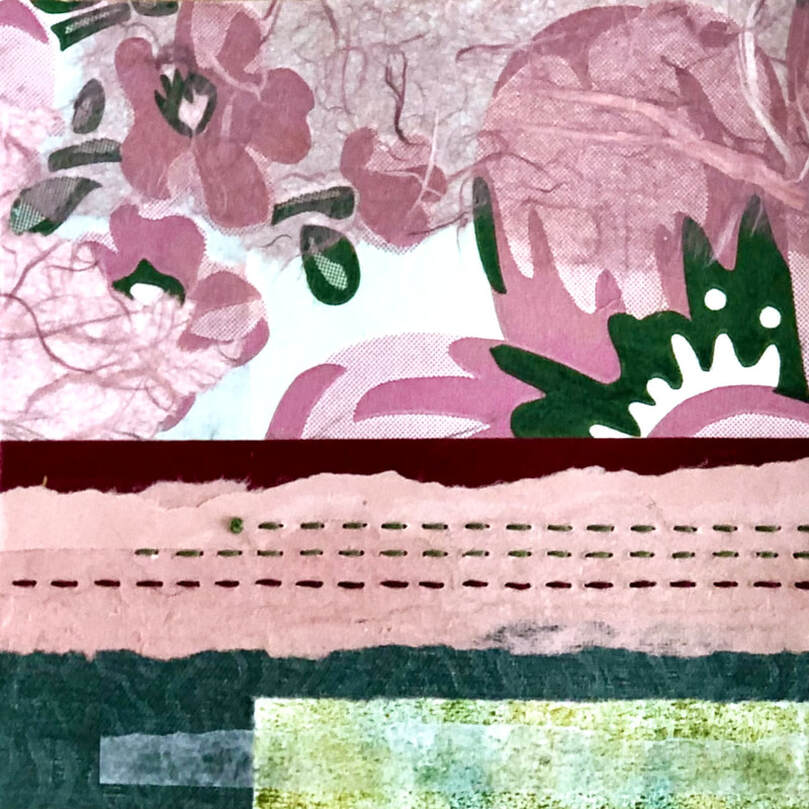 Week 2  Week 3 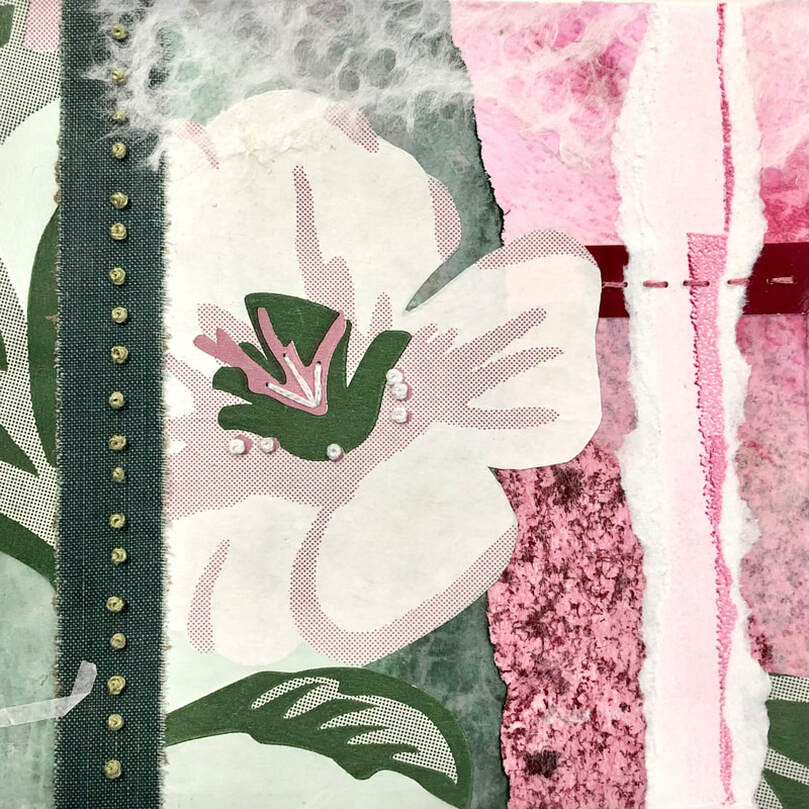 Week 4 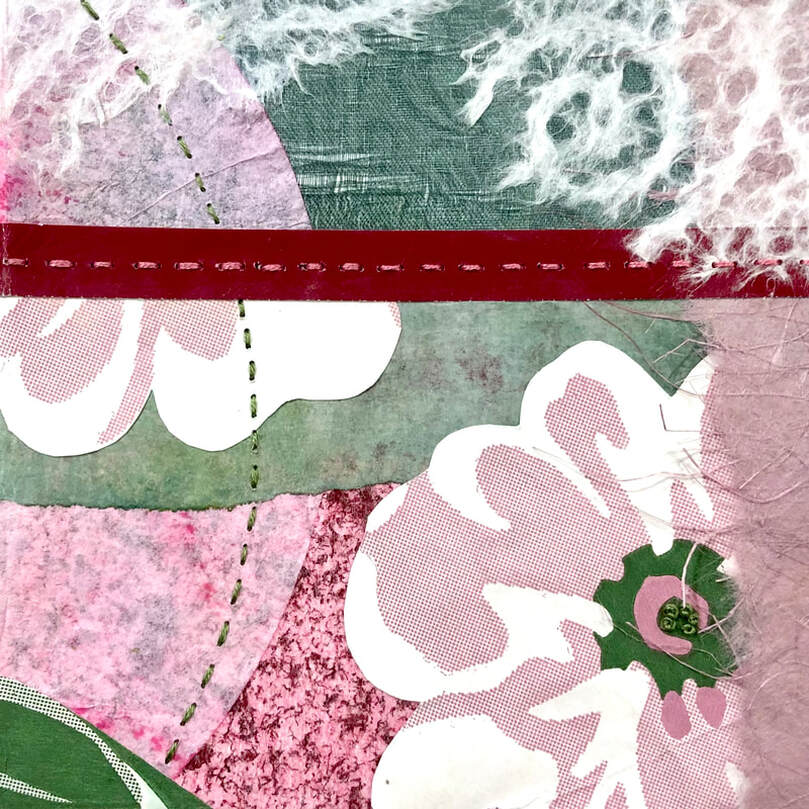 All 4 finished panels 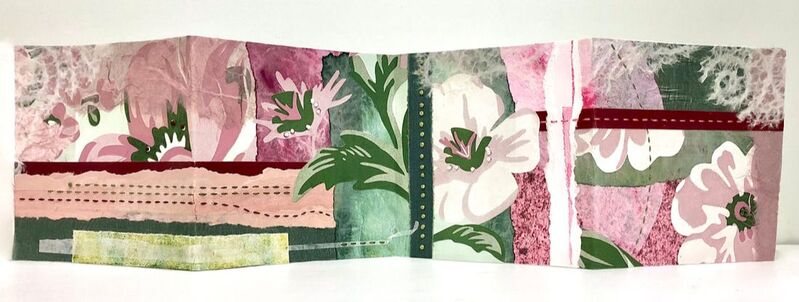 After I finished the last collage of the month in January, I used up many of the leftover scraps by making some speed collages. That was such a fun way to finish up that I did it again in February. I started with a big collage (7" sq.) while I still had larger scraps to work with and then gradually made the collages smaller (3" sq. & 1.5" sq.) as the scraps got fewer and smaller. 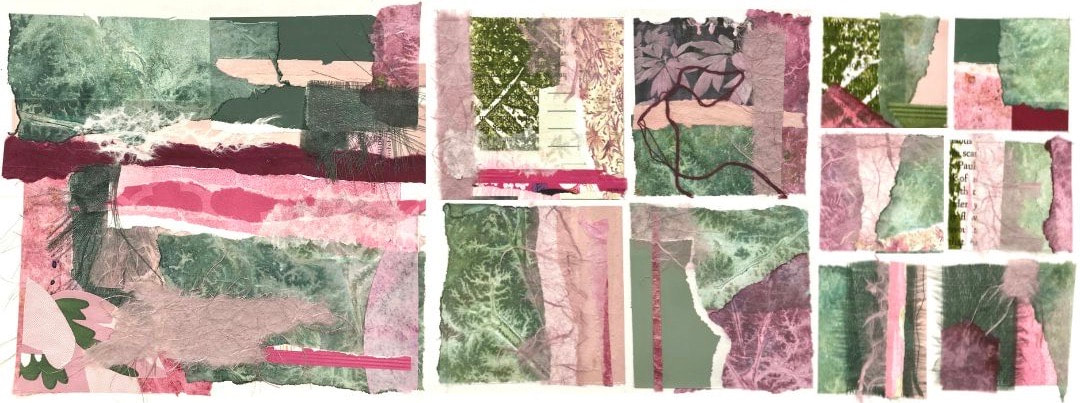 You can read more about see these monthly concertina sketchbooks and how they got started here.
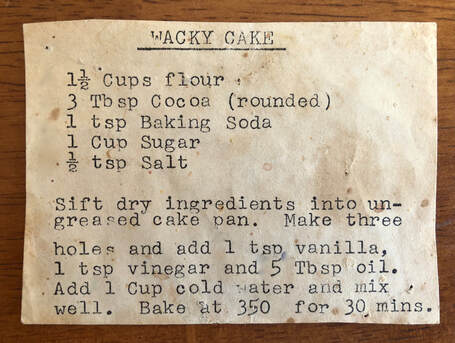
 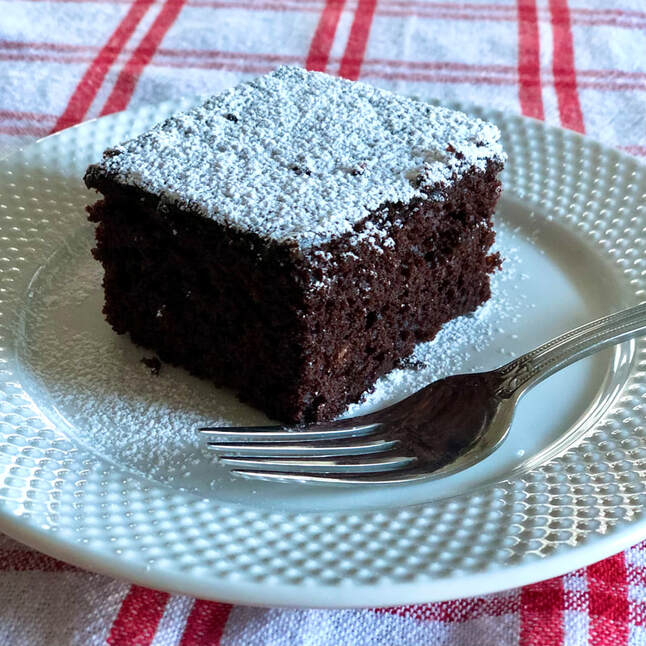 You may be familiar with this cake as it goes by many different names. In my childhood home, we called it Wacky Cake because that's what the Girl Scouts called it. My sister Sue was a Girl Scout and that's how we came to have the recipe. The origin of Wacky Cake is thought to be linked to the Depression or World War II eras, which makes sense as it contains no eggs (have you seen the prices lately!), butter, or milk.
My Monday sketchbook collages continue but with a twist this year. I wanted to do something a little different this year so I've decided to use a concertina format. I made one strip of paper for each month and each strip has either 4 or 5 panels depending on how many Mondays are in the month. Each of the panels is 5" x 5". As I work I'll let papers hang over the edge to the next panel and leave the option of integrating them into the adjacent collage the following week. I'll be pondering how I want to bind the strips into a book at the end of the year. 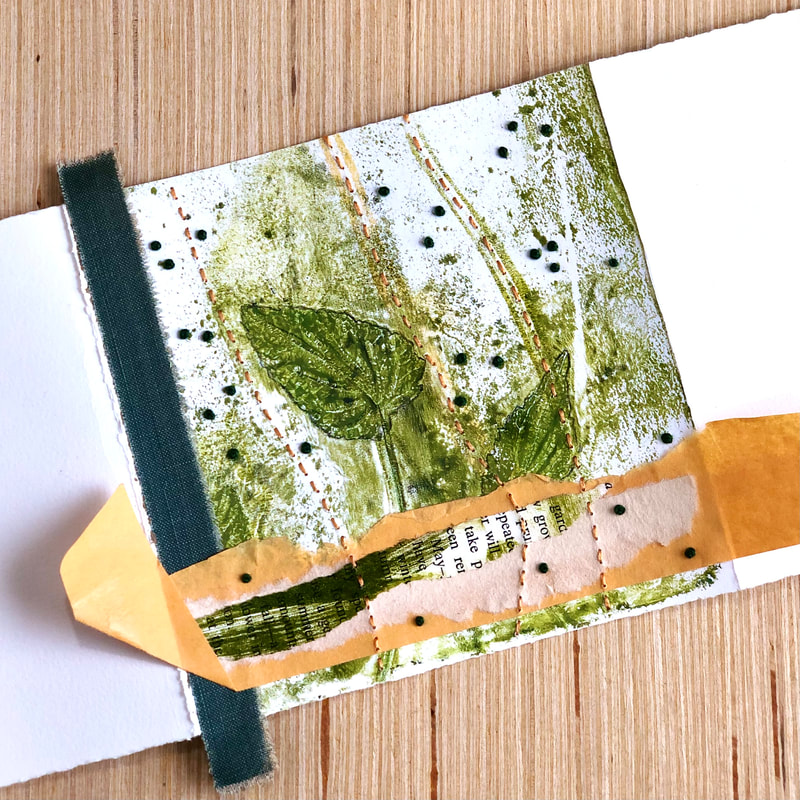 Week 2 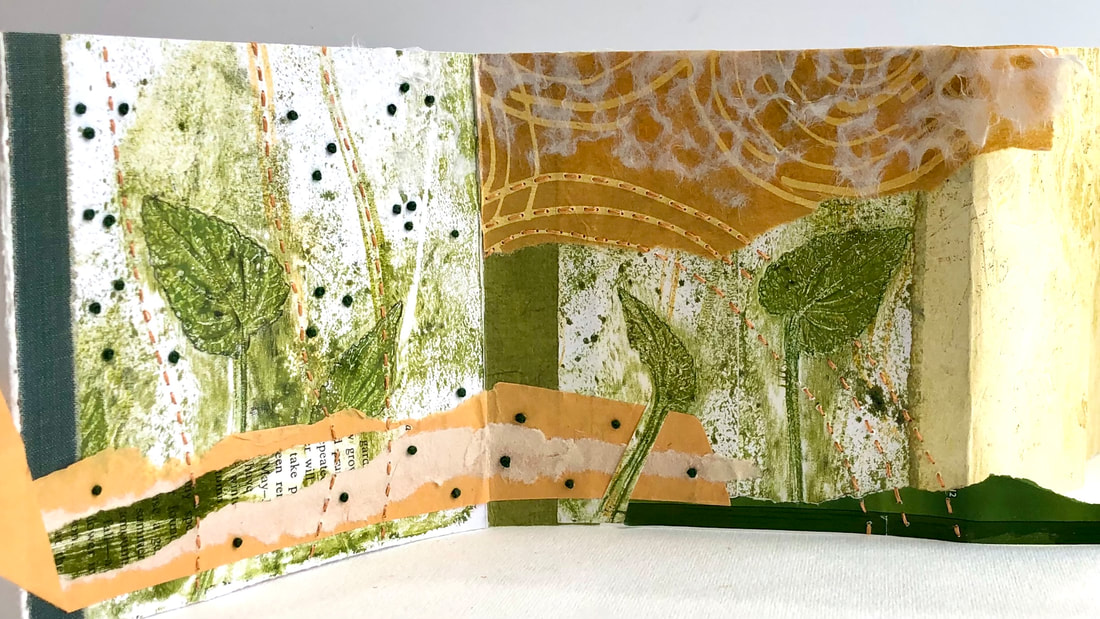 Week 3 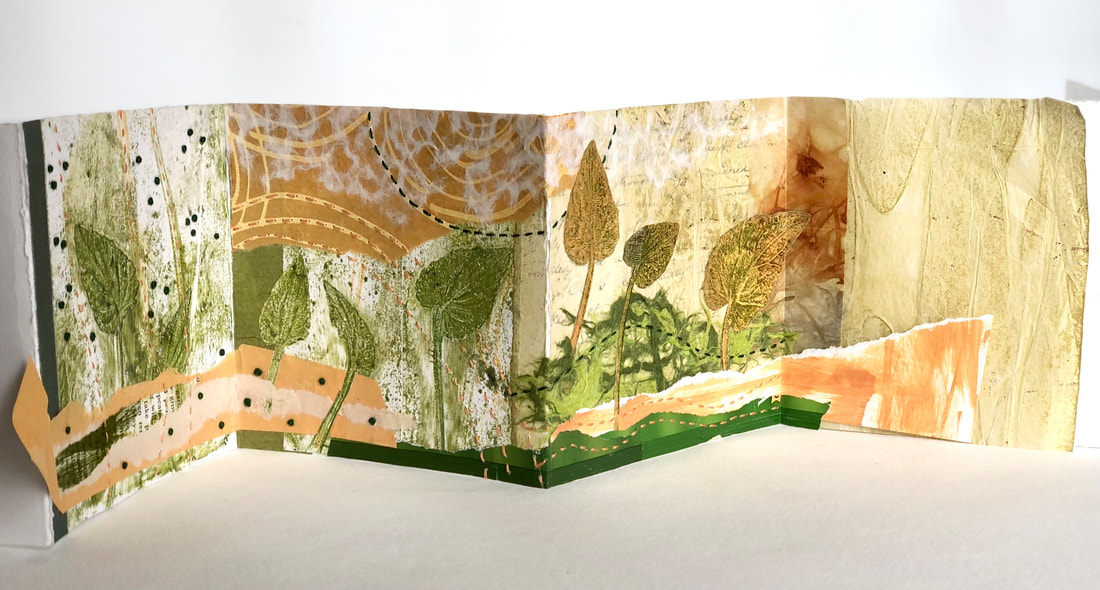 Week 4 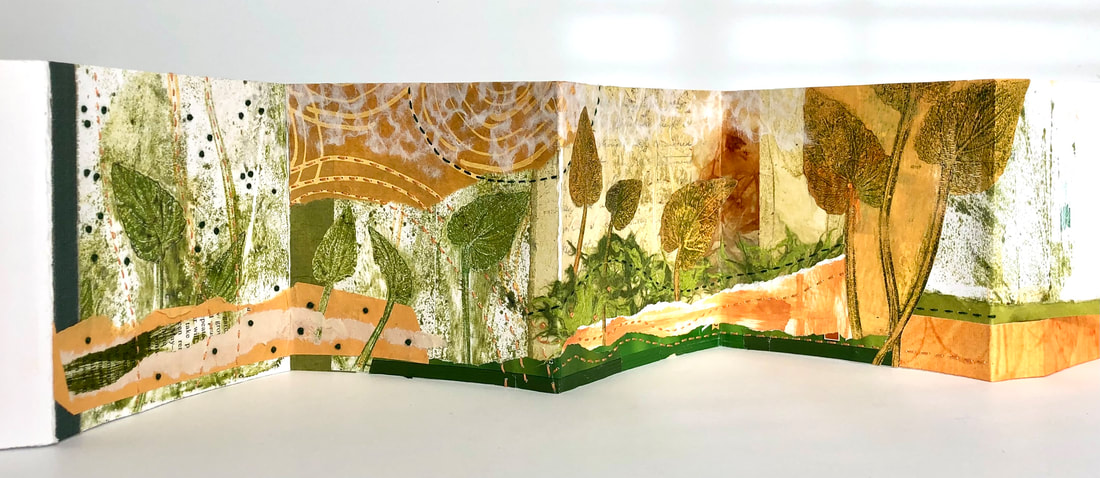 Week 5 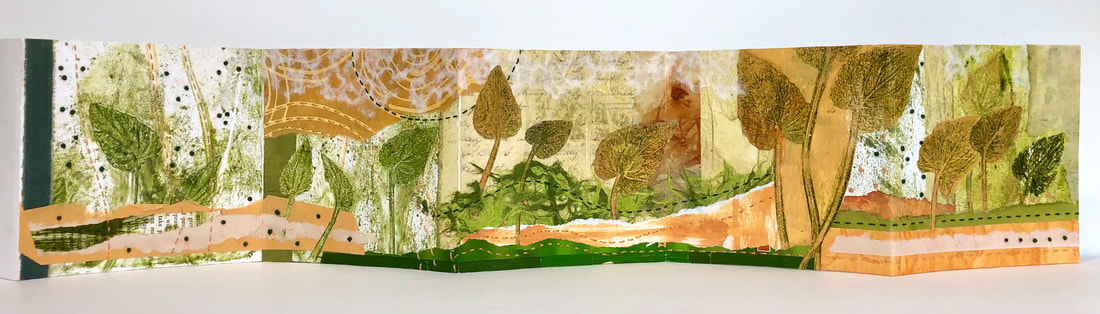
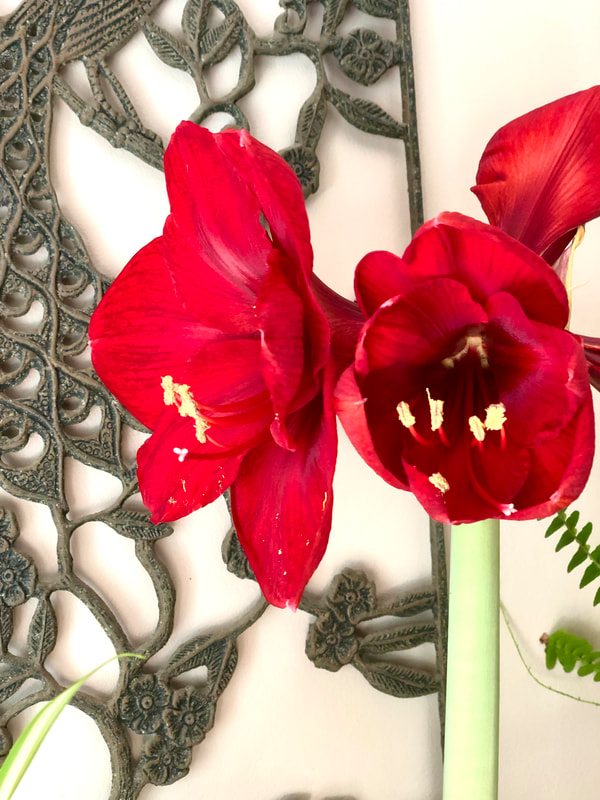
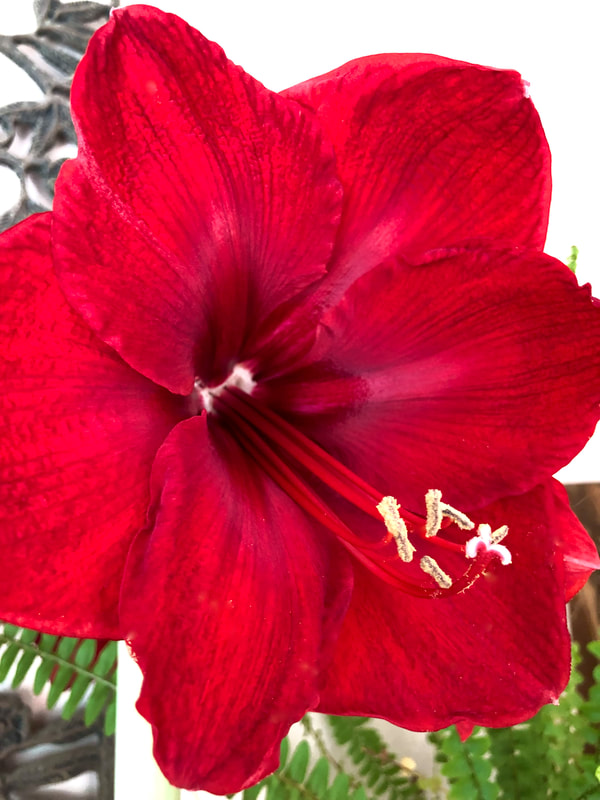
Since my outdoor garden will be sleeping for several more months I look to my indoor garden for some needed color. Each year I buy at least one amaryllis bulb. So easy to grow and they only require a little indirect light and a little water every once in a while. 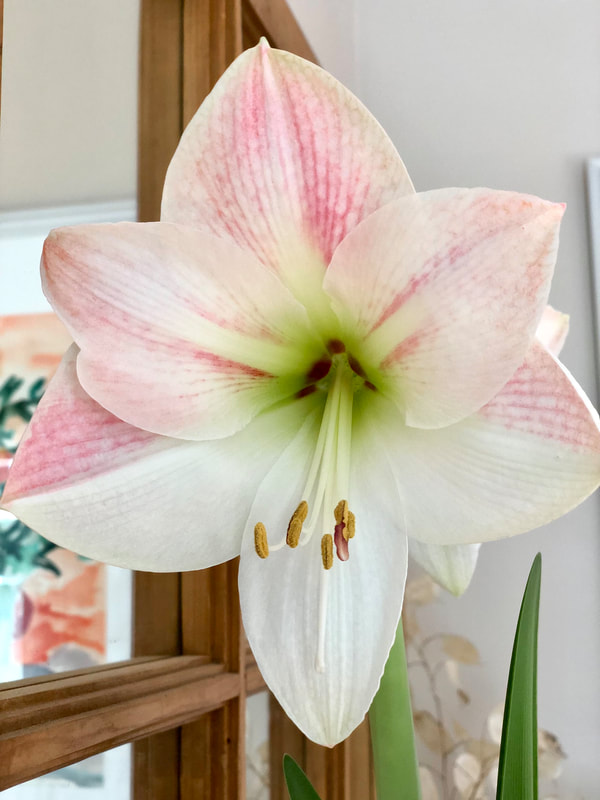 The stages of growth are beautiful and amazing. Watching the stalk lengthen by what must be inches per day and then the bud easing into a fully blooming flower just never gets old.
Did you happen to see the amaryllis bulbs that were dipped in wax in the stores this year? I got one as a gift and talk about easy. No water required, just put it near a window and watch it do its thing. |
AuthorHi, I'm Kathy an artist working in the mediums of collage and eco-printing. I'm also a rust enthusiast who loves to teach. I enjoy sharing my processes and guiding you along on your creative journey. Archives
December 2023
Categories
All
|

 RSS Feed