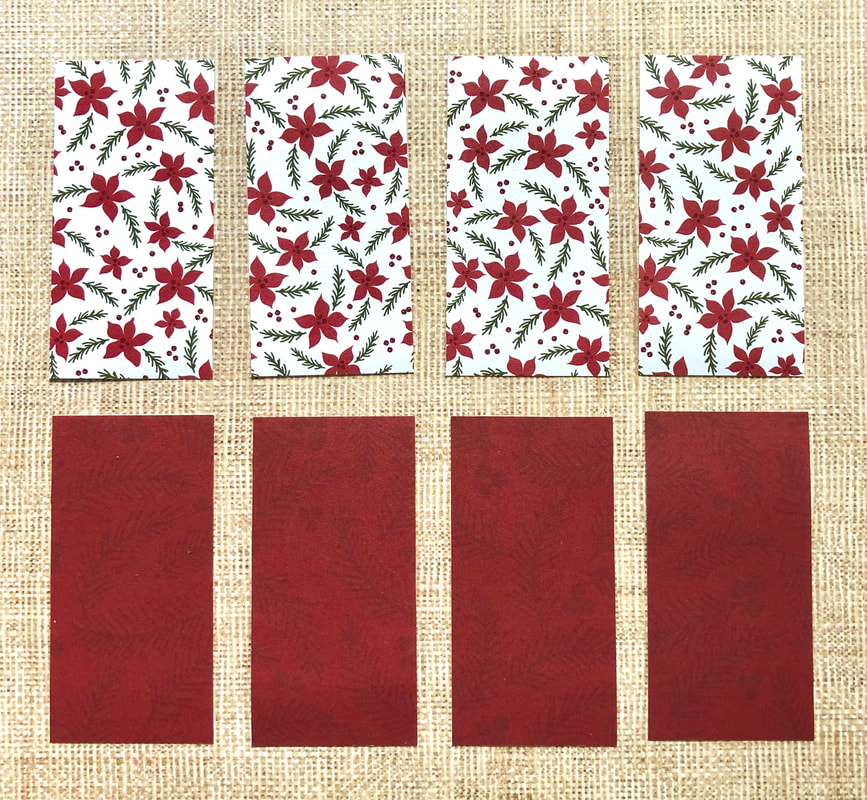
 It's December and we've seen a few flurries along the coast where I live but it's not exactly a winter wonderland yet. We've had enough chill in the air that I've been inspired to make a few soups, no-knead-breads, and my first batch of Christmas cookies. I also love to get crafty this time of year and make holiday decorations, especially ornaments. Are you feeling crafty too? I hope so because I just finished recording a tutorial on how to make an 8-point paper star that I think you're going to love! 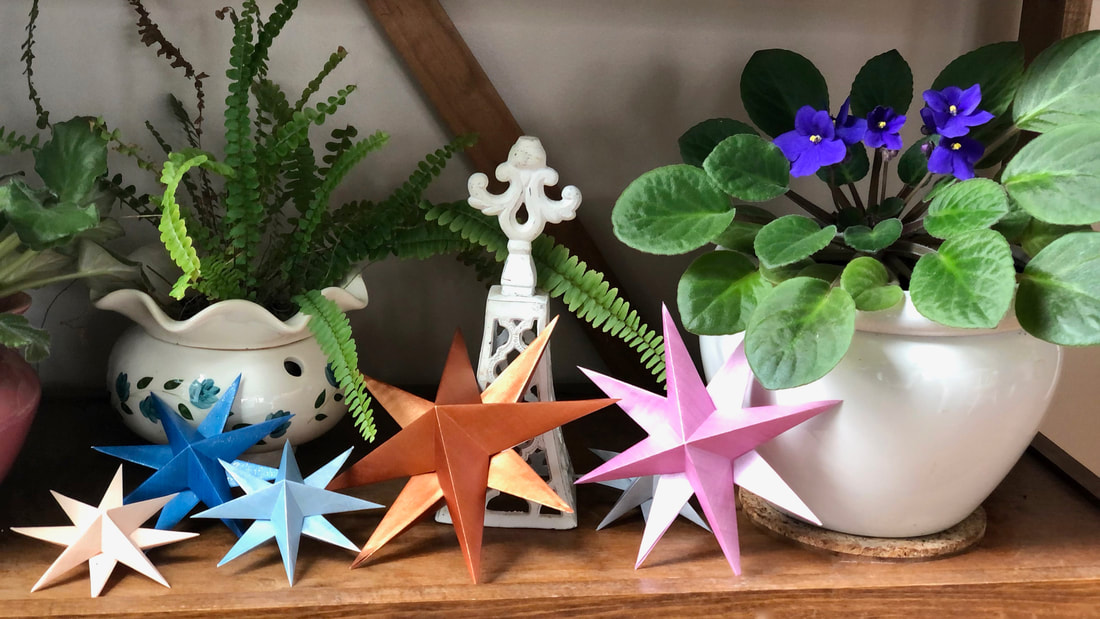 Over this past weekend, I was having so much fun making these stars that I didn't want to stop. I made so many that I now have them all over the house, on window sills, plant shelves, my Christmas tree and I'm going to hang the largest one (turquoise!) in the window with some clear fishing line. I think you'll be surprised by how easy they are to make. The supplies are simple and few: 2 pieces of paper, scissors, glue, and a small paintbrush. Just click below to watch the tutorial and if you share your stars on social media use the hashtag #8pointpaperstars so I can see what you've created. I'd love to see what papers you use and how you decorate with them.  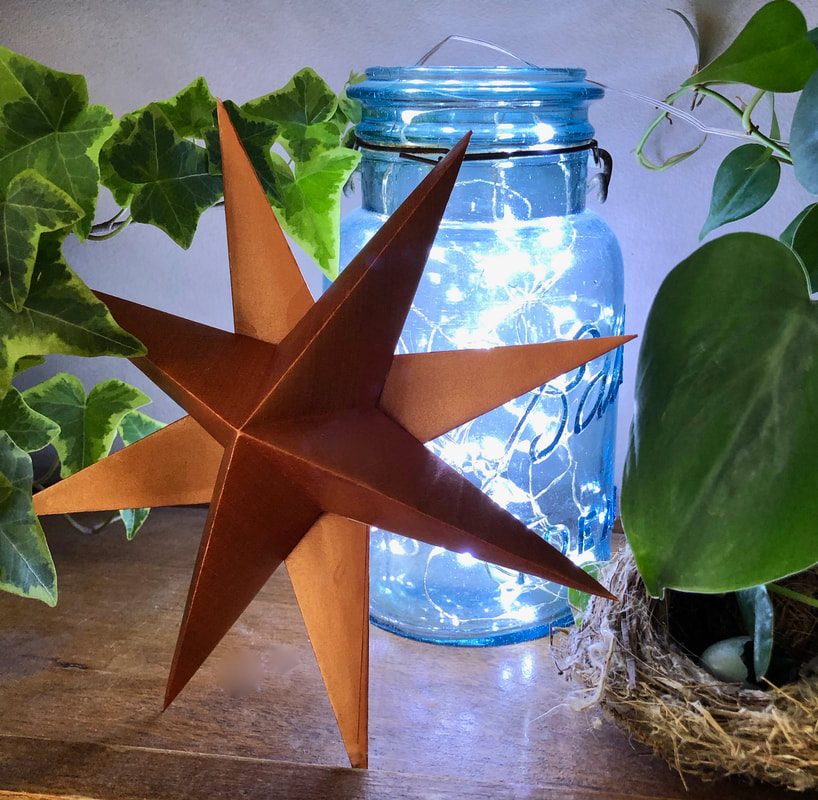 "A little bit of light
dispels a lot of darkness." ~ Rabbi Schneur Zalman
0 Comments
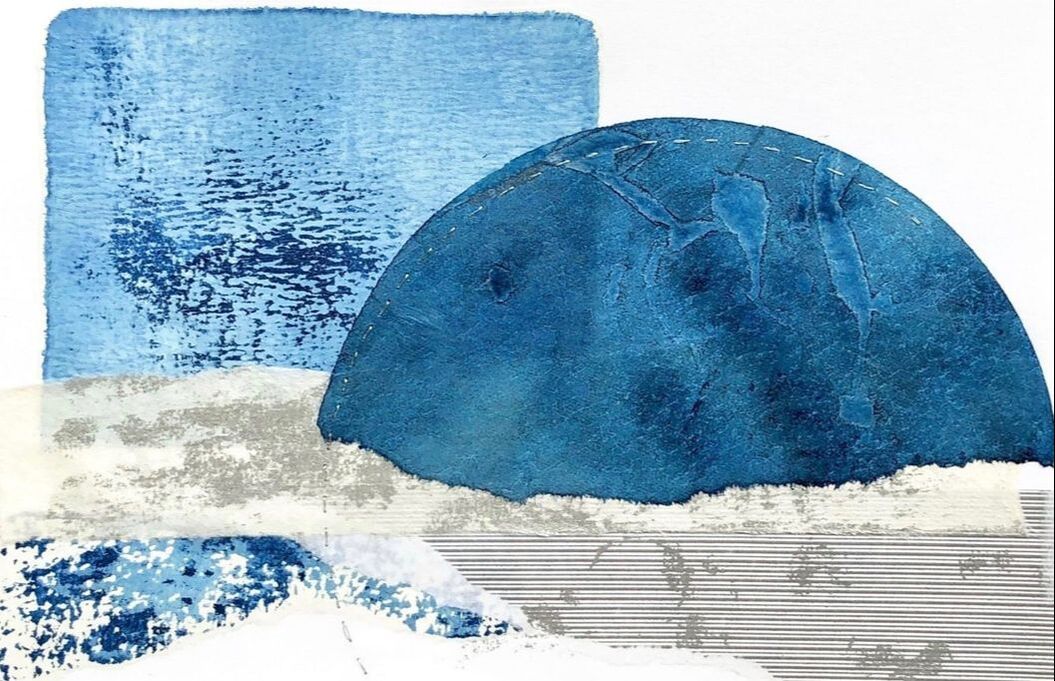
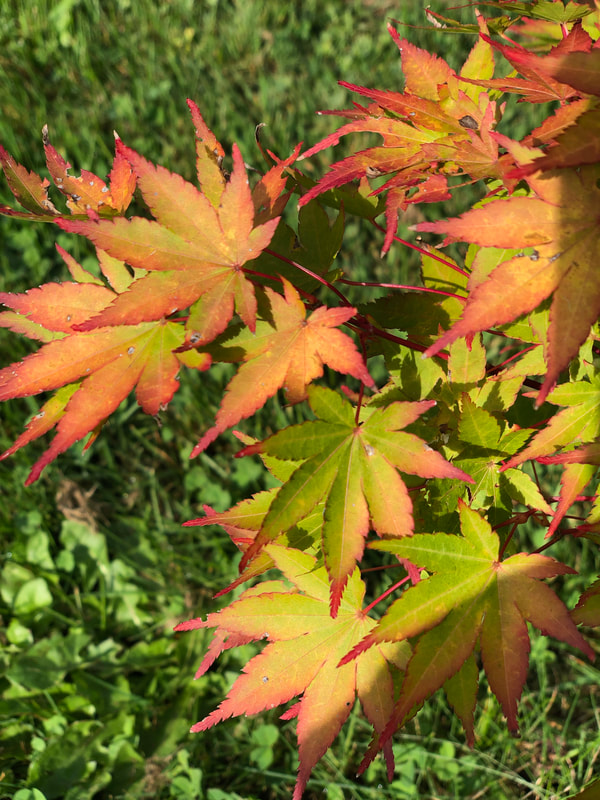
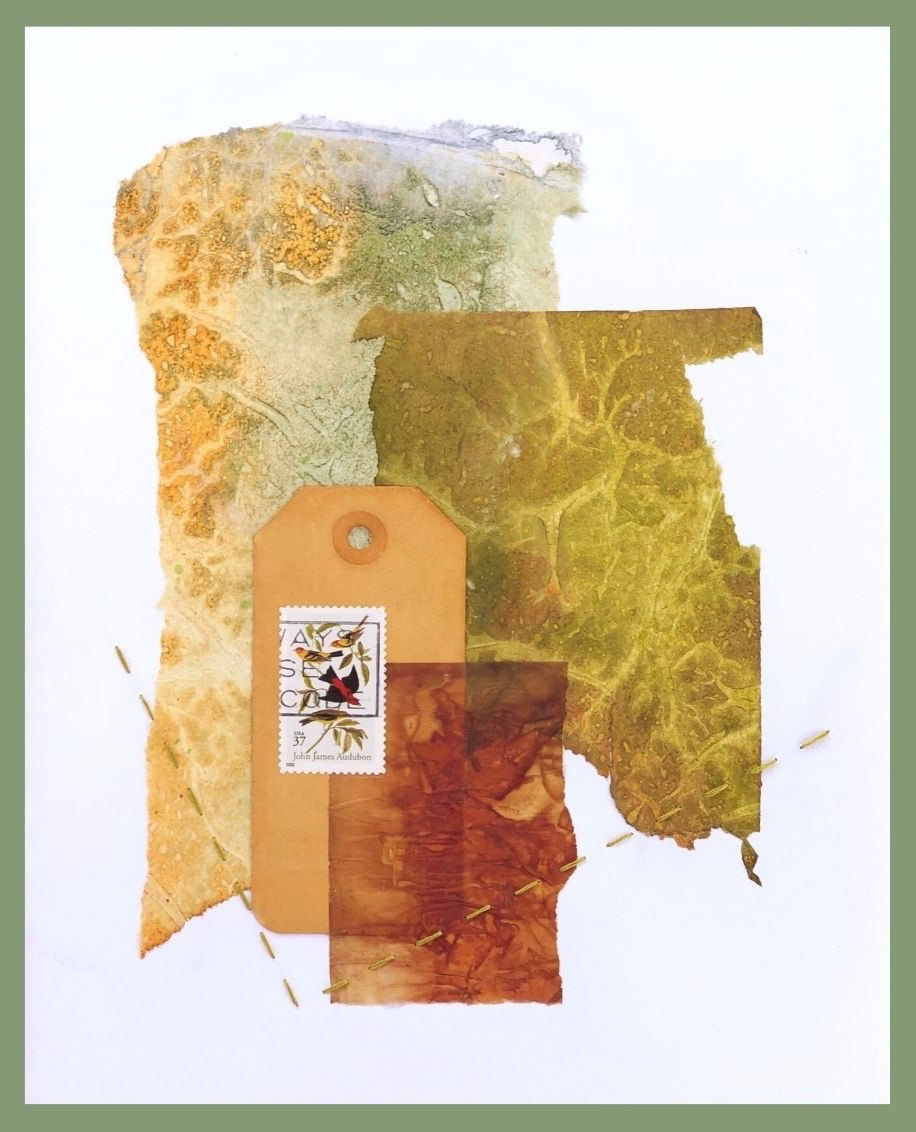
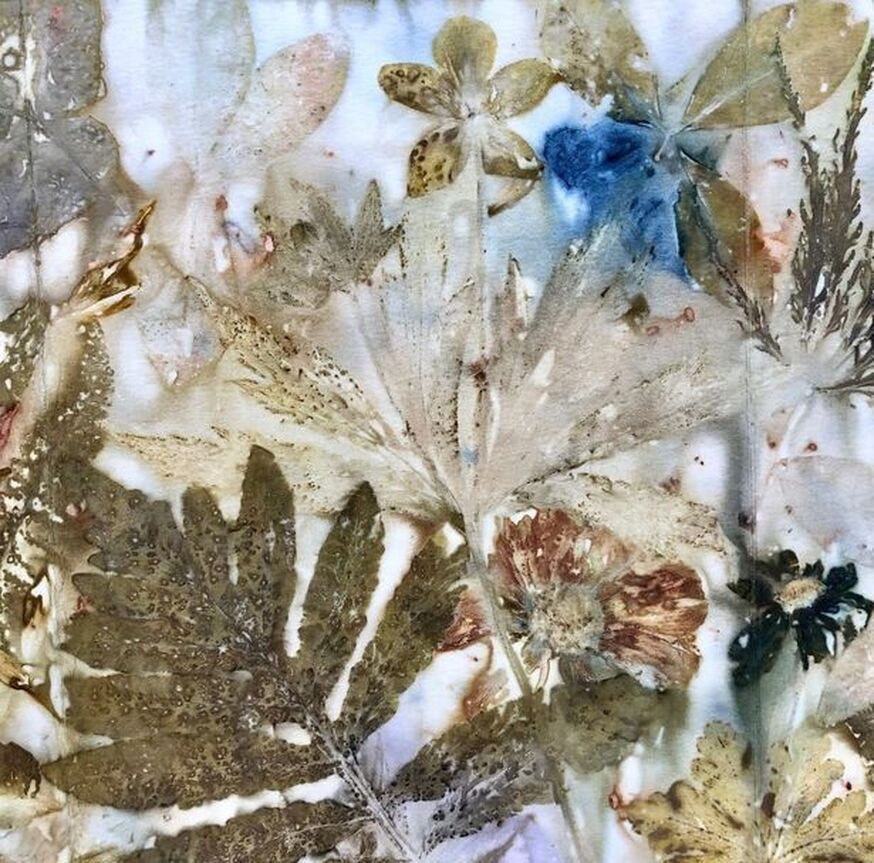 There were so many beautiful days in October and November is starting off the same way. This year we are having a longer than usual growing season. The average date for the first frost in my part of coastal Connecticut is between October 11th and October 20th. It's now the second week of November and we've had a couple of very light frosty mornings but no hard frost that makes the tender annuals and perennials say their last goodbye. Look at all the color I was still enjoying during the last week of October. 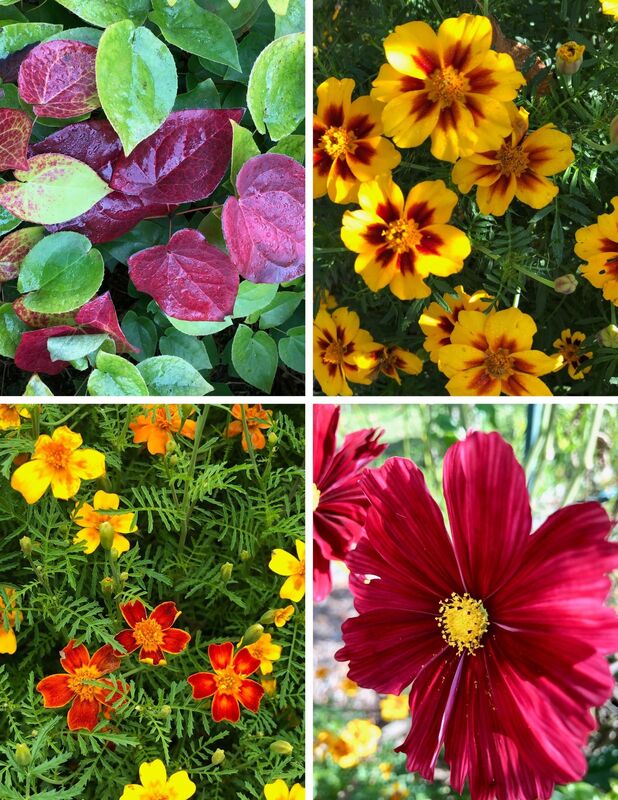 One of the first plants to go when just the slightest frost hits is the sensitive fern and that's exactly why it's named as it is. The green turns to a pale golden yellow with an edging of brown. I like how the fading plant resembles the print I got when using one to make an eco-print. 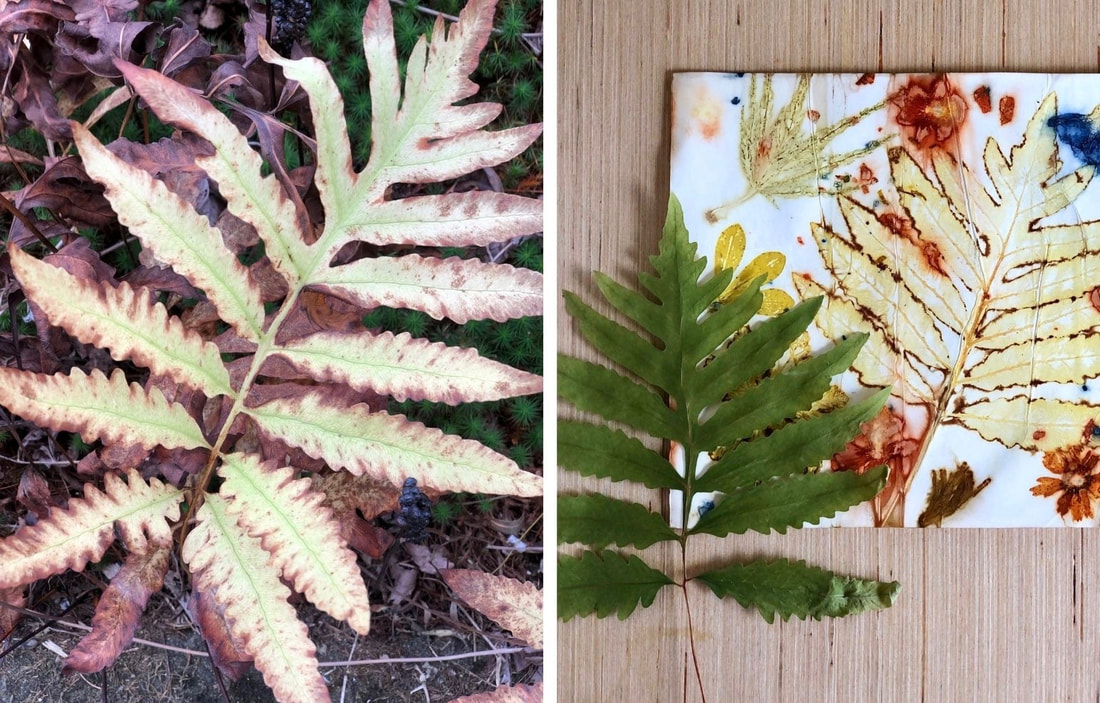 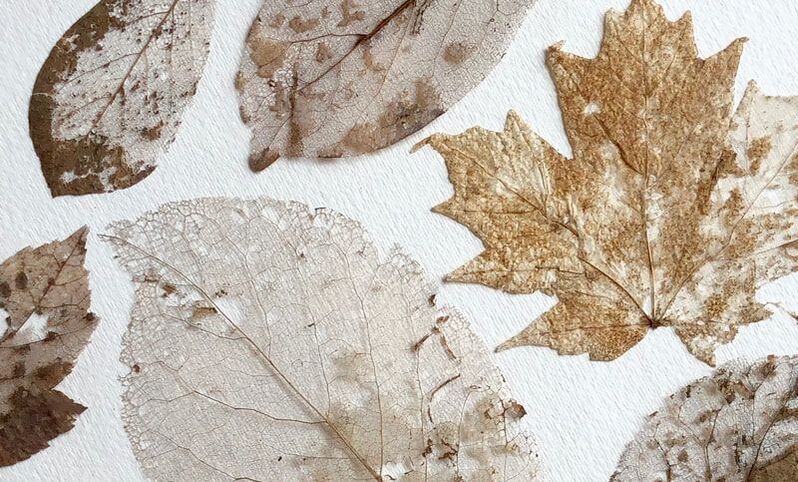 I've been saving leaf skeletons for years and have a large collection I keep organized in clear sleeves in a notebook. For the past 5 weeks, I've enjoyed looking over that collection and choosing ones to feature in my Monday morning sketchbook collages. Take a look at the video below for a start to finish view of one being created. 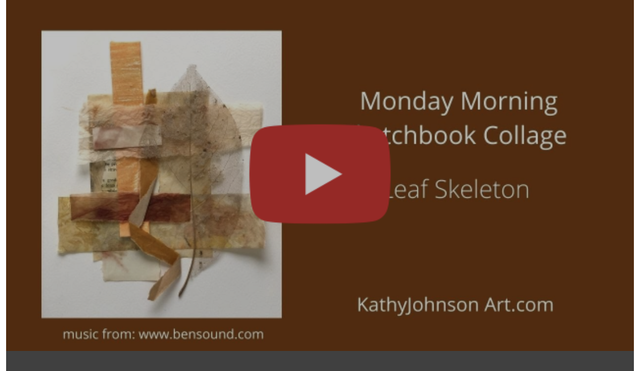 Follow along on Instagram to see all my Monday morning sketchbook collages.
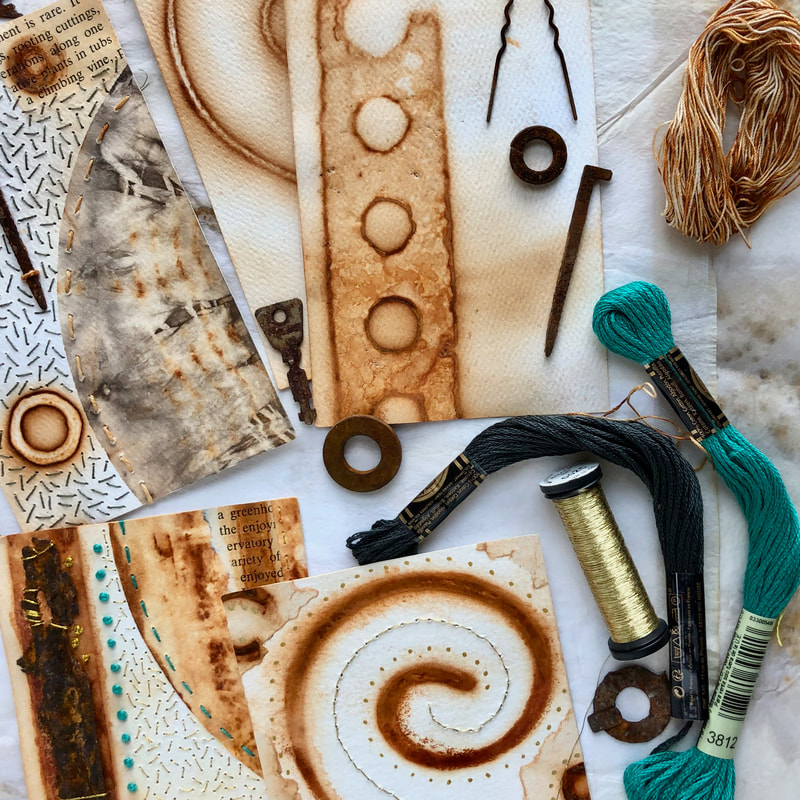
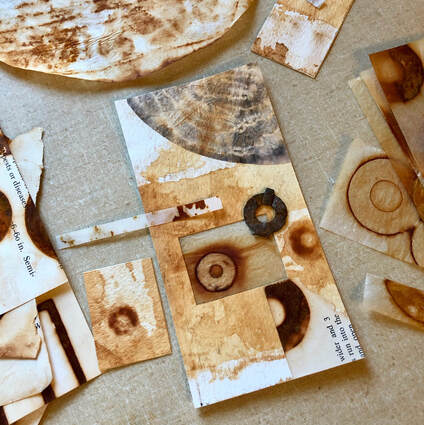
 “If a year was tucked inside of a clock, then autumn would be the magic hour." ~Victoria Erickson 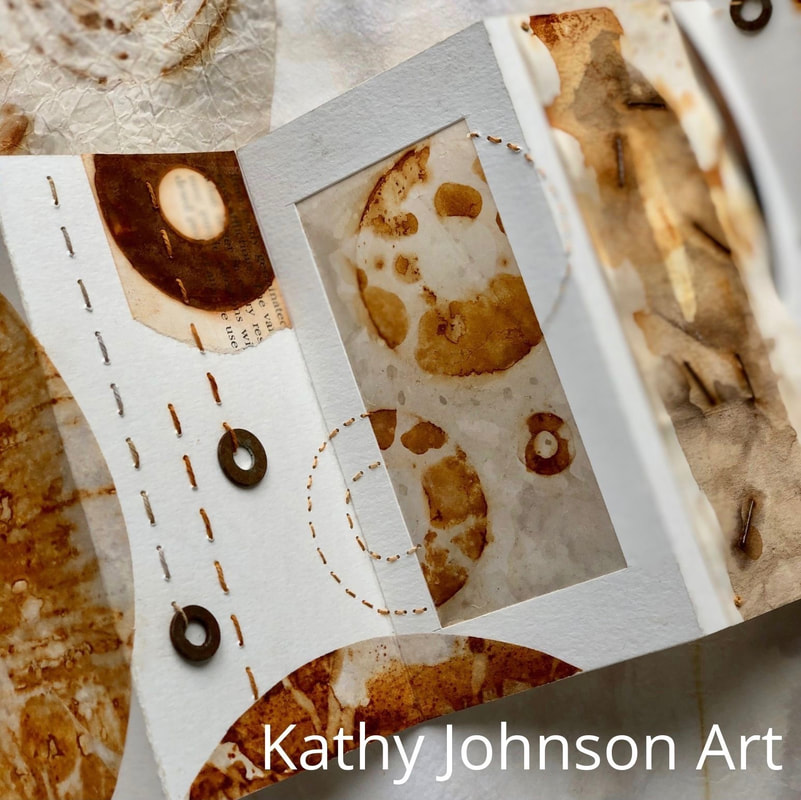 I hope you're having a great start to the new year! I've been having lots of fun making piles of rusty papers and coming up with projects for a class I've been wanting to teach for some time now. I have a rust printing for fabric class on Skillshare but since I'm a collage artist at heart I've been thinking about rusting paper. for some time now. 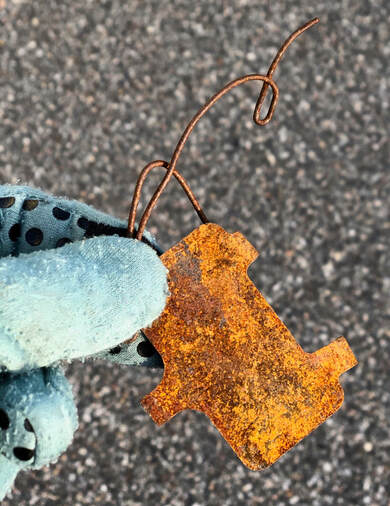 The first time I got the chance to experiment with rusty metal and paper was kind of by accident or I should say after an accident. I broke my right hand and couldn't write, type, stitch or glue anything so all the projects I had going at the time had to be put aside for about 6 weeks. What I could do though was arrange washers, nails, and other odd bits of rusty metal on paper with my left hand. I took over the basement and tried everything I could think of or had read about on the process of rusting. I'm excited to share my new workshop Rust Printing on Paper. It's the result of all that research and experimenting. So if you are a collector of rusty metal like I am (or would like to be), have I got some ideas for you! Rust Printing on Paper WorkshopIn this workshop, you'll explore different techniques for making prints with rusty metal on a wide variety of papers. I'll show you how to use the rust marks as inspiration as you create an accordion book with a cover, added pages, collage elements, windows, weaving, and stitching. 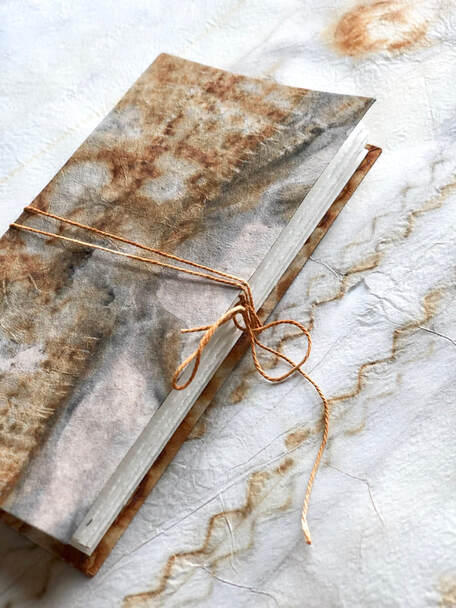 You'll learn how to bring shades of gray out of the rusty metal for different color variations and rust up some thread and string that can be used to stitch in the accordion book as well as on the collection of mixed-media collages you'll make on the last day.
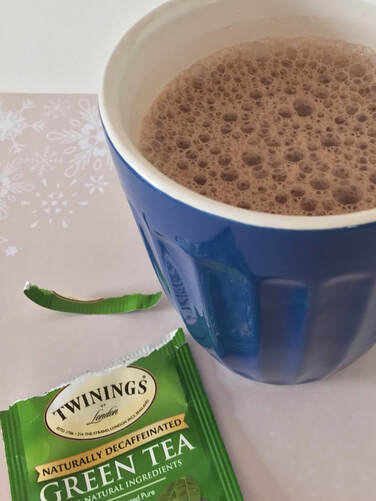
This is an instant access self-paced workshop What's winter without a mug of good hot chocolate? A pretty dull winter if you ask me, especially if there are no marshmallows involved!
I shared this recipe for green tea hot chocolate 3 years ago but thought I'd share it again because I think it's so good. This is a lighter version where you get the benefits of green tea and cocoa as you enjoy a treat that's not overly sweet. Most times I quadruple the recipe and store what’s left in the fridge for another time. Click the photo above to get a printable copy with the instructions for both a single serving and 4 servings. I won't tell anyone if you add some marshmallows too!  "The snow is sparkling like a million little suns." - Lama Willa Stop! Don't throw those tin cans away! Join me on Saturday, December 19th, 2020 at noon EST for a FREE tutorial. I'll show you the quickest and easiest way to rust up those cans and lids so they can be used to make rust prints on paper and fabric and also for eco-printing. 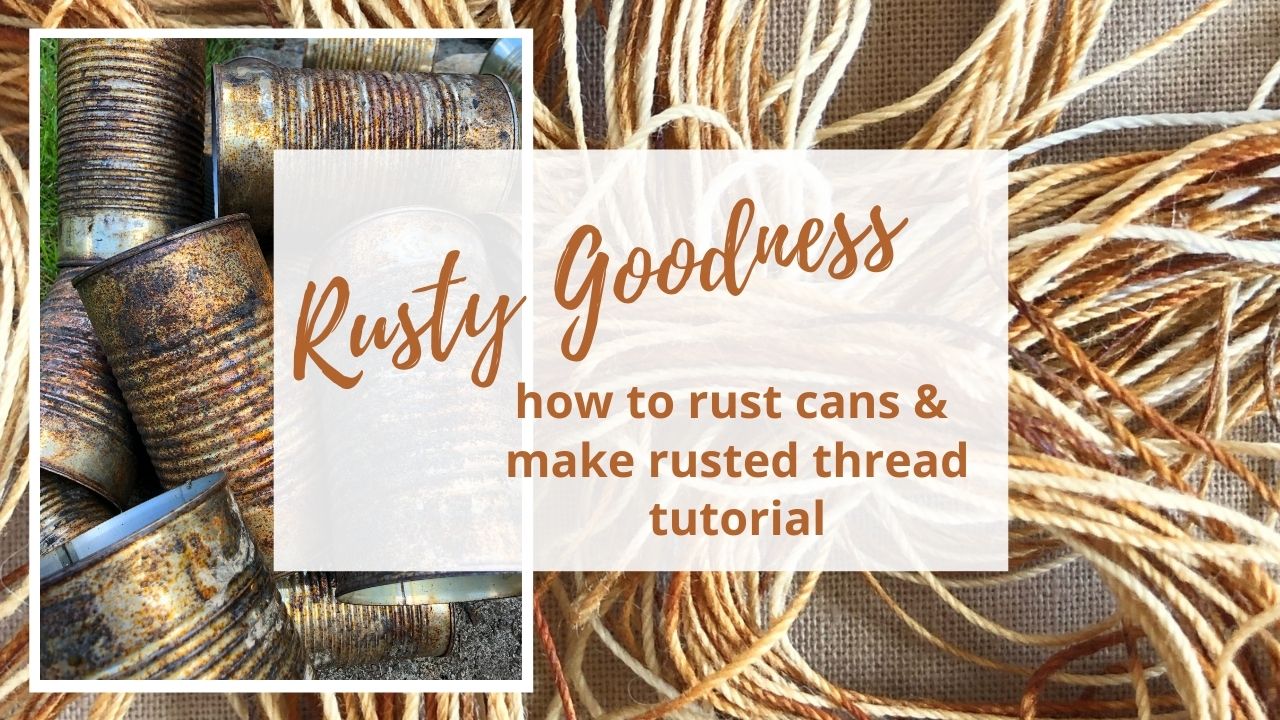 You can probably tell from my talk of rusty cans above that rather than tossing items in the trash or recycle bin I like to reuse or repurpose them whatever I can, especially if it will have something to do with art! I've got several classes in the works for next year where the focus will be on reusing and repurposing every day easy to find materials. If you're up for it, here's a list of things you can do to get a head start:
Have fun collecting!
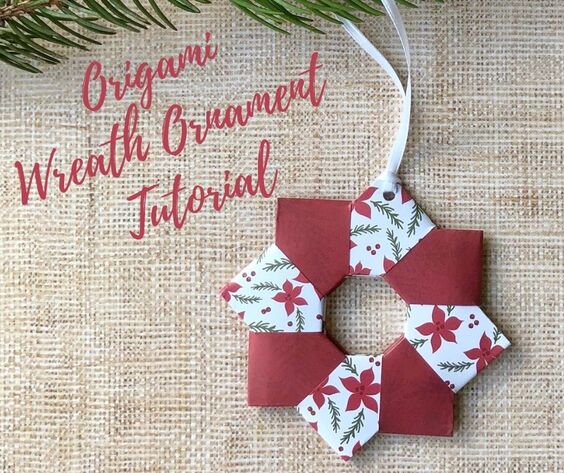 Did you see my first Facebook live tutorial on Tuesday morning? If you missed it you can click the button below to watch the recording.
I hope you enjoy making your ornament! |
AuthorHi, I'm Kathy an artist working in the mediums of collage and eco-printing. I'm also a rust enthusiast who loves to teach. I enjoy sharing my processes and guiding you along on your creative journey. Archives
December 2023
Categories
All
|
 RSS Feed