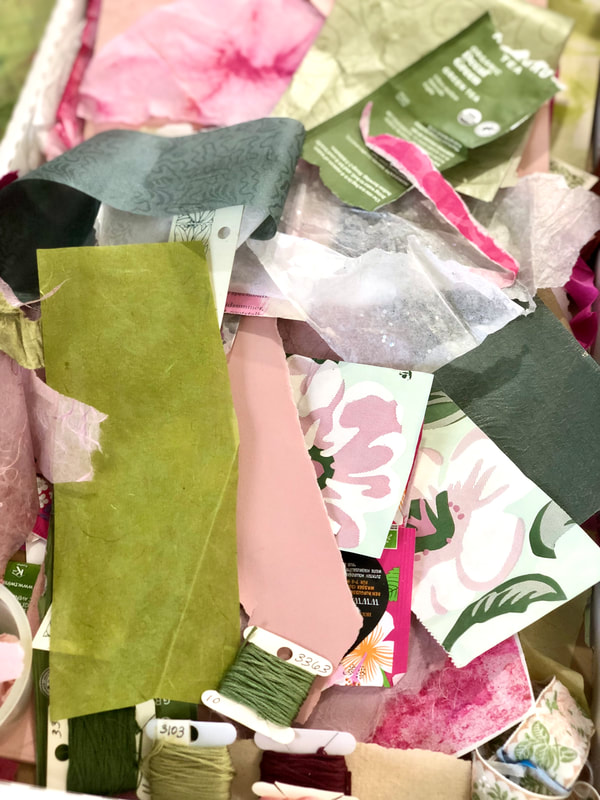
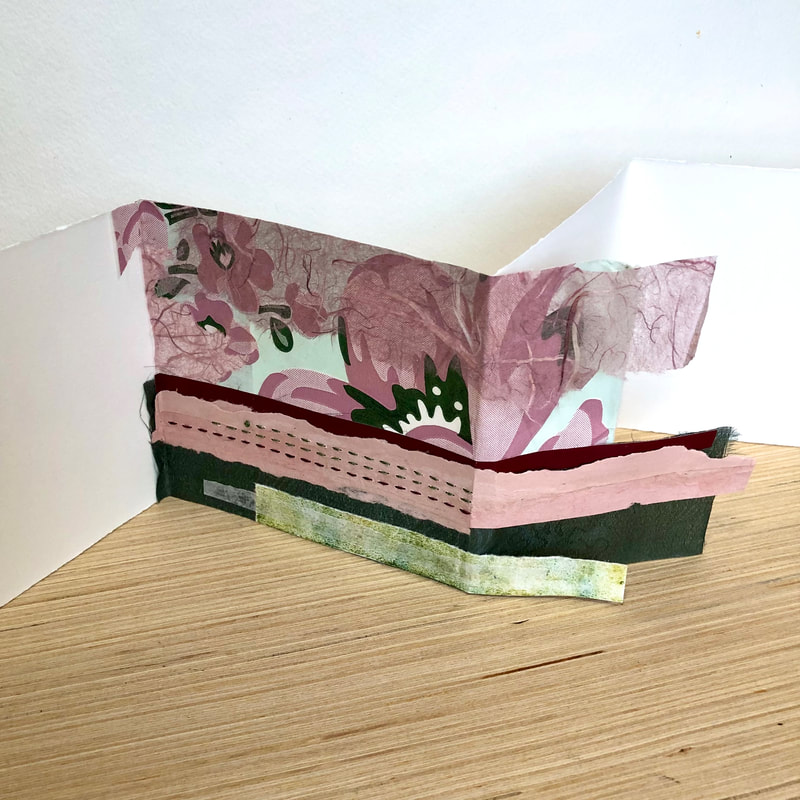
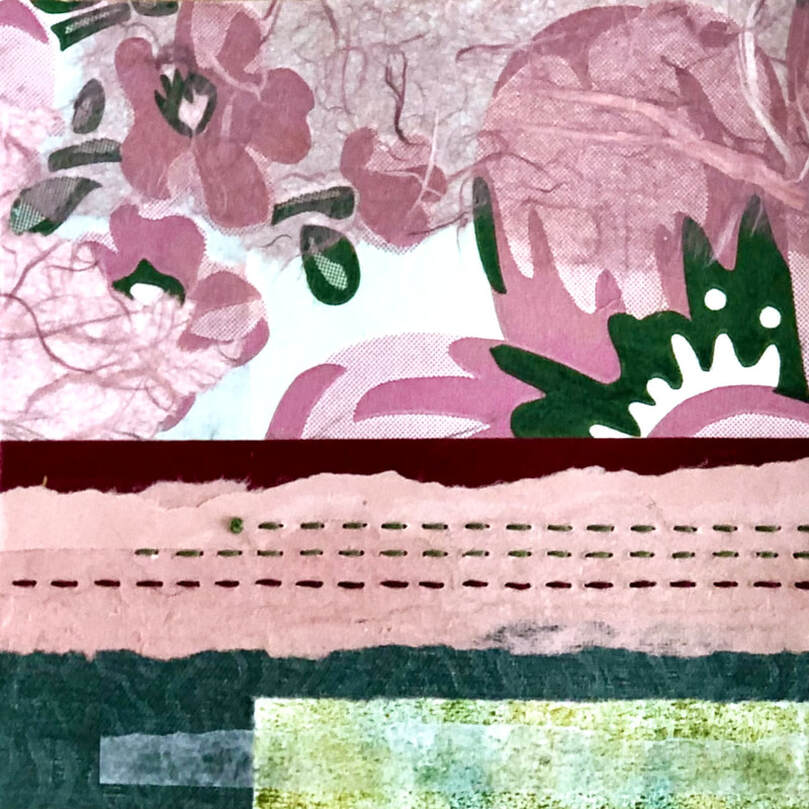
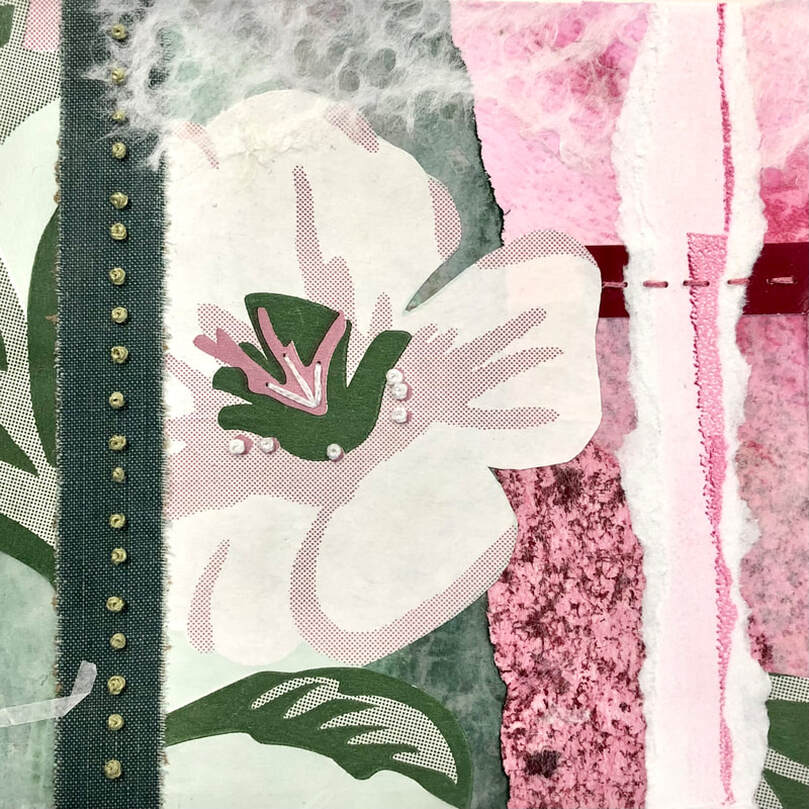
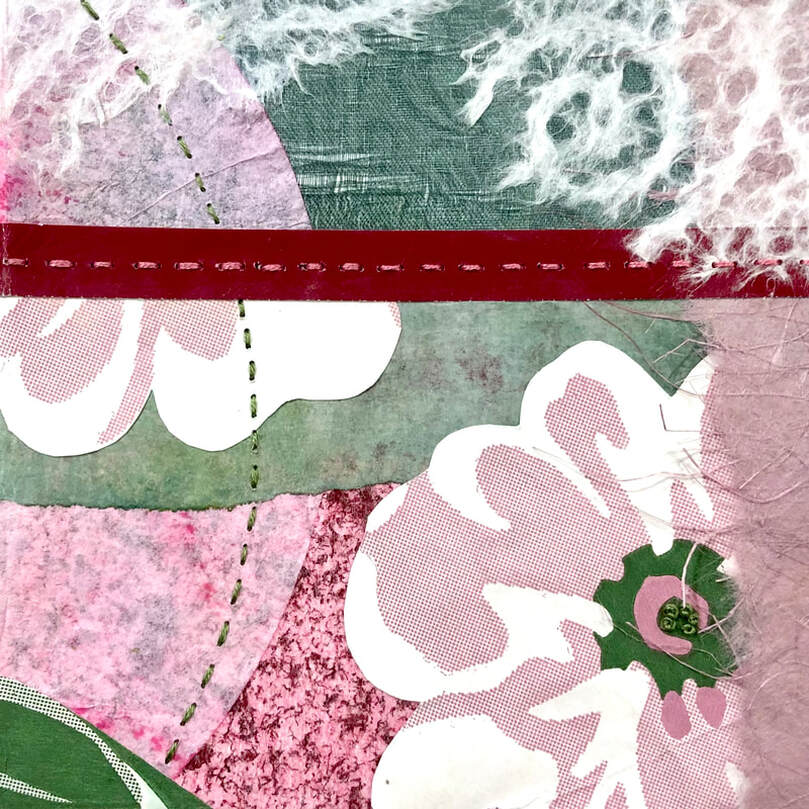
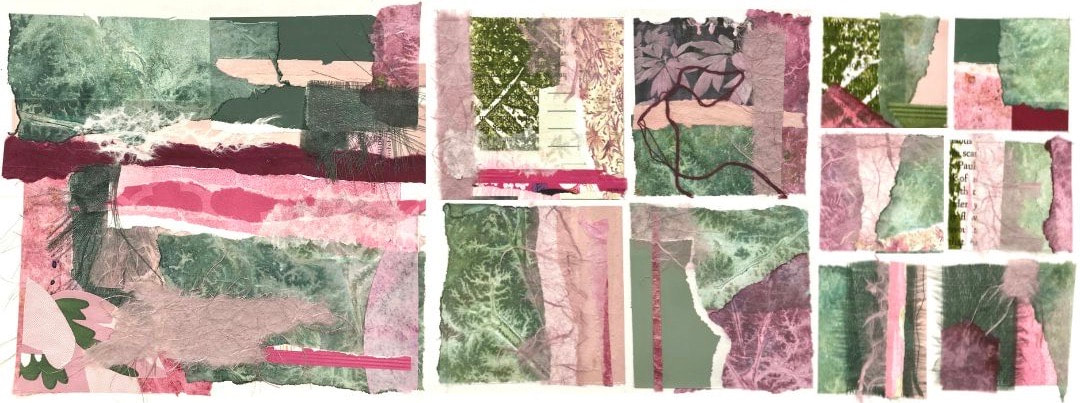
Last month I mentioned that I've been moving things around in my studio space. For it to be an efficient workspace it needs to be organized but because I spend so much time here I also want it to be comfortable and pleasing with colors I enjoy and by having items around that are meaningful. The first thing I tackled was the need for more organized shelf space for papers and supplies. Since I never seem to be able to find exactly what I need to fit a particular space I turned to Pinterest for some help and cardboard was the answer.
0 Comments
Ahhhh, spring is here! It's so nice to see some green sprouting and to feel the sun's warmth getting more intense. Another seed catalog came in the mail so I definitely have to make up my mind about what seeds to get and place my order before they sell out. I'll admit the catalogs are more for dreaming about all the things I'd like to plant before it's actually warm enough to get outside. I get most of my seeds from local stores but I will order seeds for those unusual heirloom varieties that aren't popular commercial sellers. Each year I like to plant at least one thing in my garden that I've never grown before. Last year it was Escamillo peppers, a mild yellow variety that was delicious. The year before it was ground tomatoes. I didn't care for them but that's okay because the chipmunks were more than happy to come by each morning and help themselves. This year my new to me plant will be the herb Angelica archangelica. I've been reading John Forti's book "The Heirloom Gardener" It's a beautifully designed book full of information, garden quotes, and lots of bright spring green illustrations by Mary Azarian. The first chapter is all about Angelica. I was fascinated by the description of its chartreuse hollow stems and the large white umbrels loved by bees and butterflies. As a culinary herb tea, syrup, and cordials can be made but it's also known for its medicinal qualities. Angelica is a biennial, which means I won't get flowers this first year but even so I can't wait to see the seeds sprout. Hmmm, I wonder if the angelica leaves will be good for eco-printing?
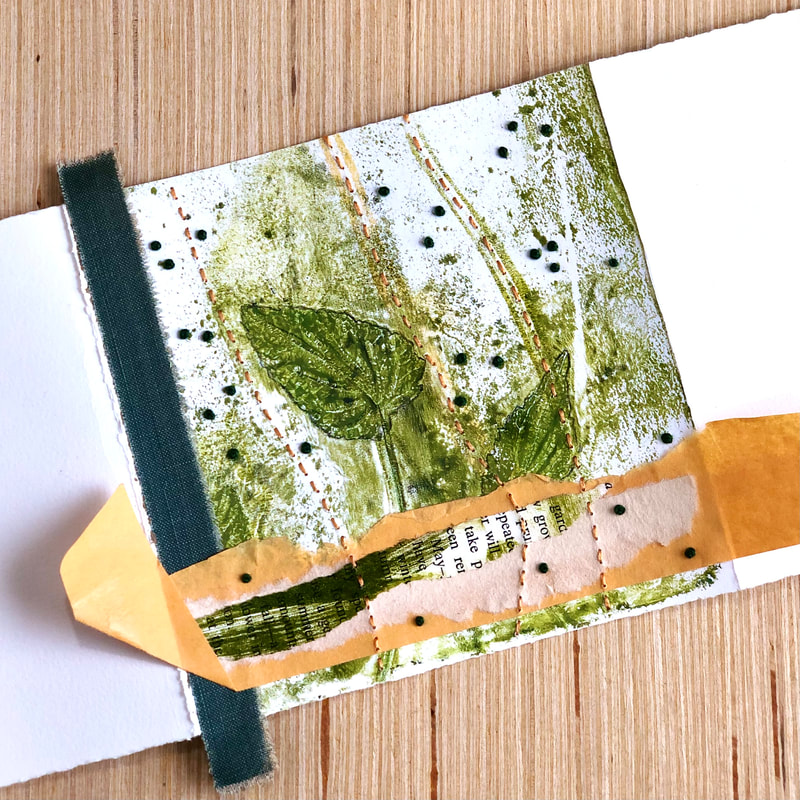
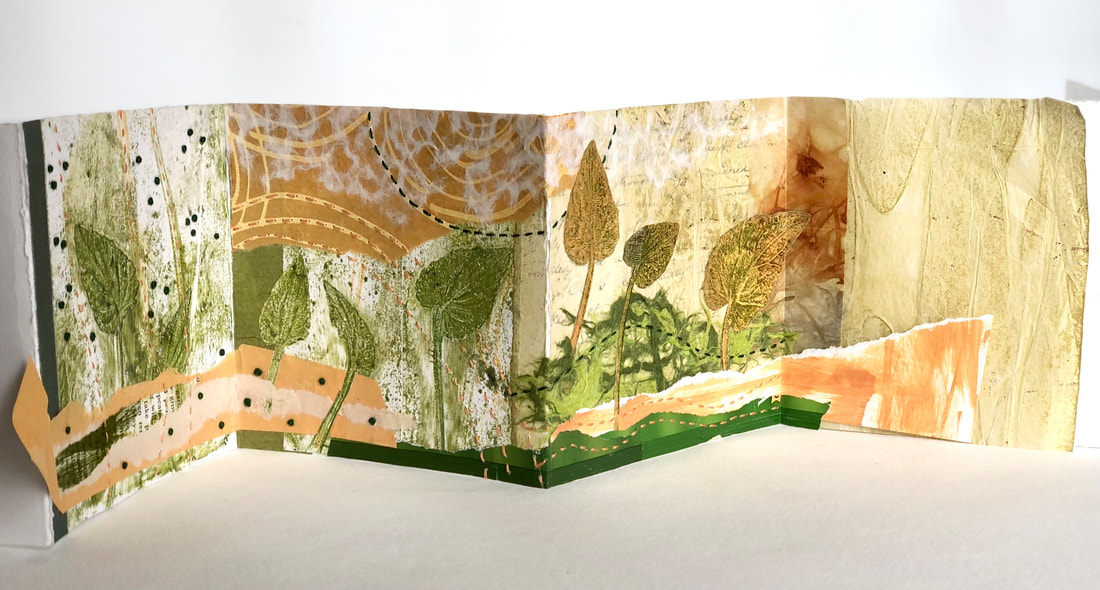
"It's exciting to see things coming up again, plants that you've had twenty or thirty years. It's like seeing an old friend." ~ Tasha Tudor Signs of spring are starting to appear! Yesterday I saw the tops of daffodils poking their heads up through the ground. They will probably get covered with snow a few more times before they really get going but it sure makes it feel like spring is on the way. February turned out to be kind of a strange month for me. I had lots of plans for filming and scheduling my next workshops. Things quickly got off track but in a fun and creative way. I came across Stitch Camp on Instagram, a 5-day challenge hosted by TextileArtist.org. I was attracted because 1. I love to stitch and 2. Gwen Headly was going to be the instructor. I have her book "Drawn to Stitch" and it's one of my favorites to flip through for inspiration. The project began with acrylic paint mark-making on fabric. We then cut the fabric into small sections, rearranged them, and pieced it all back together with a variety of decorative stitches. I finished with an 8" x 15" rectangle and after I back it with denim it will be made into a pouch of some kind. From stitching fabric pieces together I moved on to stitching book pages together. In the Handmade Bookclub that I joined back in October of 2020, we get instructions for monthly book projects. It's been a great learning experience and has given me new ways to use the rusted, eco-printed, and onion skin dyed papers I love to make. I was so intrigued by this book structure with a window on the cover that seemed to offer endless options. I love how the soft neutral tones of the eco-print and the linen cover came together. It's my favorite book so far. Just FYI - If you're at all interested in handmade books there is a 5-day Journal Challenge starting on March 7th. You can sign up at Vintage Page Designs. I highly recommend giving it a try! My next diversion started because of some studio cleaning and an Amazon order. I knew I was probably the only artist left that didn't own a POSCA paint pen so I figured it was time to get on board. Now I have three and I love them. I have to say I've really enjoyed the role of being a student and am glad I made time for the creative play I'd been craving. So, what will I be doing next? Hopefully, at least some of those things I got sidetracked from this month : ) Watch for more self-paced online classes - Mailscape Collage will be first, and then an Intro to Eco-Printing later in the year. I'll be doing several Zoom Eco-Printing classes, which will start in July. I'm putting together another plant list. This one will focus on leaves that make good prints. If you missed my list of "My 10 favorite plants to grow for an eco-print garden" last year no worries, I'll be making that available to my email subscribers again soon. "Beautiful sunsets need cloudy skies." ~ Paulo Coehlo Happy New Year! We're only a few days in and things don't seem that different but I am hopeful that 2022 is going to be better than the past two years. I don't make resolutions, I prefer to reflect on the past year before looking ahead. It helps me get a better idea of what I want for all the different parts of my life. I still have some serious planning to do but in the meantime, I found this quote and thought it sounded like the perfect way to start any plan I might come up with for the new year. The first time I saw and read this quote it made me smile and laugh because the silly part of me could imagine doing all 3 of these things. Doesn't it sound like a fun way to approach the new year? Well, even if I don't 'hop happily' and 'scream loudly' to friends every day you'll certainly find me collecting lots of shiny things. If you remember, last month I mentioned to start saving your holiday foil candy wrappers. Well, they are some of the shiny things I've been collecting for a very long time.
My first workshop for 2022 is "Sweetest Valentine" and it's all about repurposing foil candy wrappers into "Sweet Valentines". Maybe you have a few leftover from the holidays? If not, it's the perfect excuse to go get a bag of sweet treats - just for the wrappers of course : ) In the class, there's a little painting for the backgrounds, covering heart shapes with burnished foil wrappers and embellishing with some simple stitching. Registration opens on Friday, January 14th, 2022 "The new year stands before us,
like a chapter in a book, waiting to be written." ~ Melody Beattie It's December and we've seen a few flurries along the coast where I live but it's not exactly a winter wonderland yet. We've had enough chill in the air that I've been inspired to make a few soups, no-knead-breads, and my first batch of Christmas cookies. I also love to get crafty this time of year and make holiday decorations, especially ornaments. Are you feeling crafty too? I hope so because I just finished recording a tutorial on how to make an 8-point paper star that I think you're going to love! Over this past weekend, I was having so much fun making these stars that I didn't want to stop. I made so many that I now have them all over the house, on window sills, plant shelves, my Christmas tree and I'm going to hang the largest one (turquoise!) in the window with some clear fishing line. I think you'll be surprised by how easy they are to make. The supplies are simple and few: 2 pieces of paper, scissors, glue, and a small paintbrush. Just click below to watch the tutorial and if you share your stars on social media use the hashtag #8pointpaperstars so I can see what you've created. I'd love to see what papers you use and how you decorate with them. "A little bit of light
dispels a lot of darkness." ~ Rabbi Schneur Zalman |
AuthorHi, I'm Kathy a collage, eco-print artist, and rust enthusiast who loves to teach and guide you along on your creative journey. Archives
May 2023
Categories |