|
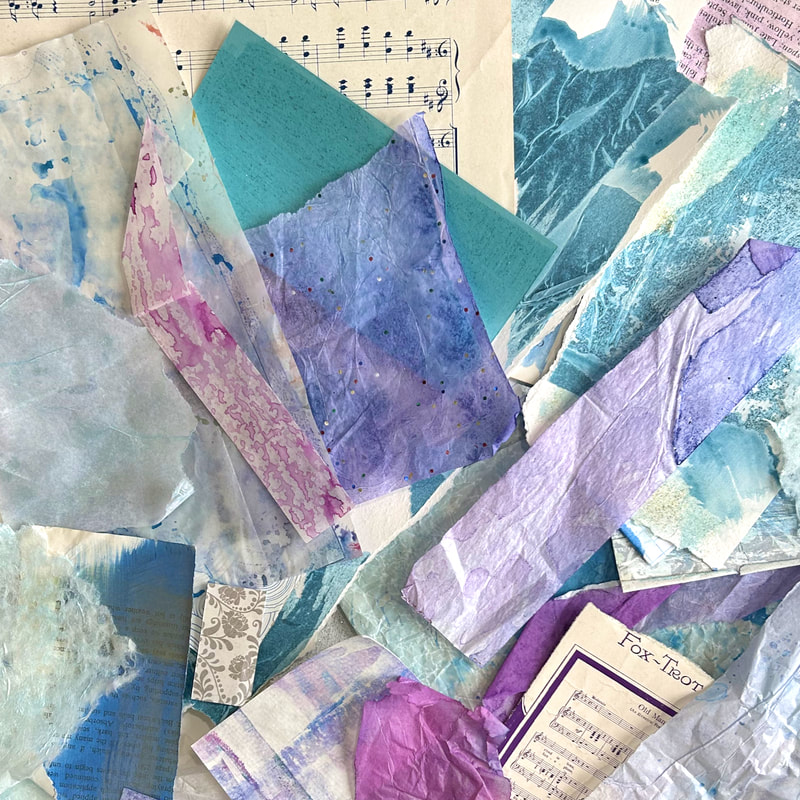
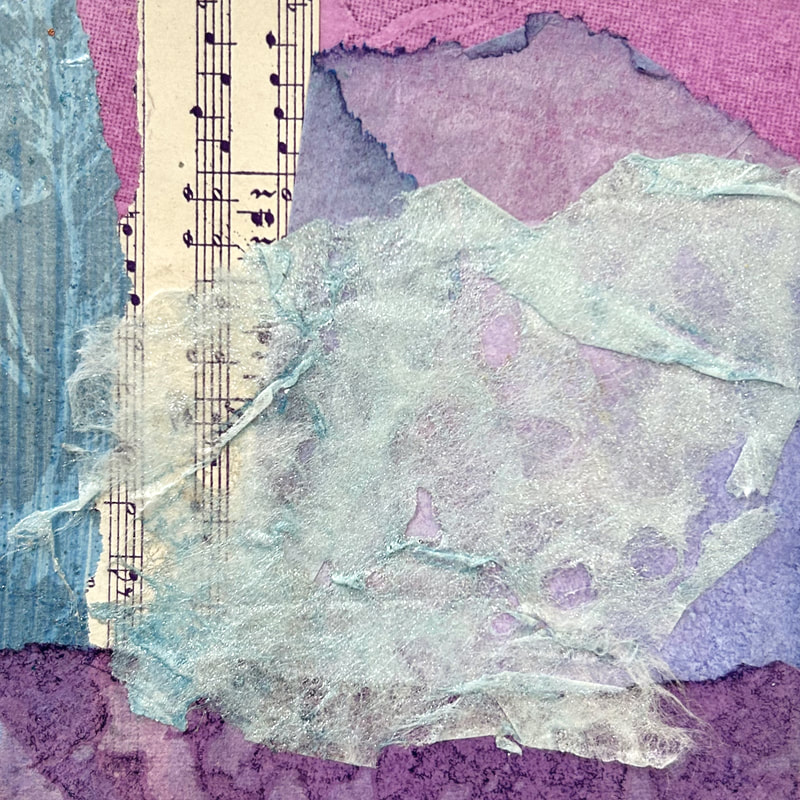
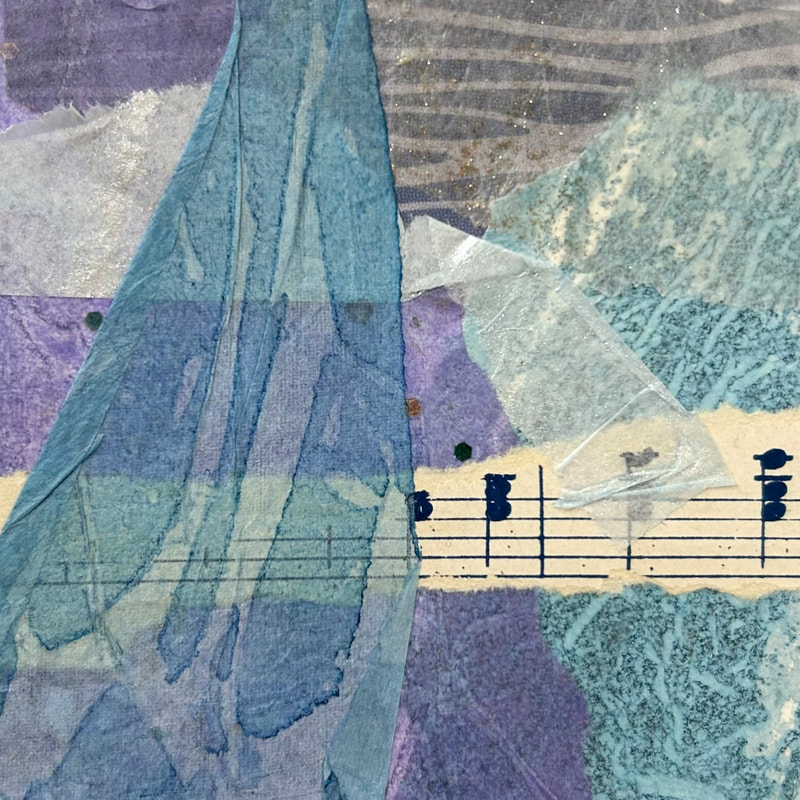
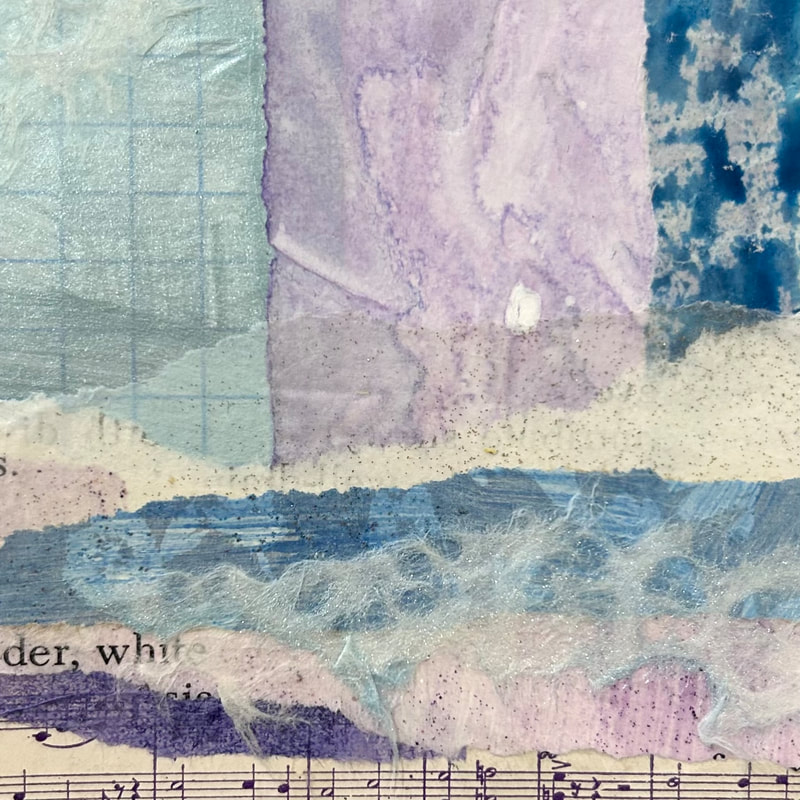
Going for 'icy' with a touch of sparkle on December's collages. That magical feeling of the first snow creating a winter wonderland.
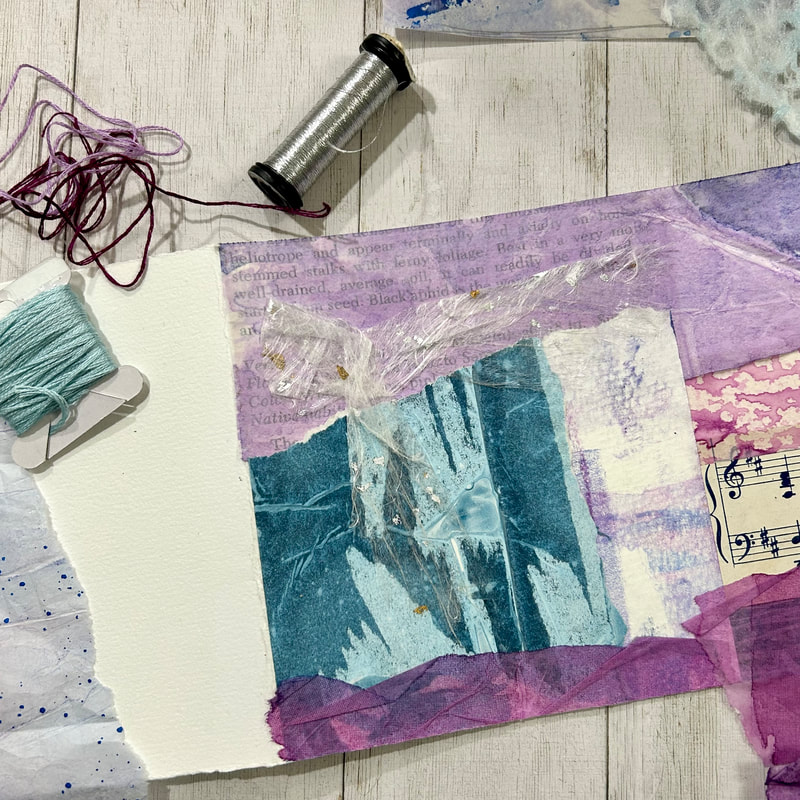
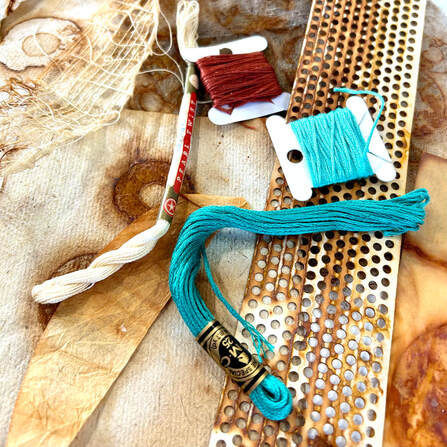
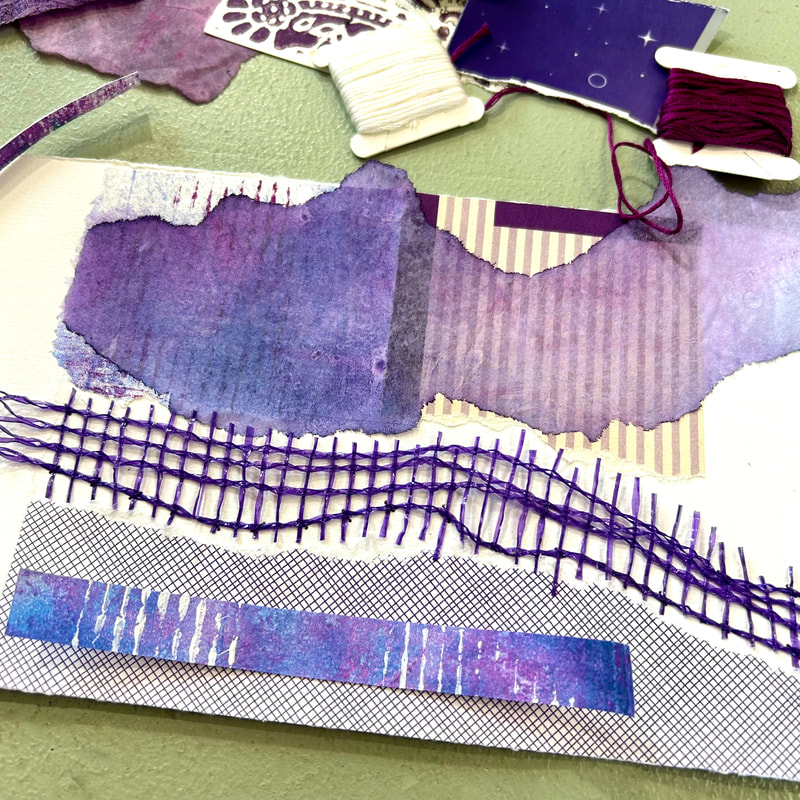
Week 1 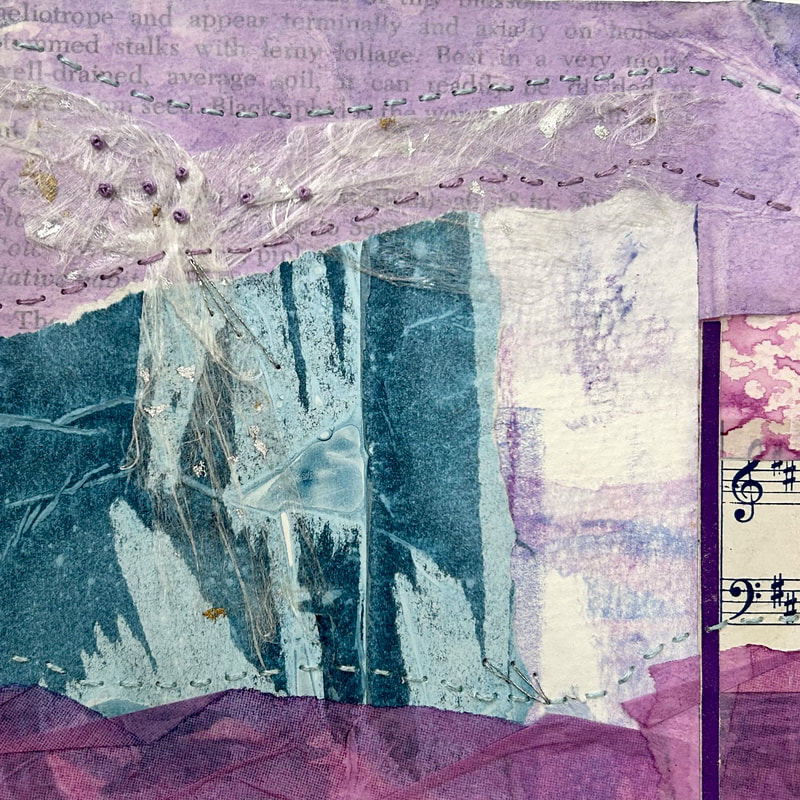 Week 2 Dug right into the stitching this week and figured out a different way to use the silver thread to add a little metallic shine, stitching lines that look like little bursts of light. 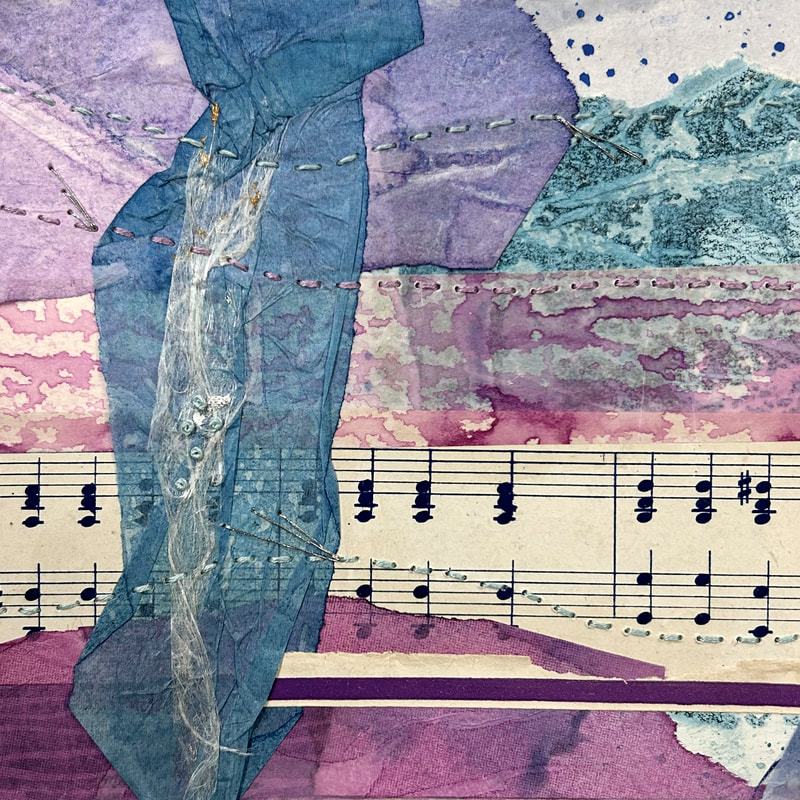 Week 3 While adding the silver thread bursts to this panel I went back and added a couple more to the first 2 panels as well as adding more stitches to the ones that were already there to make bursts that were more visable. 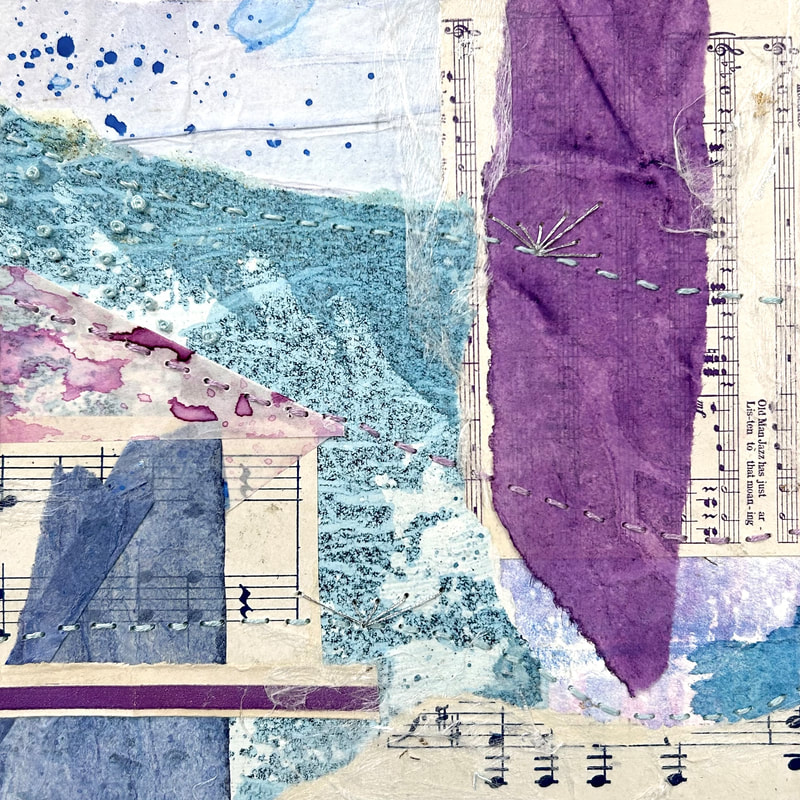 Week 4 On the last Monday of 2023 I made this last collaged panel of my December Concertina Sketchbook. These monthly concertina books were challenging at times and more time-consuming than the Monday collages I've done in previous years but lots of fun too. It was especially satisfying to see each finished strip on the last Monday of the month. Now the challenge is to figure out how to bind all twelve concertinas into a book, of some kind and to decide how I'd like to approach my Monday collages in 2024. 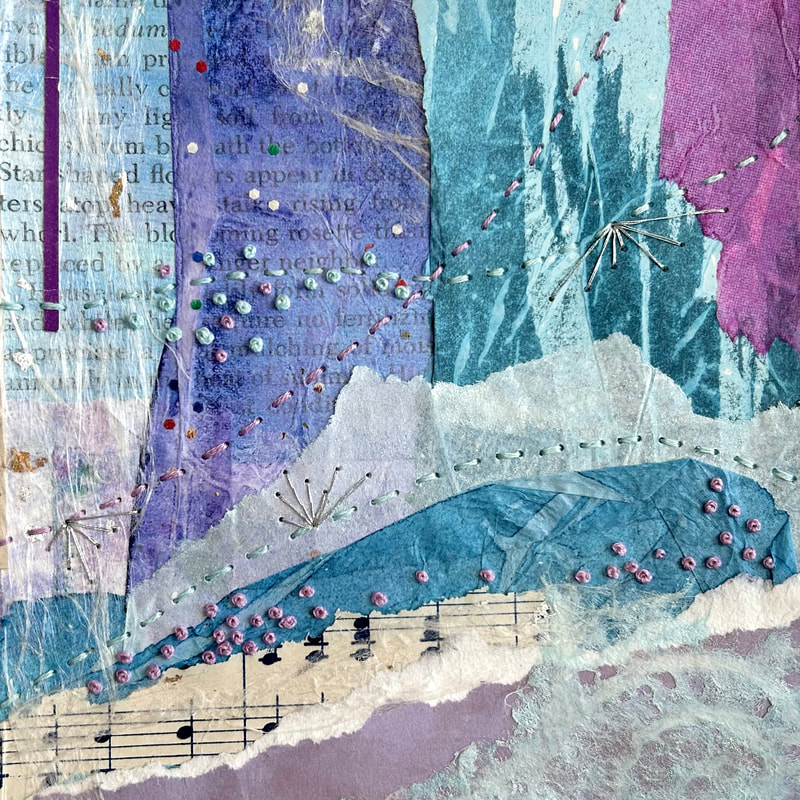 Completed 4 panel concertina 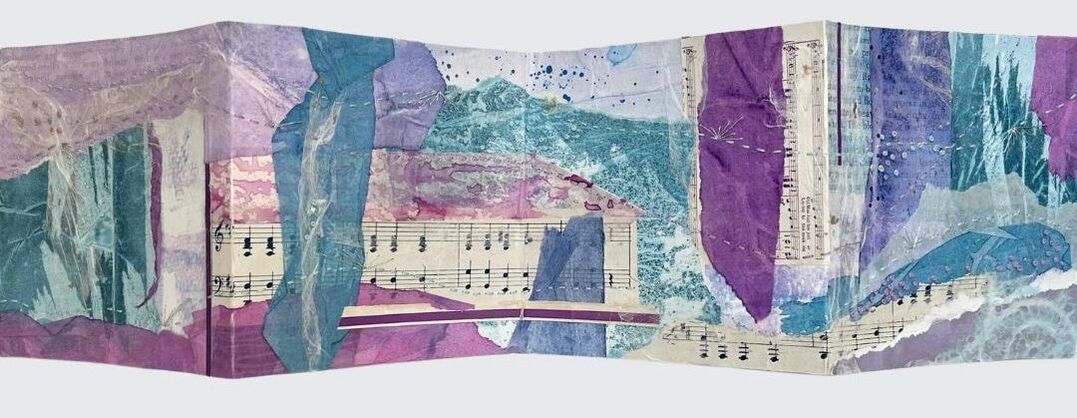
I hadn’t added any stitching to these end-of-the-month leftover scrap collages until now but this one collage you see below just seemed to need that extra touch.
You can read more about see these monthly concertina sketchbooks and how they got started here.
1 Comment
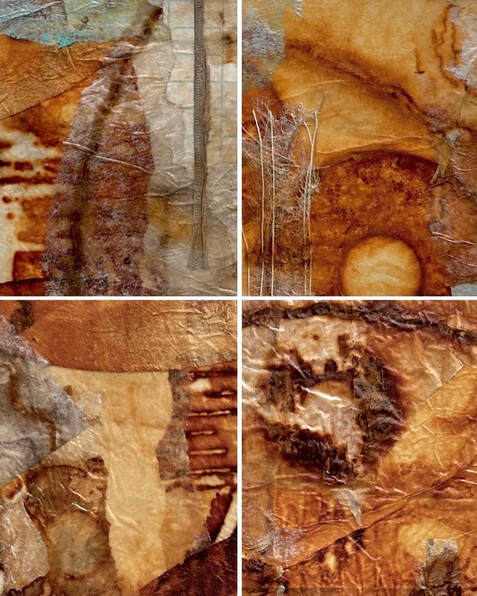
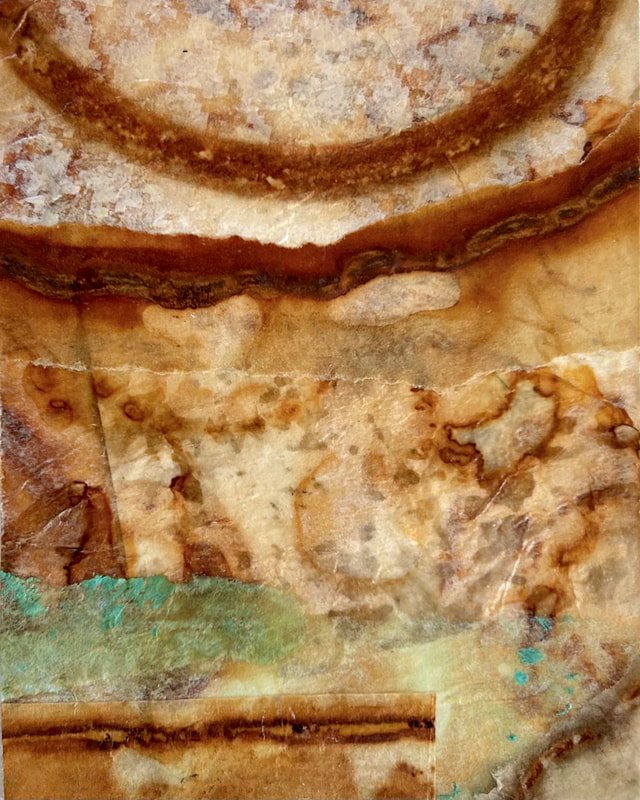
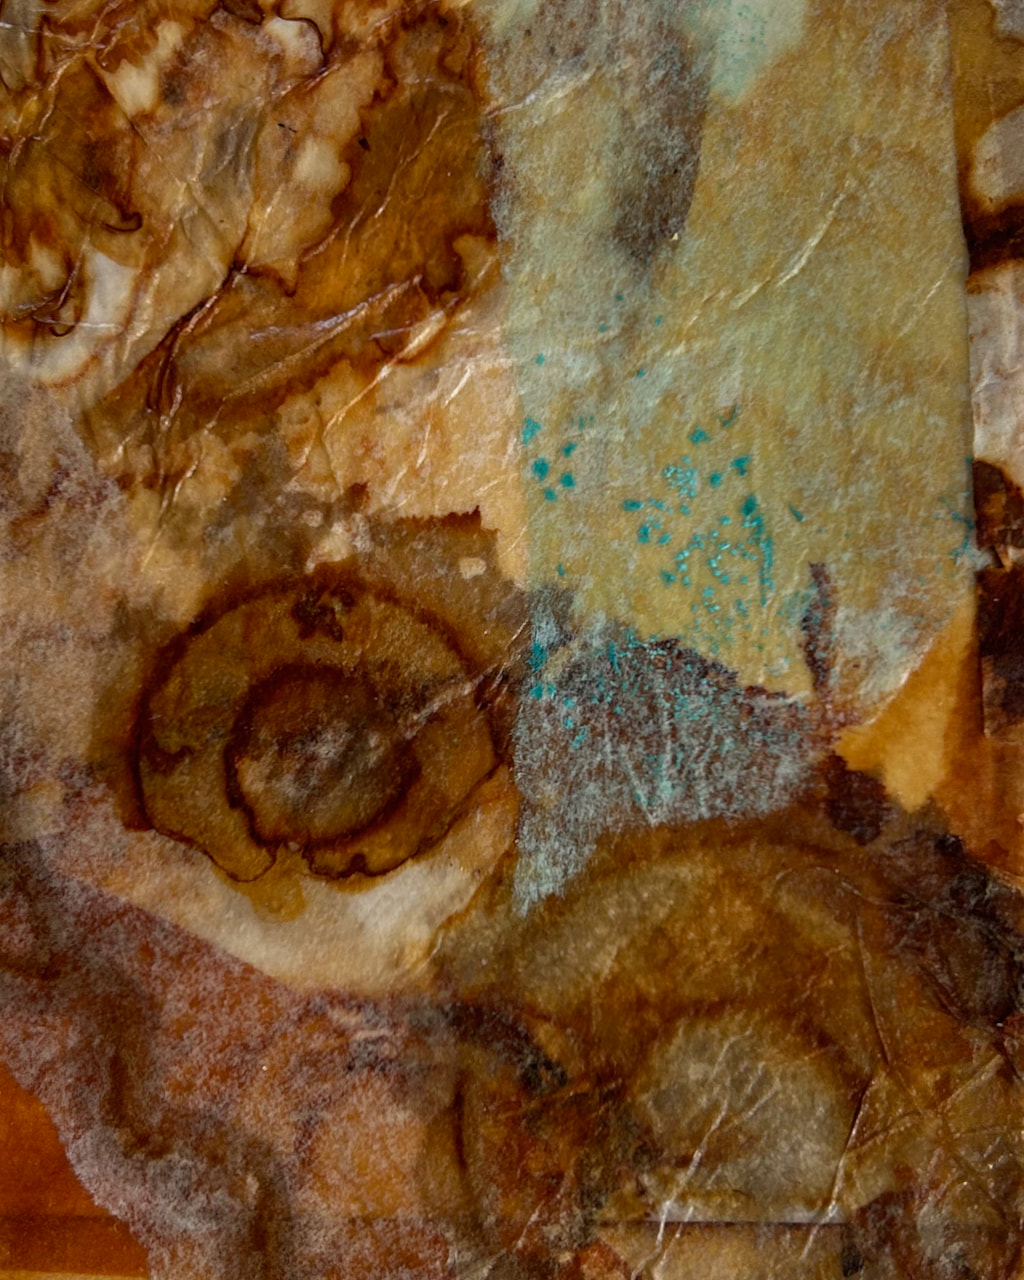
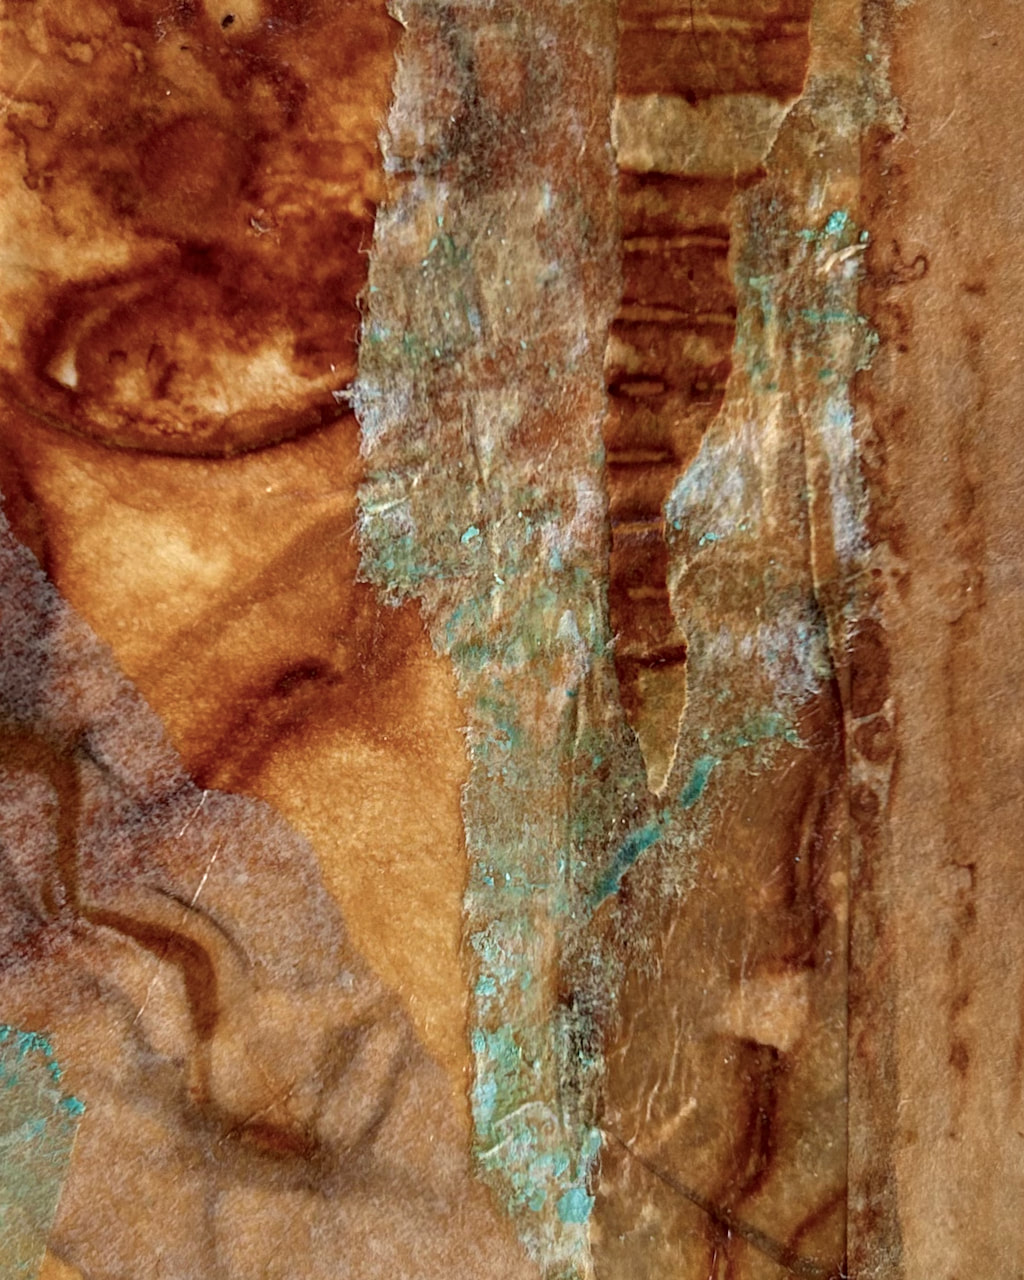
Week 1 I thought rusted papers sounded like the perfect thing to use for November, of course, with a few bits of turquoise thrown in too. 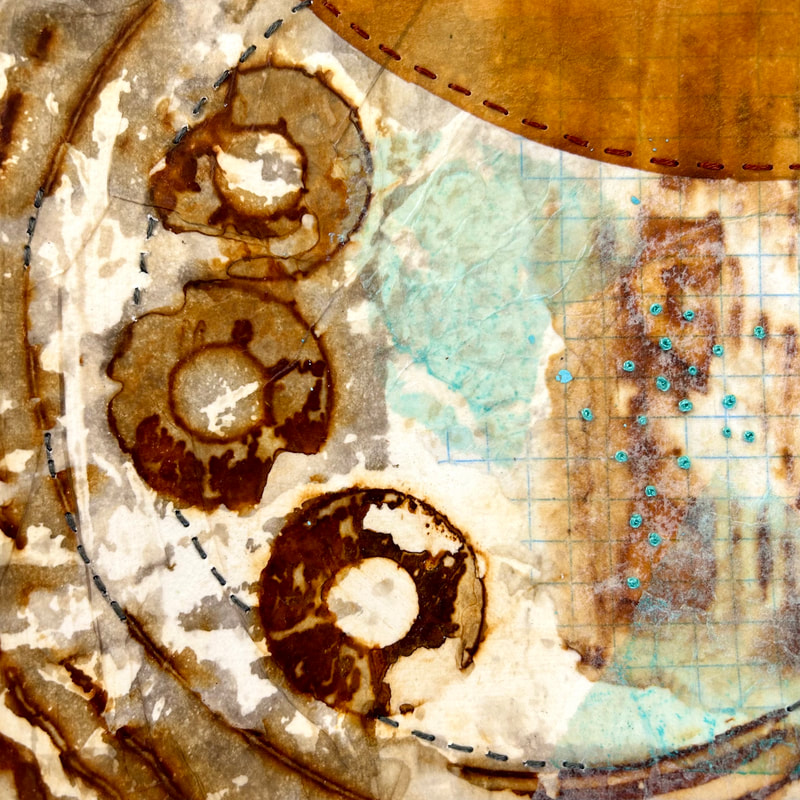 Week 2 What would I do without the French knot, it's my very favorite polka dot. 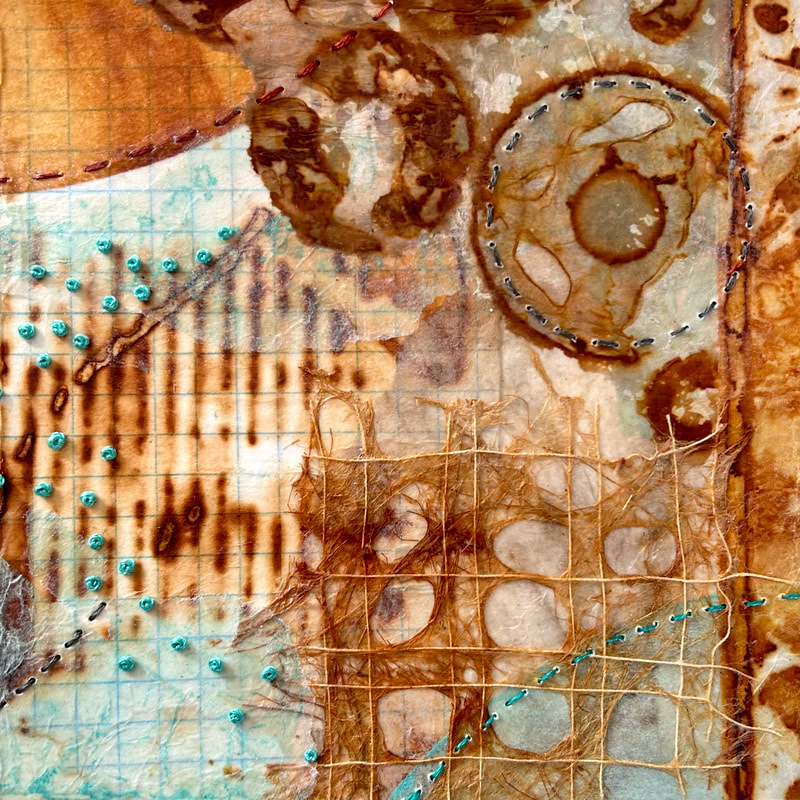 Week 3 I've been lucky to have friends who gift me rusty things like the 2 1/4 inch washer that made the large print in the middle of this collage. That's a big washer! 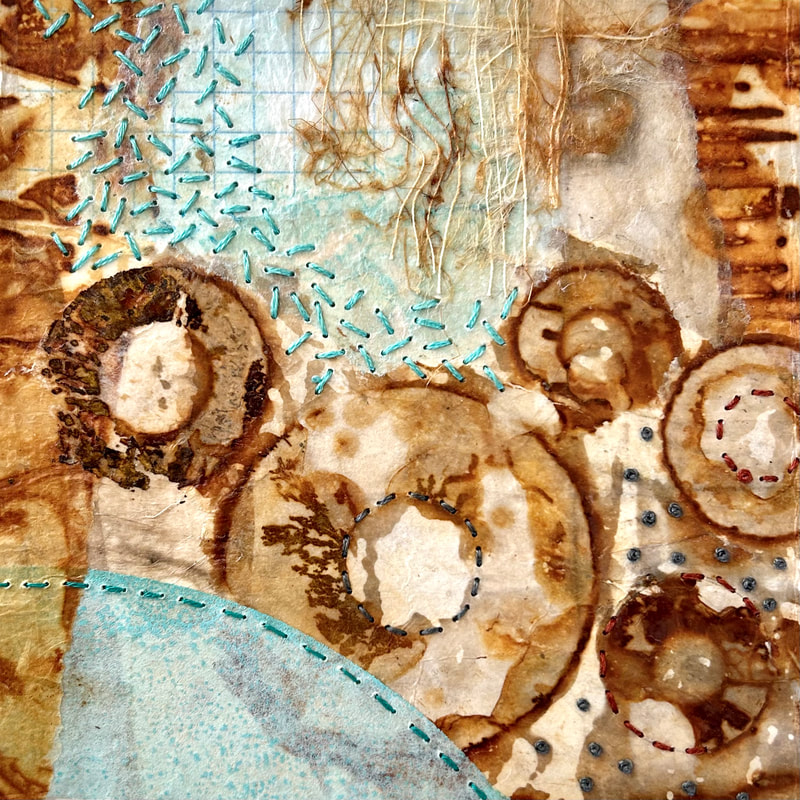 Week 4 Rustic and weathered-looking rusted papers. 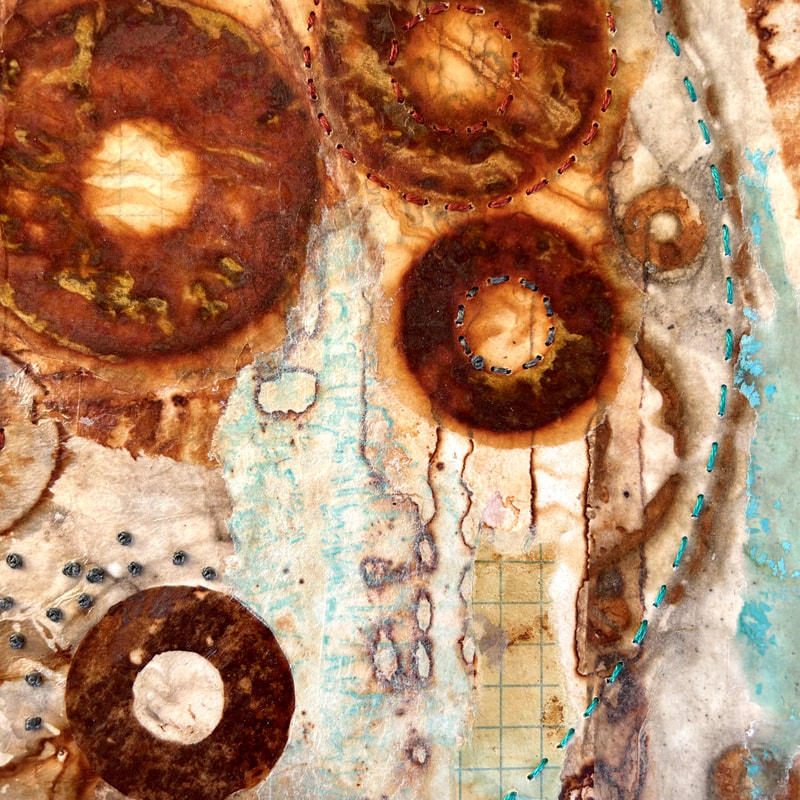 Finished 4 panel concertina 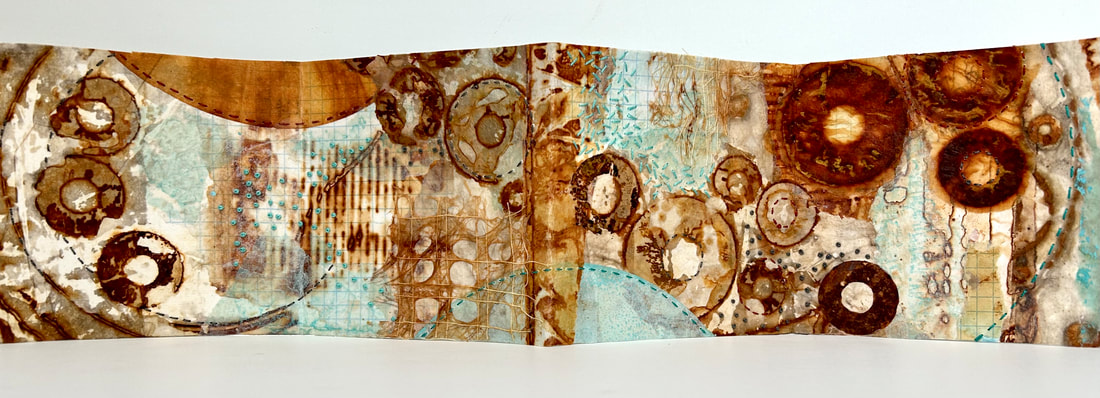 Small collages made from the scraps left on my table at the end of the month.
 You can read more about see these monthly concertina sketchbooks and how they got started here.
Week 1 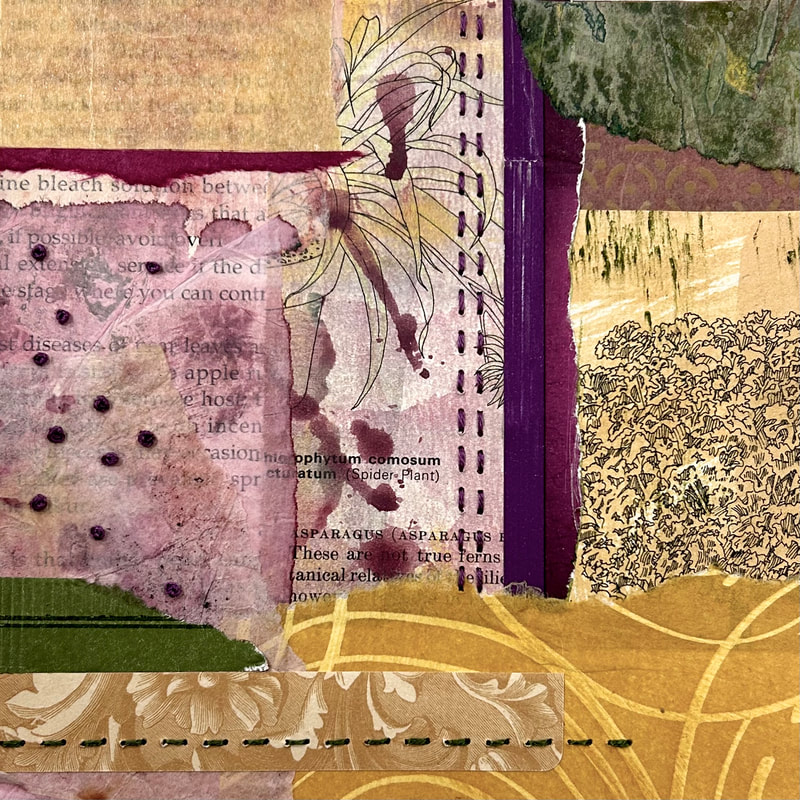 Week 2 I incorporated the seed stitch, which I haven't used on paper in a while. A good reminder to myself that it's a great filler stitch when you have an empty spot that just needs a little something. 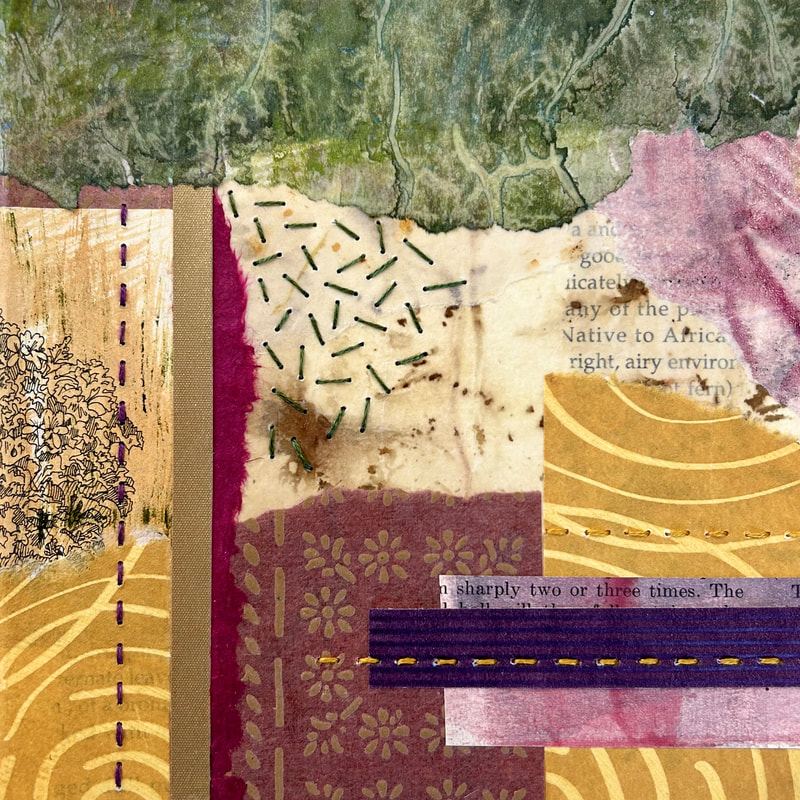 Week 3 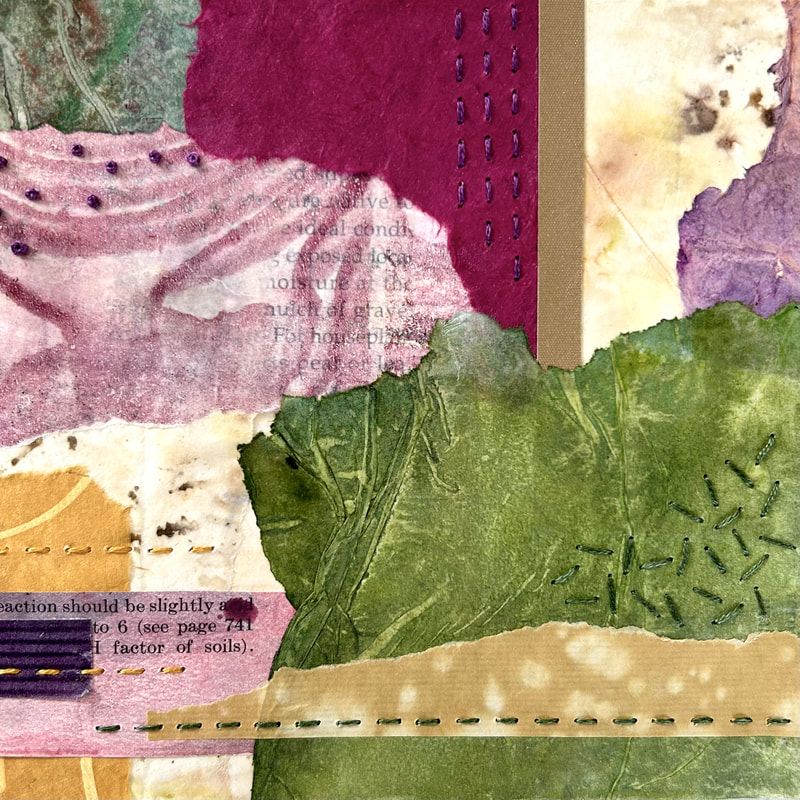
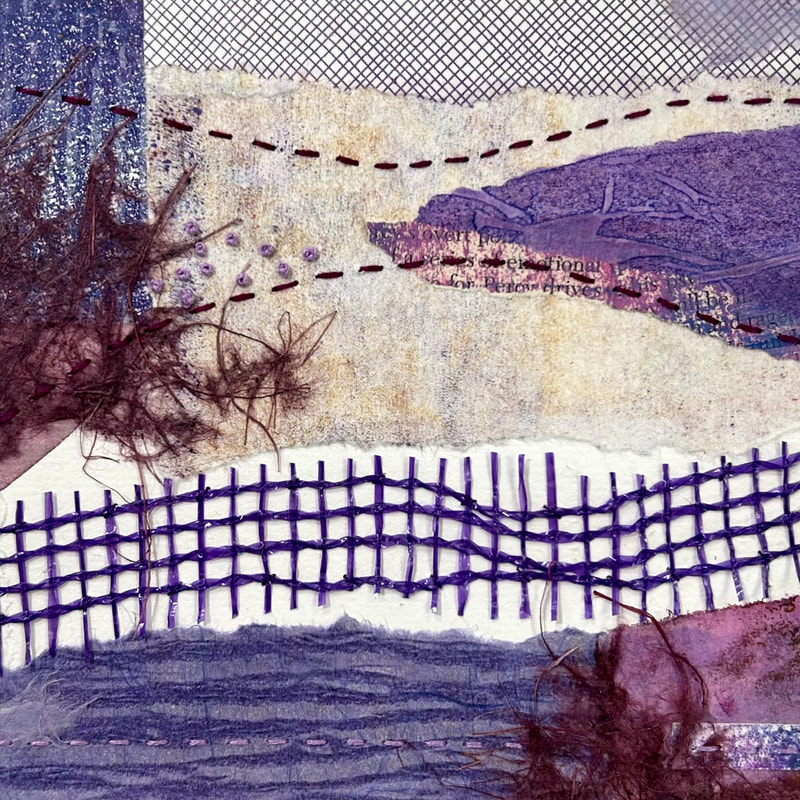
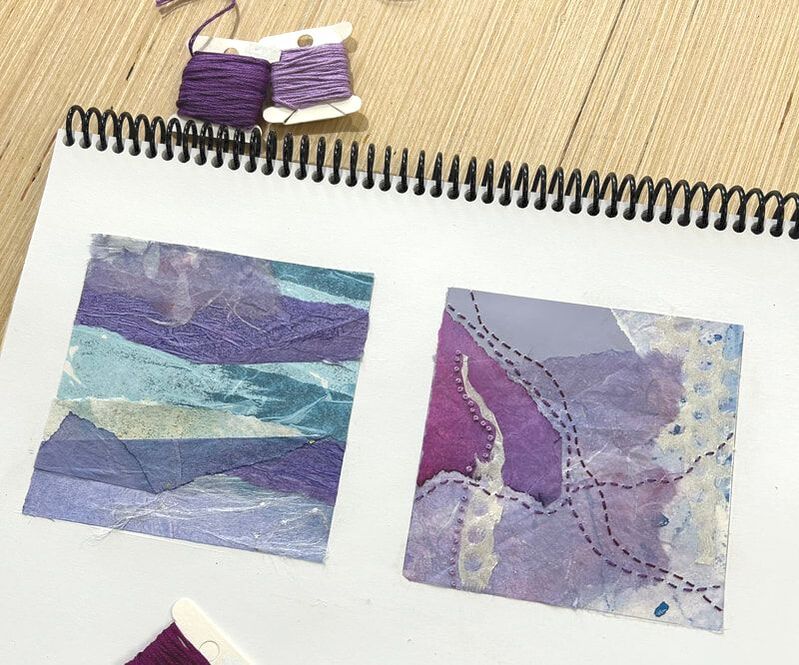
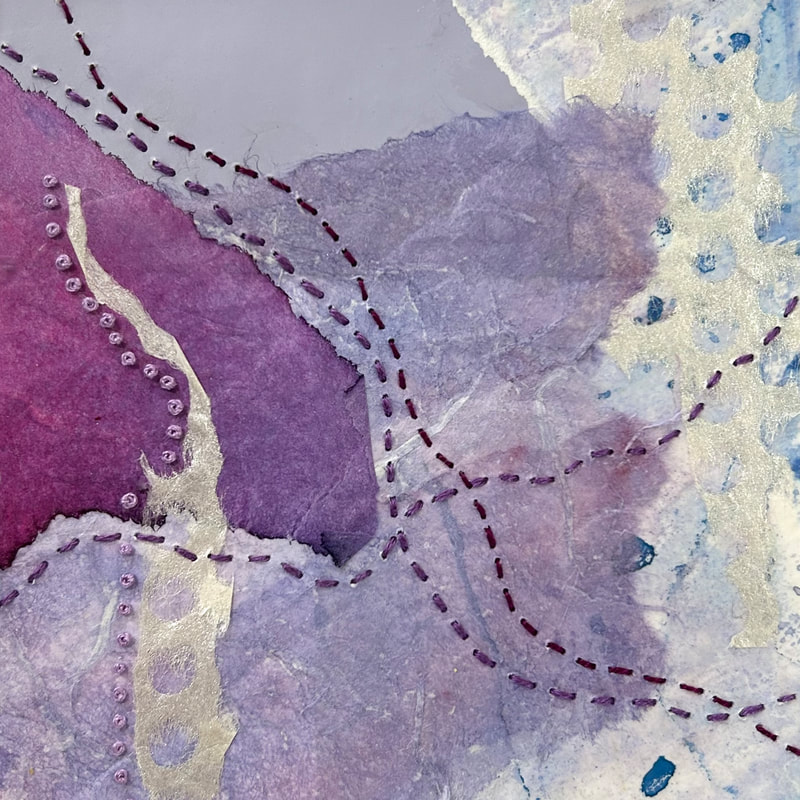
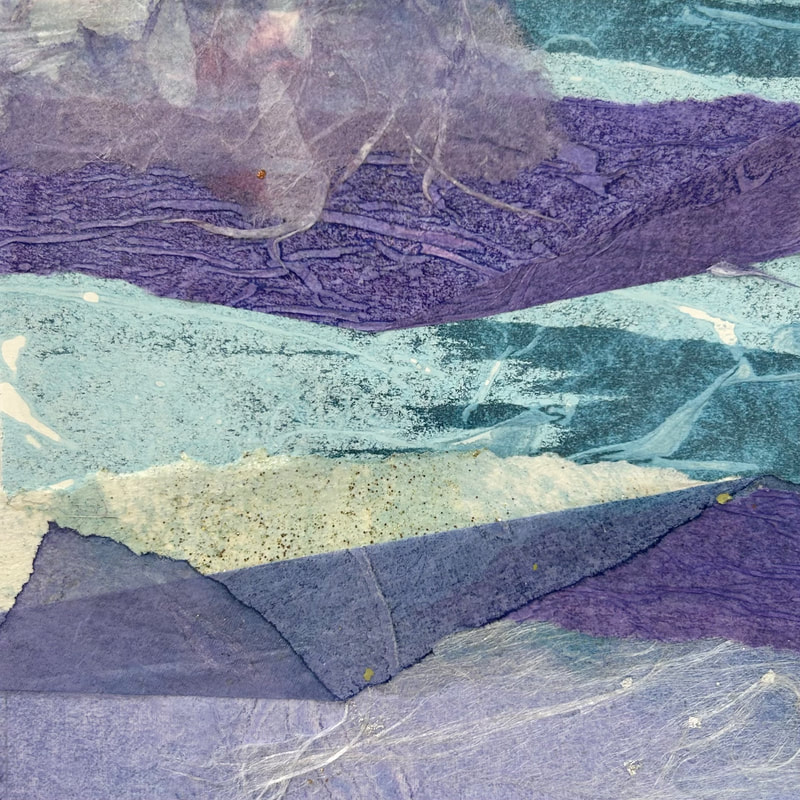
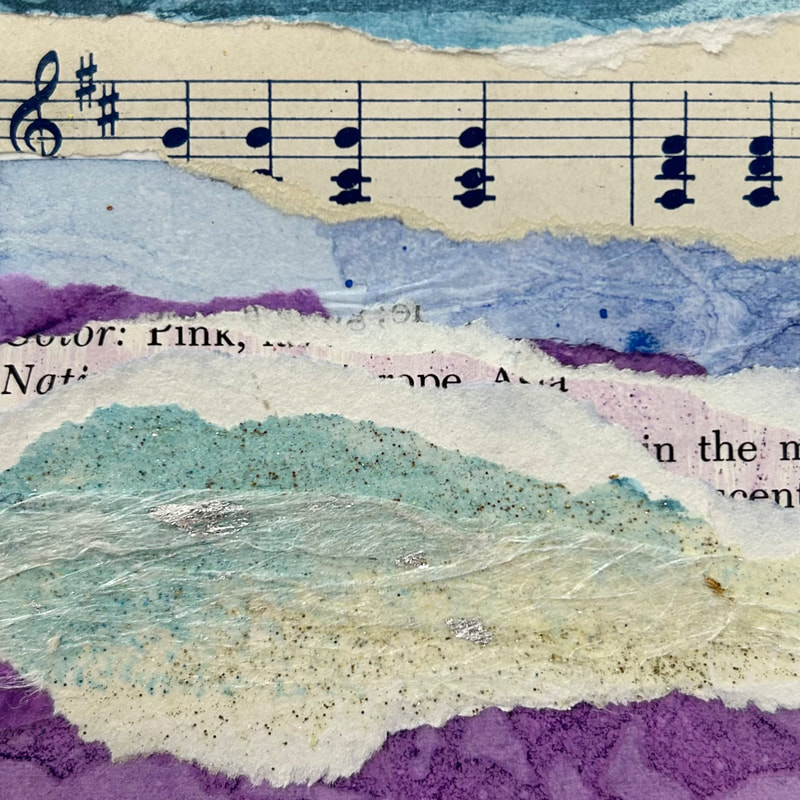
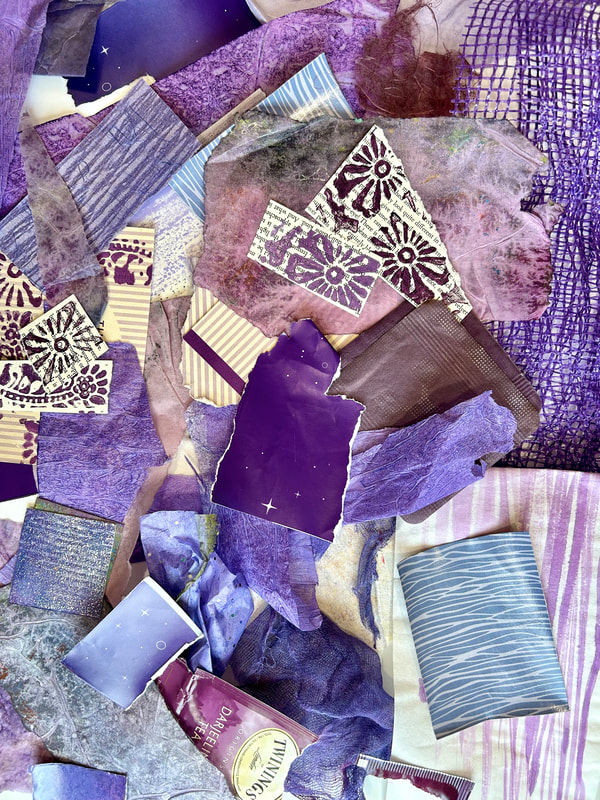
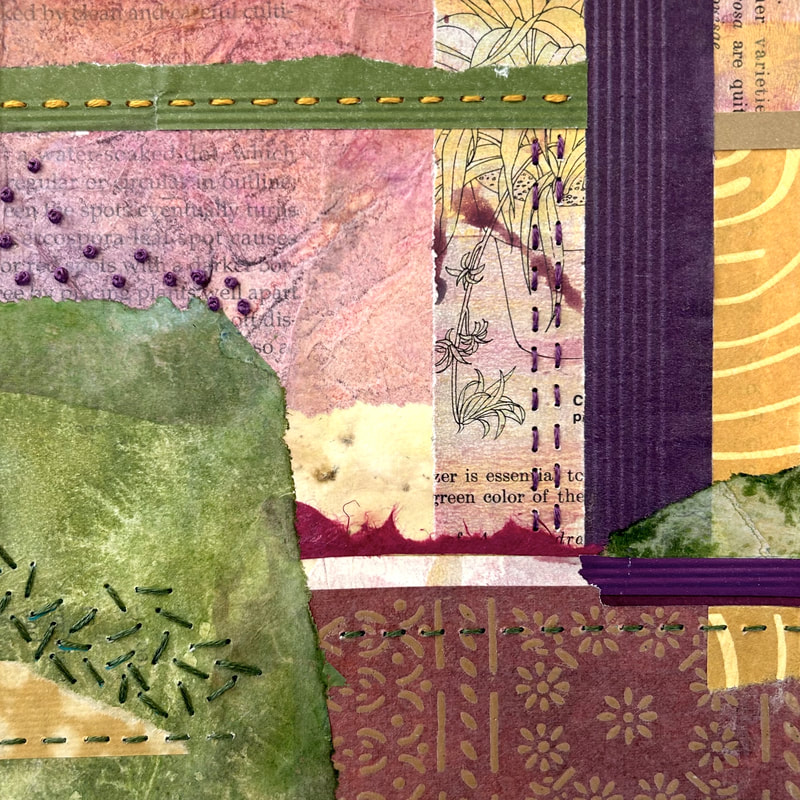 Week 5 It was a joy working with these colors this month. I enjoyed comparing the colors of the collage to what was happening outside during my neighborhood walks and when checking in on the garden as the month progressed. 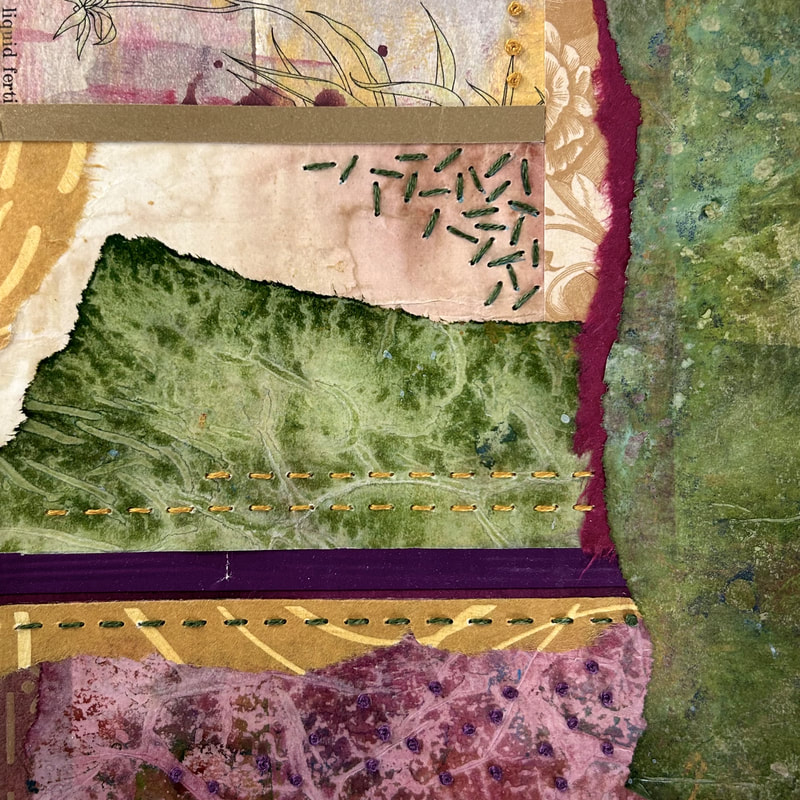 All 5 panels complete. 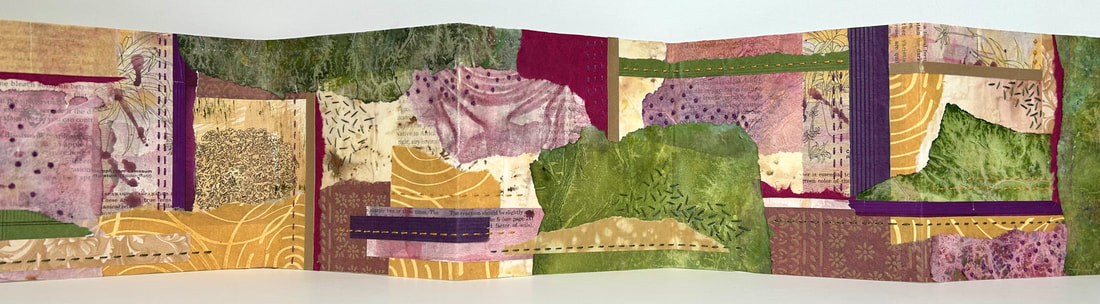 I took the same approach as last month when using up the left over paper scraps, I created a Surprise Collage. The best part is seeing what little gems appear once you cut the full sheet into smaller pieces. 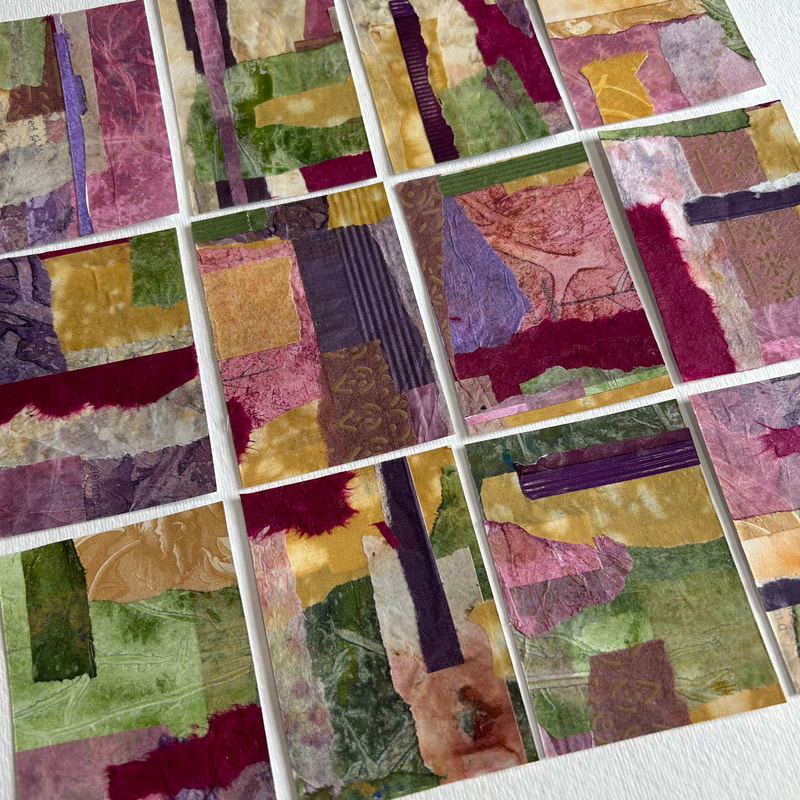 Embracing the enchanting world of purple this month.
Week 1 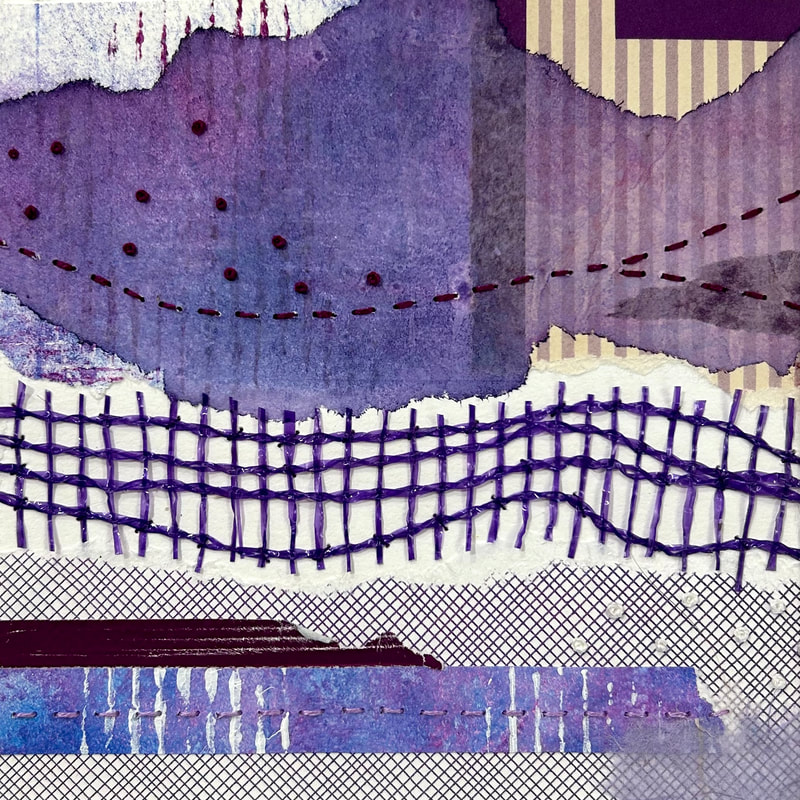 Week 2 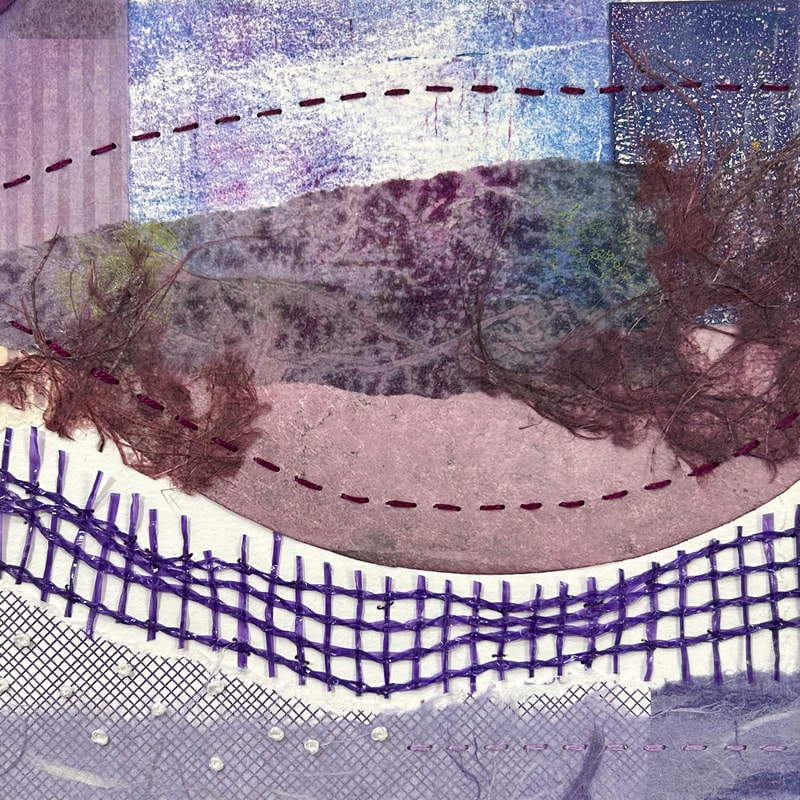
 Week 4 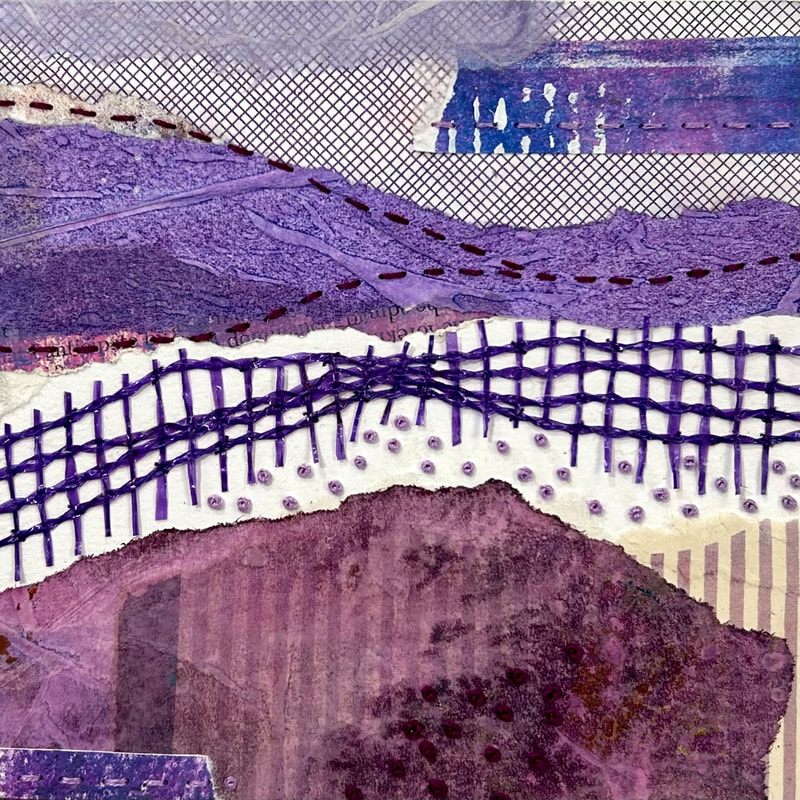 All 4 panels 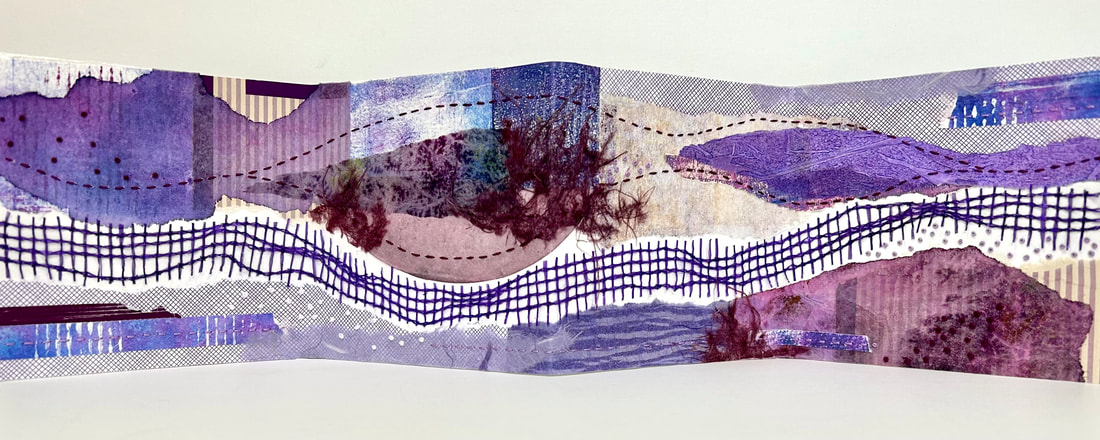 This month I did something a little different with the leftover paper scraps from my concertina sketchbook collage. I made a surprise collage - randomly gluing collage bits onto an entire page in a sketchbook. Turned the paper over so I couldn't see where I was cutting and sliced it into 1.5 x 3-inch rectangles. It's always a fun surprise to see what you end up with. Some looked great as is, and others needed just a few additions here and there to look finished. 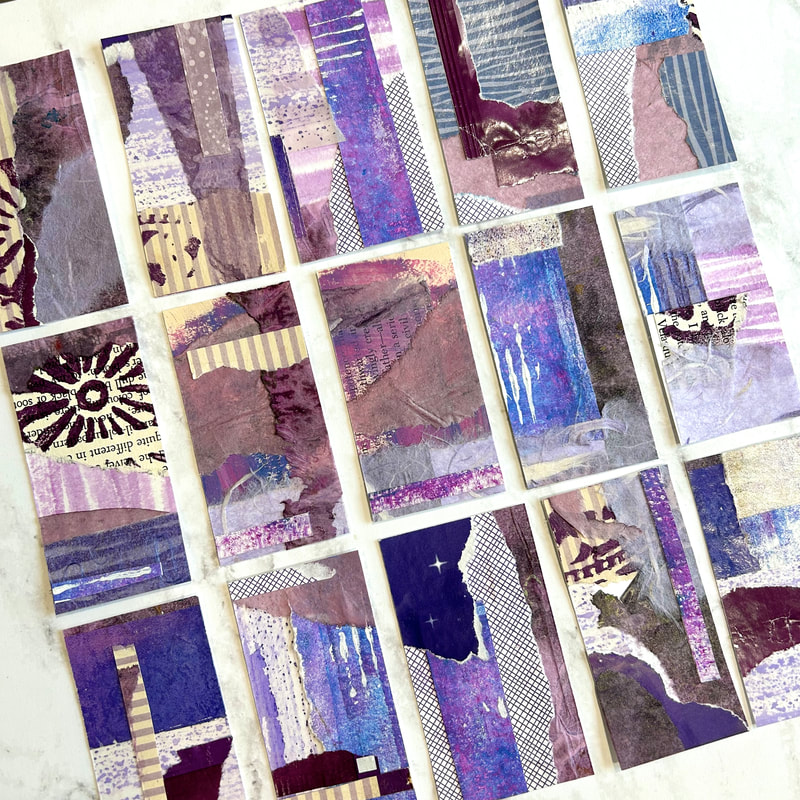 You can read more about see these monthly concertina sketchbooks and how they got started here.
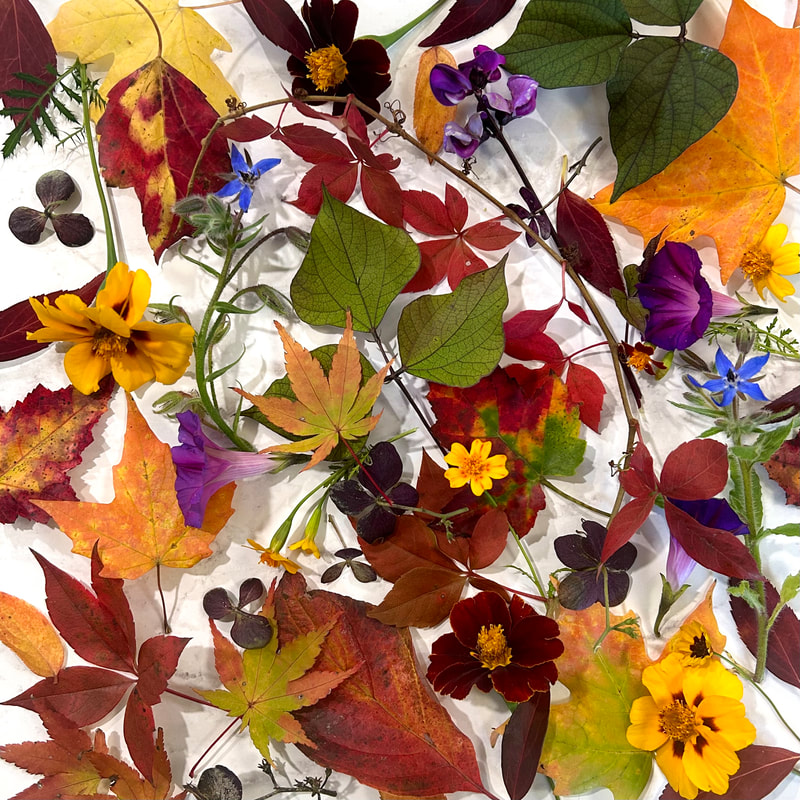
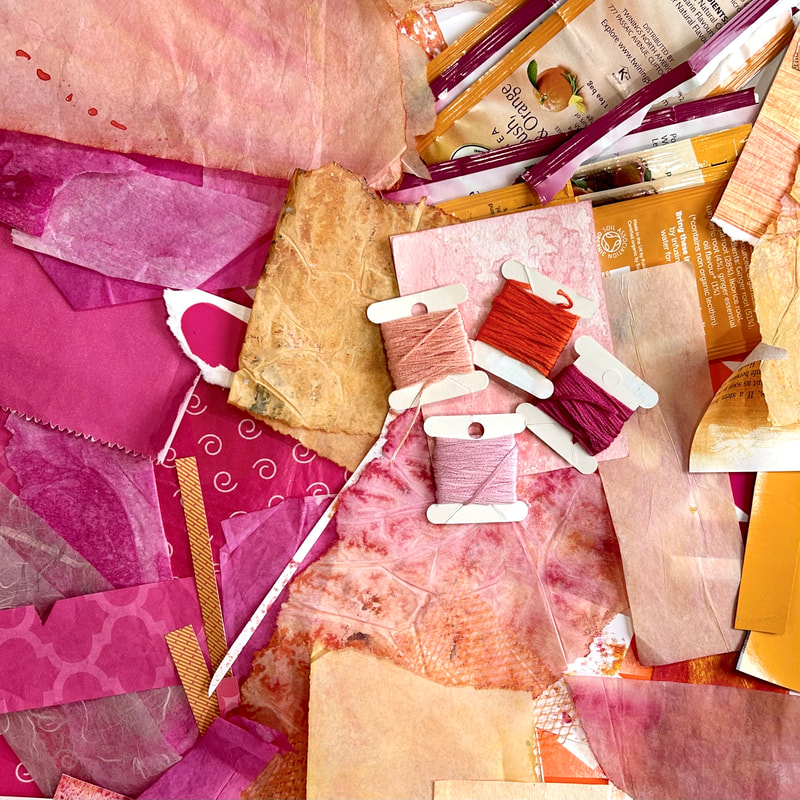
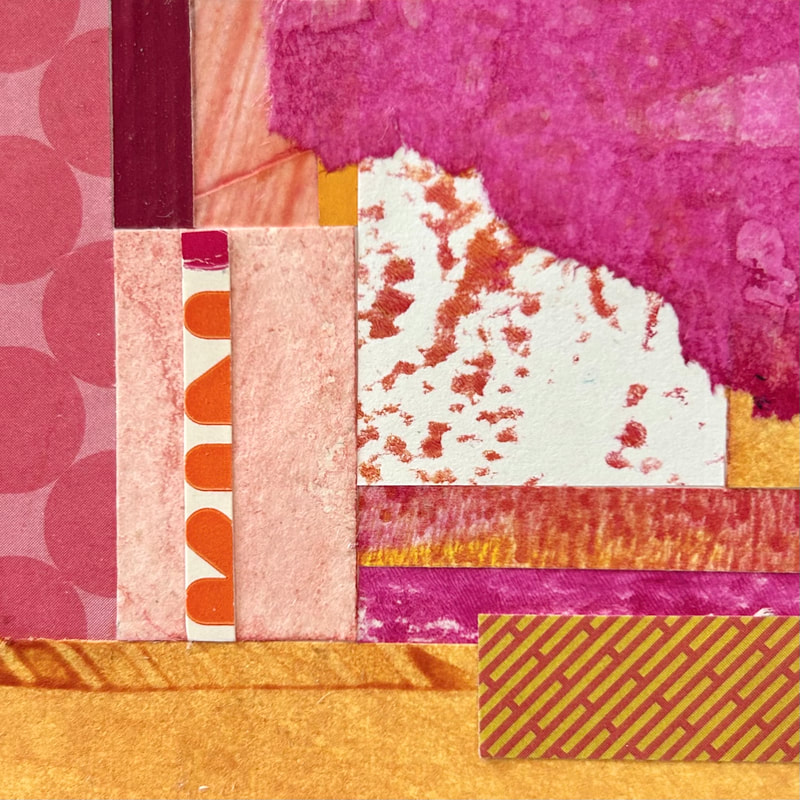
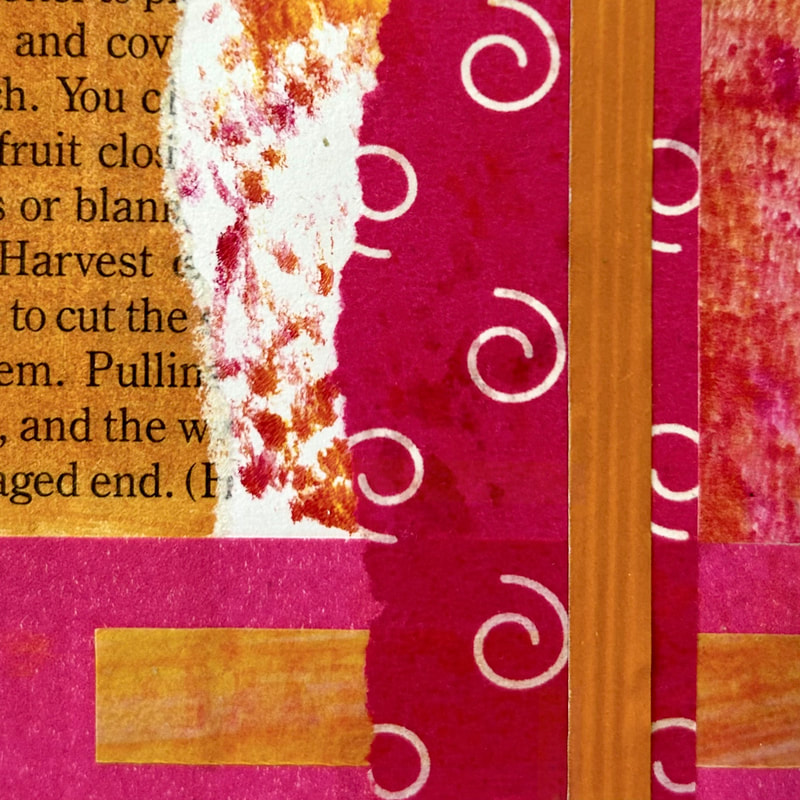
A pink and orange combo always captures my attention with its playful energy.
Week 1 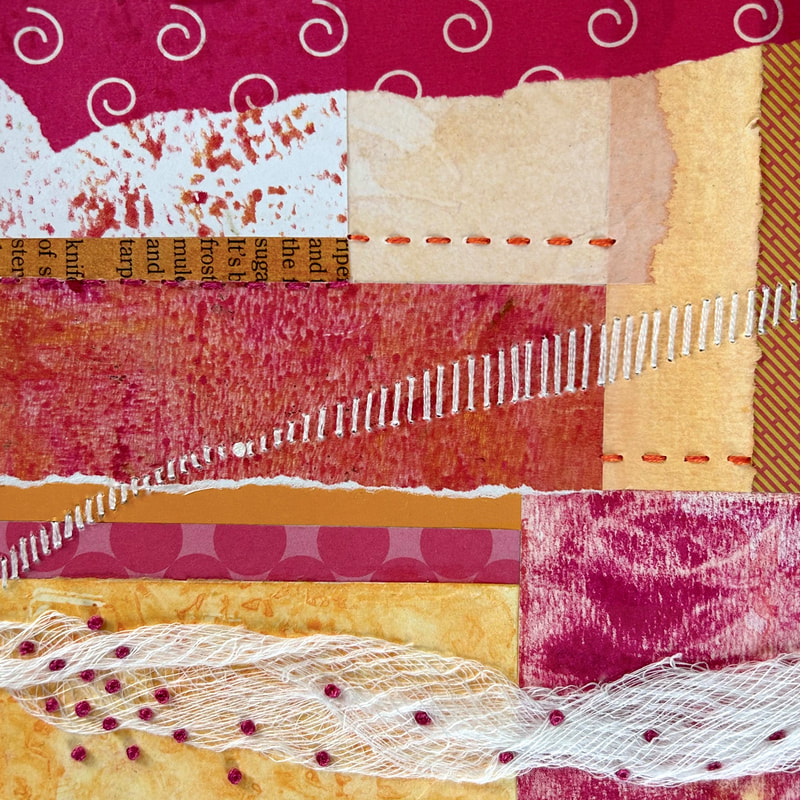 Week 2 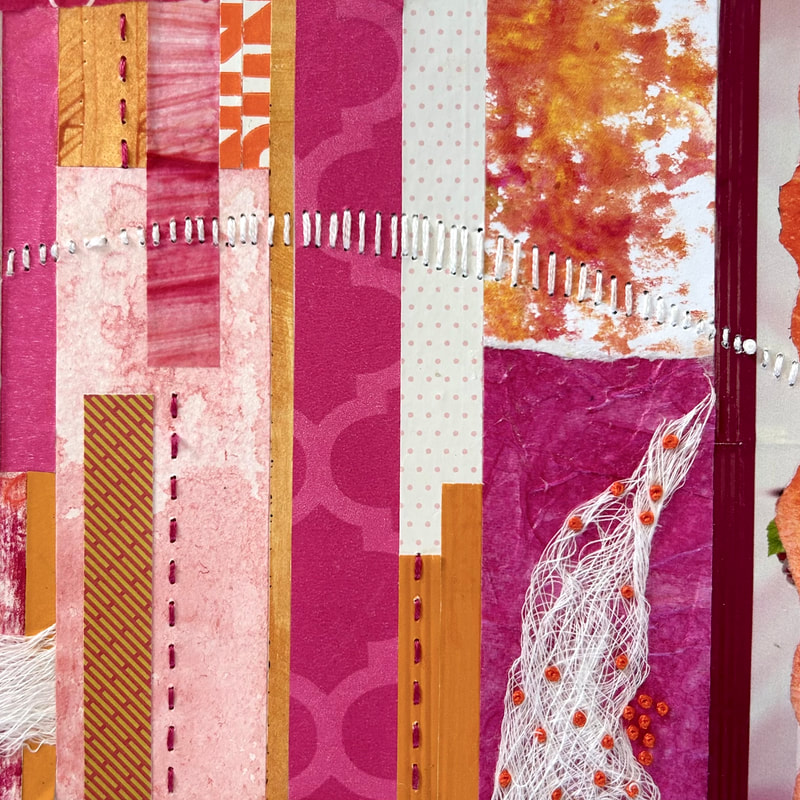 Week 3 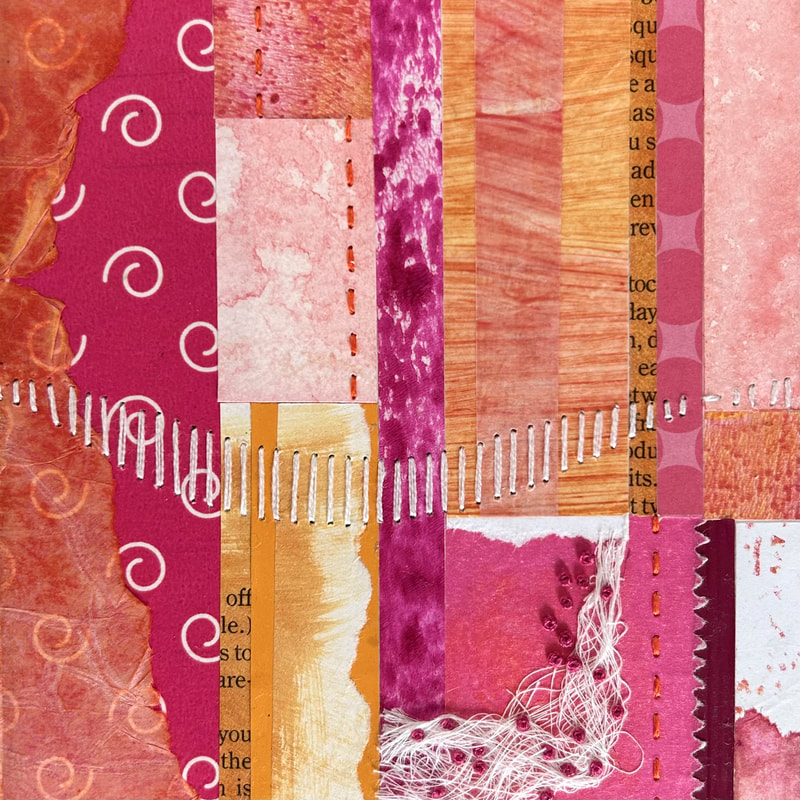 Another month ending - week 4 of my August Concertina Sketchbook "Breathe the sweetness that hovers in August." ~ Denise Levertov 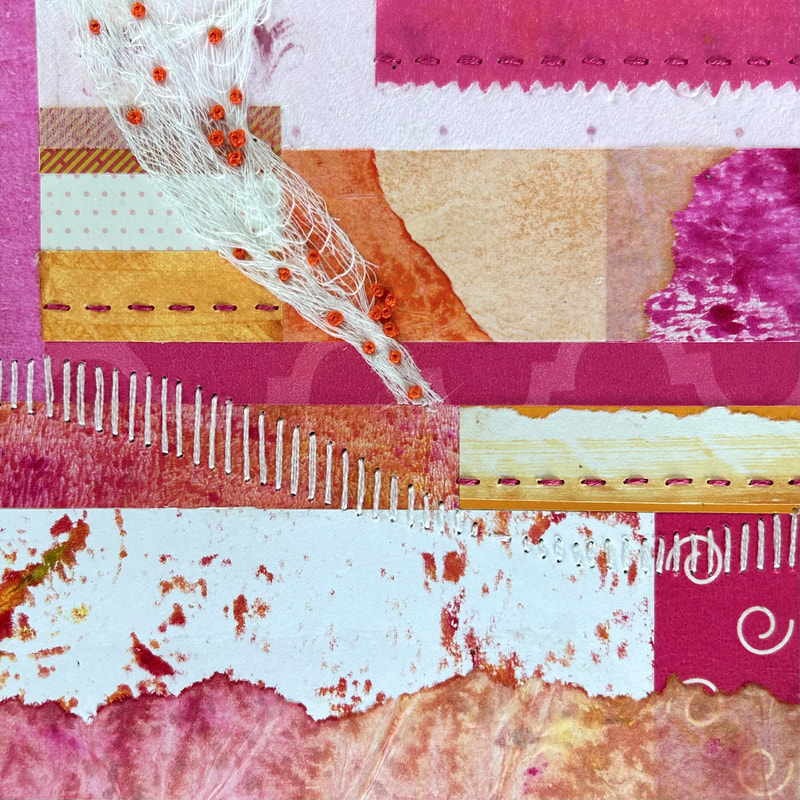 The finished 4 panels 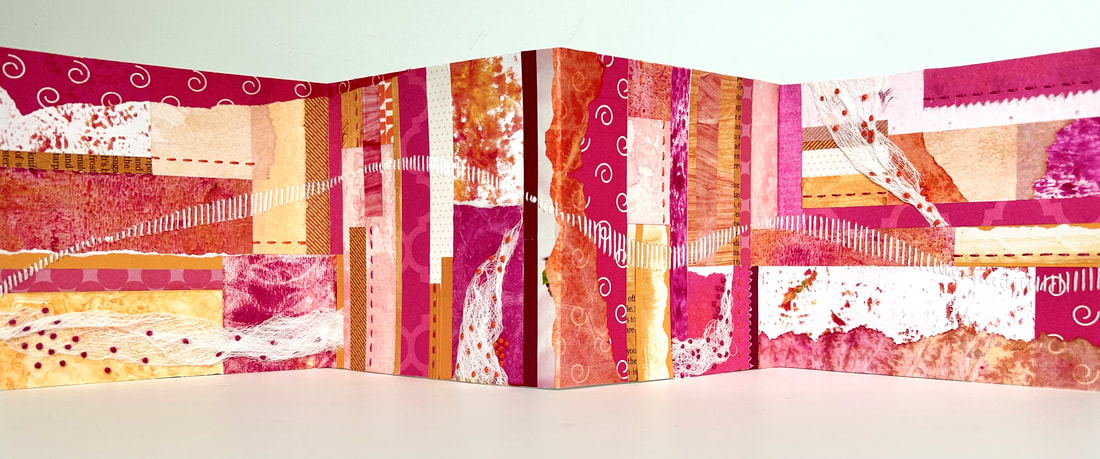 End of the month collages using leftover scraps
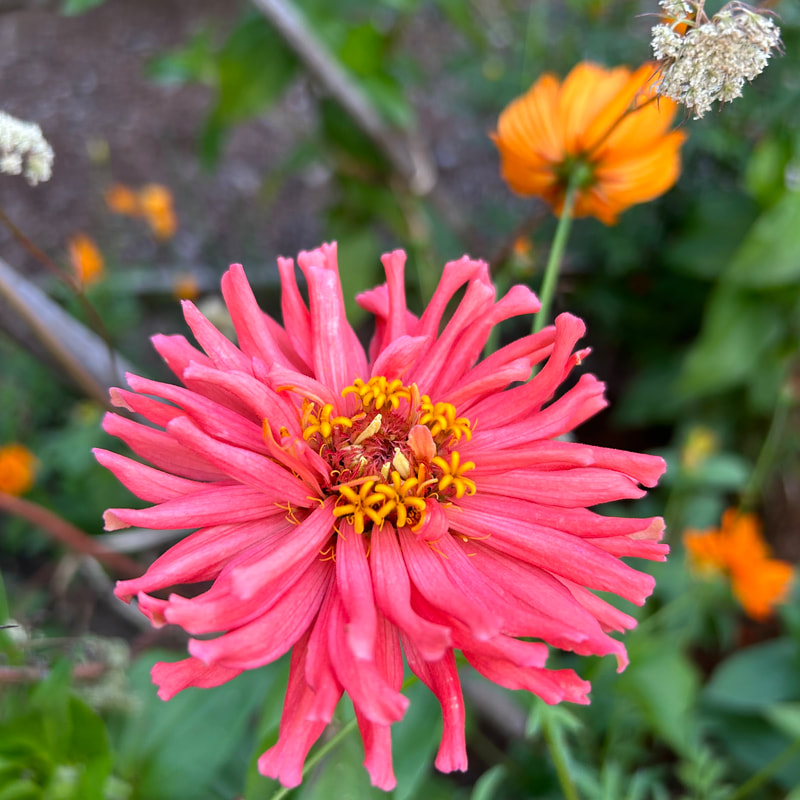
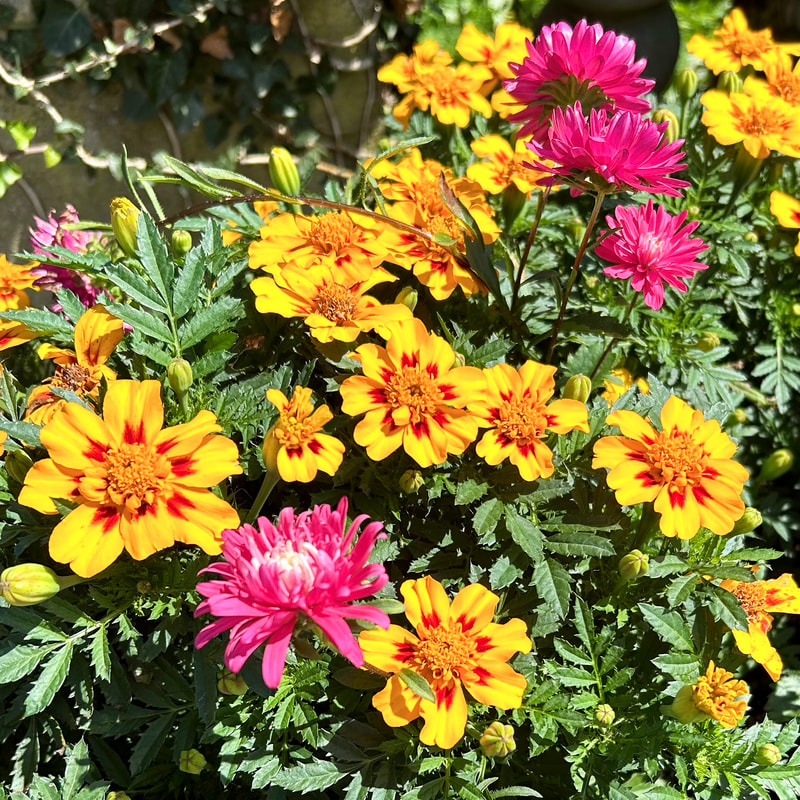
Pink and orange are a great color combo in the garden too. The photo on the left is from Harkness Memorial State Park. I took a walk there this week and the cutting garden was amazing. They change it up a little each year with different color and plant combinations but it is always lovely. The other two photos are of my garden. A light pink cosmos and a cactus zinnia mixing with orange cosmos.
 |
AuthorHi, I'm Kathy an artist working in the mediums of collage and eco-printing. I'm also a rust enthusiast who loves to teach. I enjoy sharing my processes and guiding you along on your creative journey. Archives
December 2023
Categories
All
|


 RSS Feed